Create a Modern Application with Django and Vue #1
- Create a Modern Application with Django and Vue #1 ← You are here
- Create a Modern Application with Django and Vue #2
- Create a Modern Application with Django and Vue #3
Previously, in the beginner’s roadmap to web development tutorial series, we talked about how to create a web application using Django, a full-stack Python-based web framework that follows the MTV design pattern. We call it full-stack because we can create both the frontend and the backend with it.
This solution, however, has one small flaw. When the end-user request a webpage, the page will need to be rendered in the backend, and then the rendered HTML page will be sent to the user. As you can imagine, when you have a lot of users, that will put a lot of pressure on your server.
To solve this problem, developers usually split the application into two parts, the backend and the frontend. This way, when the user requests a webpage, instead of rendering the webpage, the backend only gathers the necessary data and transfers them to the frontend. The client’s machine, which usually has a lot more excessive computing power, will use the data to render the webpage inside the browser directly, hence relieving the pressure on the server.
In this tutorial, we are going to discuss how to create a modern single-page application using Django as the backend, Vue as the frontend, and GraphQL as the API manipulation language that connects them together.
Before you start, make sure you are familiar with both Django and Vue.js frameworks. If not, please consider going through the following tutorials first:
➡️ Get the source code for FREE!
A brief review on Django #
Let’s start with a brief review of the Django framework. Django is a Python-based web framework that follows the MTV architecture.
- The model (M) is an interface that allows us to interact with the database, such as retrieving, creating, updating or deleting records.
- The template (T) is the frontend part of the framework, it is the part that the end-users are going to see.
- The view (V) is the backend logic of the application, it uses the model to interact with the database, such as retrieving the data that is required by the user. Then the view would manipulate the data in some way, and return the result (usually a customized template) to the user.
For this particular tutorial, we are only going to use Django for the backend, which means we are not going to use Django’s template or view, and replace them with Vue.js and GraphQL.
Let’s start by setting up the Django end.
Creating a fresh Django project #
Personally, I like to separate the backend and the frontend directories. So this is how I created the project structure:
| |
Go to the backend folder, and create a new Python virtual environment. A Python virtual environment is an isolated environment with a fresh Python install, without the custom packages. When you install packages inside this environment, it will not affect your system’s Python environment, which is very important if you are using Linux or macOS, and you don’t want to mess with it.
| |
| |
This command will create a new directory called env, and the virtual environment is generated inside. To activate this virtual environment, use the following command:
| |
If you are using Windows use this command instead. This depends on personal preference, but I do recommend setting up WSL is you are using Windows.
| |
After the virtual environment has been activated, your terminal will look like this. Notice the (env) in front of the username. This indicates you are currently working in the virtual environment.

Next, it is time for you to create a new Django project. You should be familiar with this process, if not, please check the previously linked article for details.
| |
| |
Create a new application:
| |
After you are done, the project structure should look like this:
| |
Creating models #
Recall that the model is an interface which we can use to interact with the database. And one of the greatest feature of Django is that it can automatically detect the changes you made to the models, and generate the corresponding migration files, which we can use to make changes to the database structure.
The Site model #
Let’s start with the Site model, which stores the basic information of your website.
| |
On line 4, there is an ImageField which tells Django to upload the image to 'site/logo/' directory. To make this work, there are two things you need to do.
First, you must install the Pillow package. Django requires it in order to process images.
| |
Second, you need a new setting directive in the settings.py. You have to tell Django where you are going to store these media files and what URL you are going to use when accessing these files.
| |
This setting means that the media files will be stored inside the /mediafiles directory, and we’ll need to use the URL prefix /media/ to access them. For example, the URL http://localhost:3000/media/example.png will retrieve the image /mediafiles/example.png.
The User model #
Next, for the User model. Django comes with a built-in User model, which offers basic permission and authorization functionalities. However, for this project, let’s try something more complicated. You can add a profile avatar, a bio, and some other information. To do that, you need to create a new User models which extends to the AbstractUser class.
| |
Django’s AbstractUser class looks like this:
| |
As you can see, it offers some basic fields like first_name, last_name, etc.
Next, you need to make sure that Django is using this new User model as its default User model, or the authentication won’t work. Go to settings.py and add the following directive:
| |
The Category, Tag and Post model #
| |
| |
| |
Notice how the like system is implemented on line 13. It is not a simple IntegerField, but instead, it works just like tags. And you can use get_number_of_likes() method to get the number of likes for each post.
The Comment model #
This time, let’s go one step further, and create a comment section for this application.
| |
Setup Django admin panel #
Finally, it is time to set up the Django admin. Open the admin.py file:
| |
For the CommentAdmin, __str__ refers to the __str__() method in the Comment model. Which will return the first 50 characters concatenated with “...”.
Now, start the development server and see if everything works:
| |
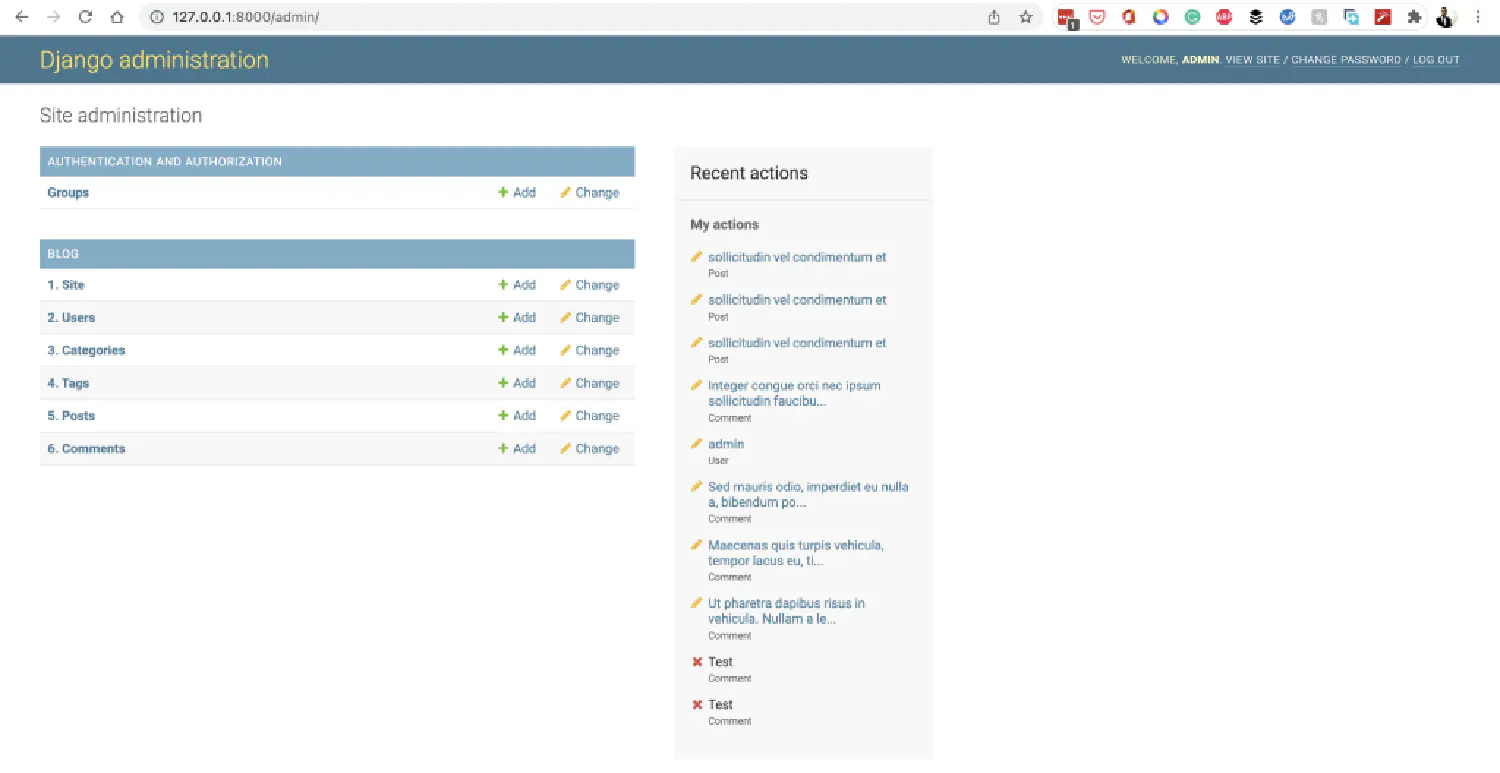
Before moving to the next step, remember to add some pseudo information for your blog.
A brief review on Vue.js #
Now that you are done with the backend, it is time to focus on the frontend. In this second part of this article, let’s use Vue.js to create the frontend application. Again, we’ll start with a brief review. If you’ve never used the framework before, please go through the previously linked tutorial first.
Vue.js is a front-end JavaScript framework that provides you with a simple component-based system, which allows you to create interactive user interfaces. Component-based means that the root component (App.vue) can import other components (files with extension .vue), and those components can import more components, which allows you to create very complex systems.
A typical .vue file contains three sections, the <template> section includes HTML codes, the <script> section includes JavaScript Codes, and the <style> section includes the CSS codes.
In the <script> section, you can declare new bindings inside the data() model. These bindings can then be displayed inside the <template> section using the double curly braces syntax ({{ binding }}). The bindings declared inside the data() method will automatically be wrapped inside Vue’s reactivity system. Meaning that when the value of the binding changes, the corresponding component will be automatically rerendered, without having to refresh the page.
The <script> section can also contain methods other than data(), such as computed, props, methods and so on. And the <template> also allows us to bind data using directives such as v-bind, v-on and v-model.
Creating a new Vue.js project #
In the Vue.js For Beginners tutorial, we installed and created a Vue app using the Vue command-line tool. This time, we are going to do things differently. We are going to use a frontend build tool called Vite (pronounced as “veet”, the French word for fast), which is created by the same author who created Vue.js.
Go into the frontend folder, and run the following command:
| |
You will be prompted with multiple options, for this project, you only need to add Vue Router:
| |
If you are more comfortable with a strong type language, you can elect to install TypeScript . If you need autocorrect and autoformat for your code, you can install ESlint and Prettier as well. This installation process will generate a package.json file in your project directory, which stores the required packages and their versions. You need to install these packages inside your project.
| |
| |
| |
One more thing before we start creating the frontend app. We are using a CSS framework called TailwindCSS in this project. To install it, run the following command:
| |
| |
This will generate two files, tailwind.config.js and postcss.config.js. This is not a tutorial on CSS or Tailwind, so I assume you already know how to use them. If not, please read Tailwind’s official documentation .
Go to tailwind.config.js, and add the path to all of your template files:
| |
Create a ./src/index.css file and add the @tailwind directives for each of Tailwind’s layers.
| |
Import the newly-created ./src/index.css file into your ./src/main.js file.
| |
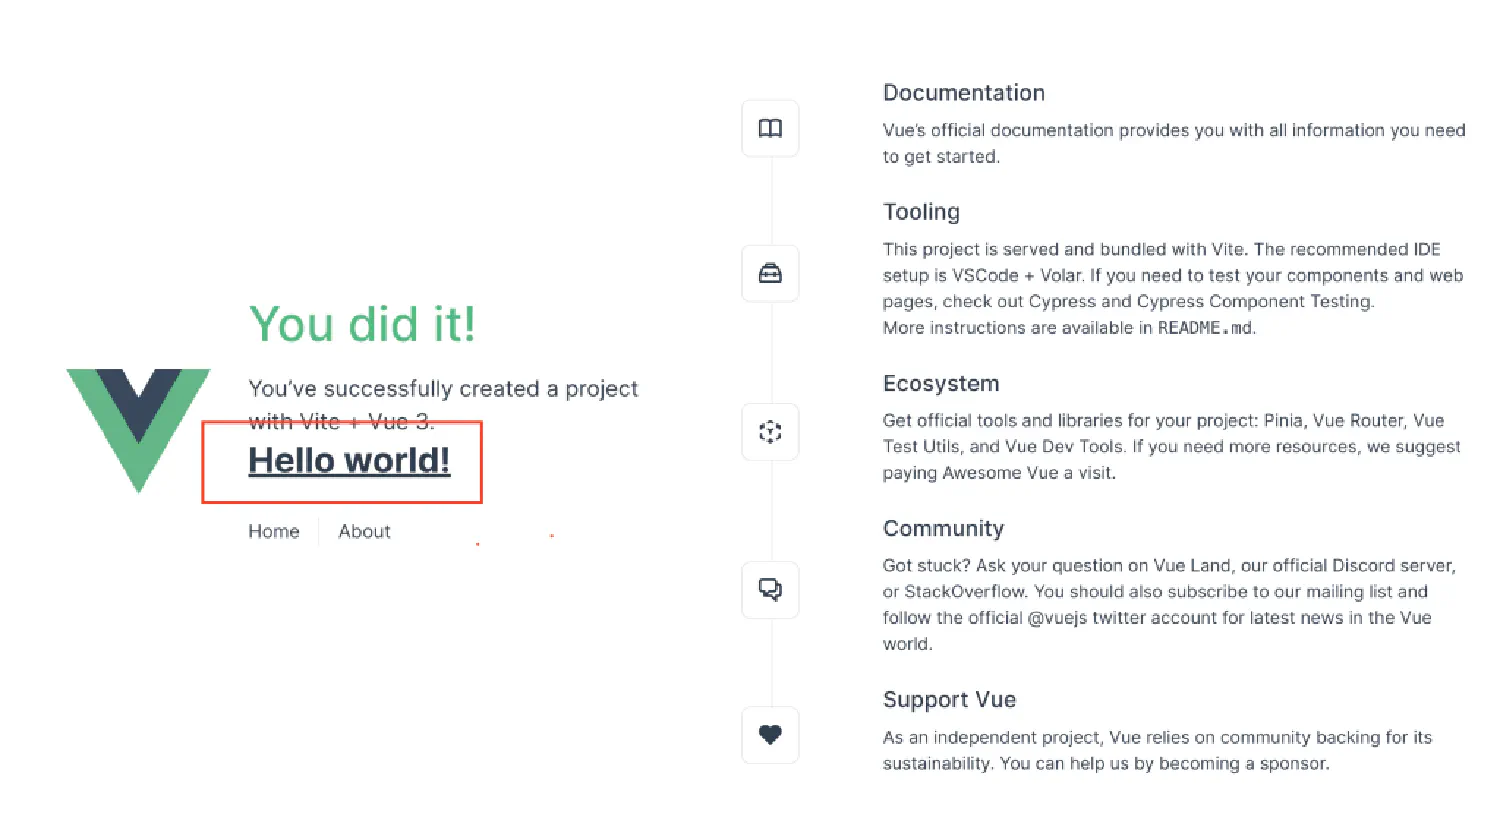
Now you should be able to use Tailwind inside the .vue files. Let’s test it out.
| |
We added an <h1> heading after <HelloWorld>, and the heading is using the Tailwind classes.
Vue router #
Notice that this time, your project directory is a little bit different.
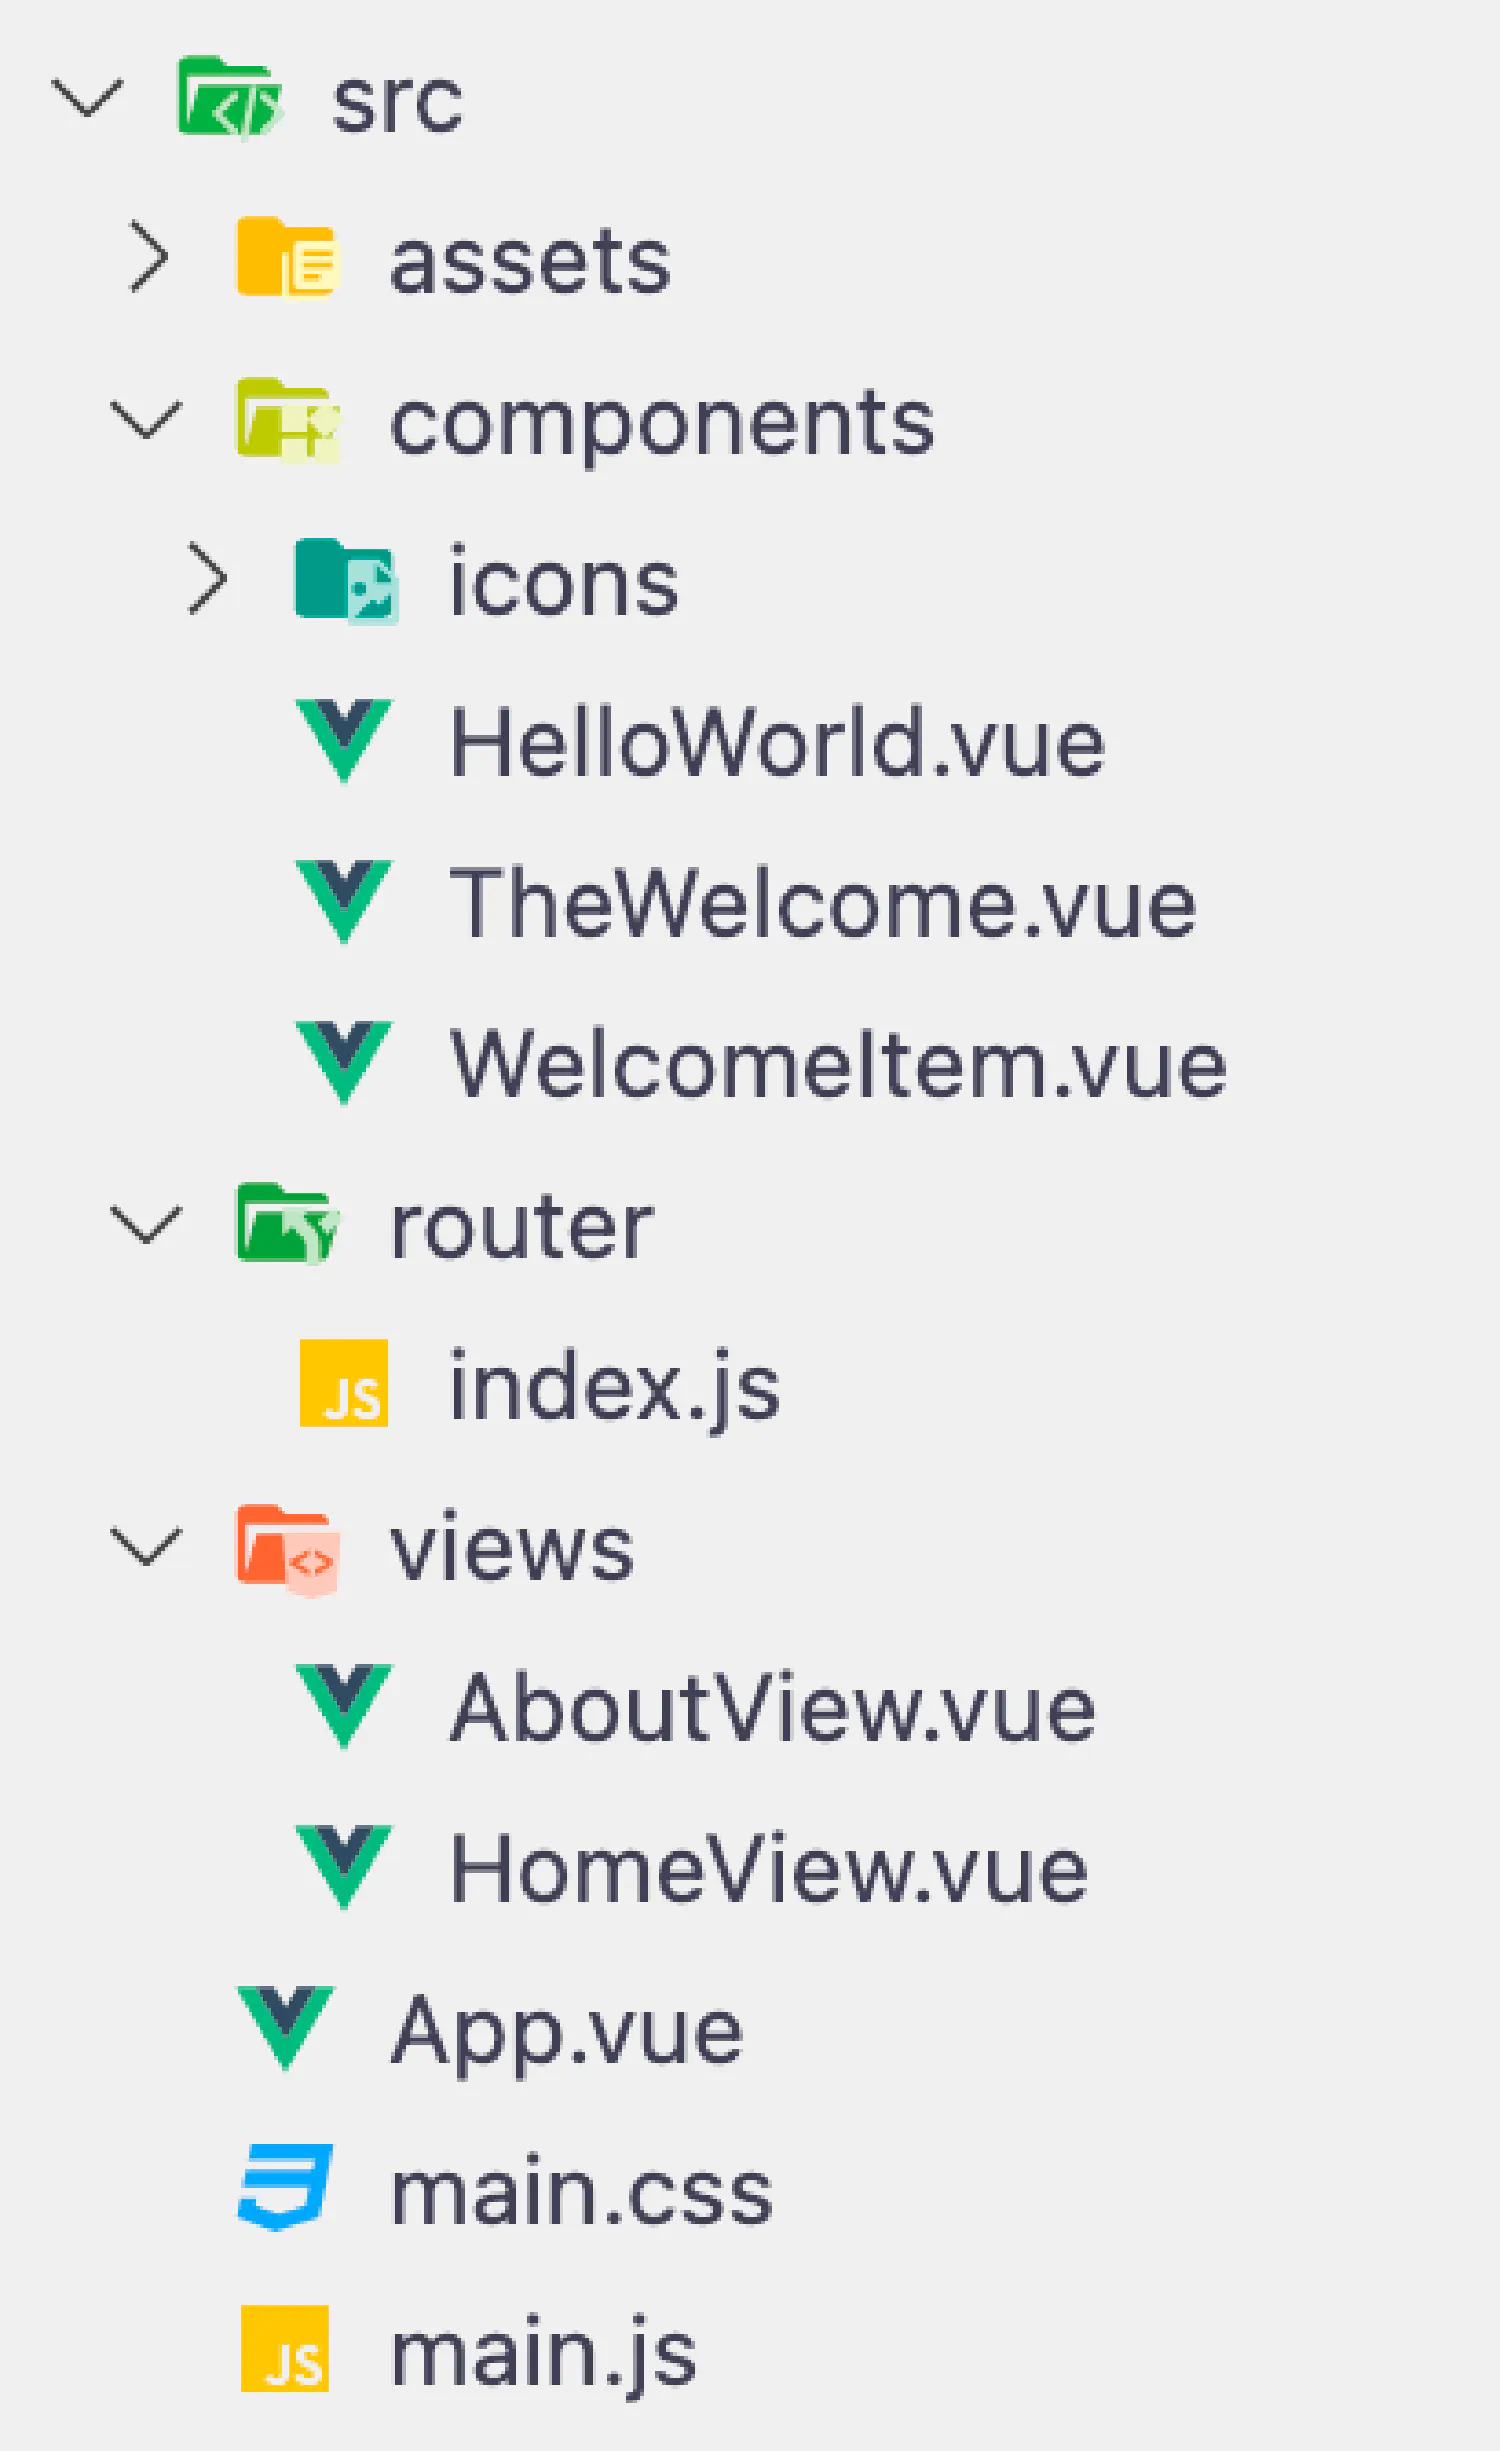
Inside the src directory, there is a router and a views folder. The router directory contains an index.js file. This is where you can define different routes. Each route will point to a view component that is inside the views directory, and the view can then extend to other components inside the components directory. Vue already provided us with an example of index.js:
| |
To invoke a defined router, look inside the App.vue file. Instead of the <a> tag, we use <RouterLink> which is imported from the vue-router package.
| |
When the page is being rendered, the <RouterView /> tag will be replaced with the corresponding view. If you don’t want to import these components, simply use <router-link to=""> and <router-view> tags instead. Personally, I prefer this way because I always forget to import them.
Creating routes with Vue router #
For our blog application, we need to create at least 6 pages. We need a home page that displays a list of recent pages, a categories/tags page that shows all categories/tags, a category/tag page that displays a list of posts that belongs to the category/tag, and finally, a post page that displays the post content as well as the comments.
So, these are the routers I created. The @ maps to the src directory.
| |
Please note that in this article, we are only creating the frontend interface, we are not dealing with data transfer just yet, so don’t worry about how to find the correct post/category/tag right now.
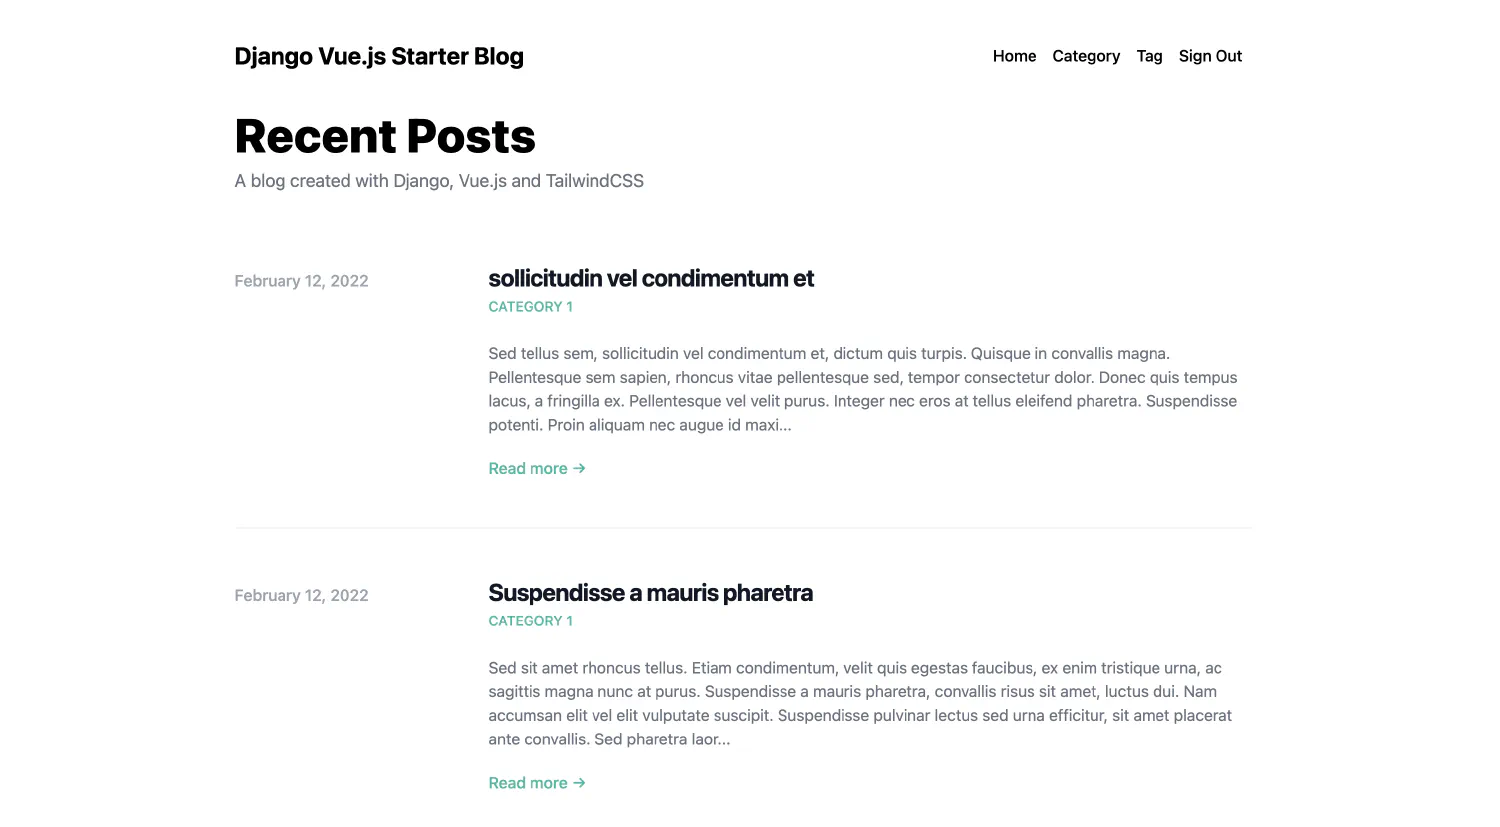
Creating views, pages, and components #
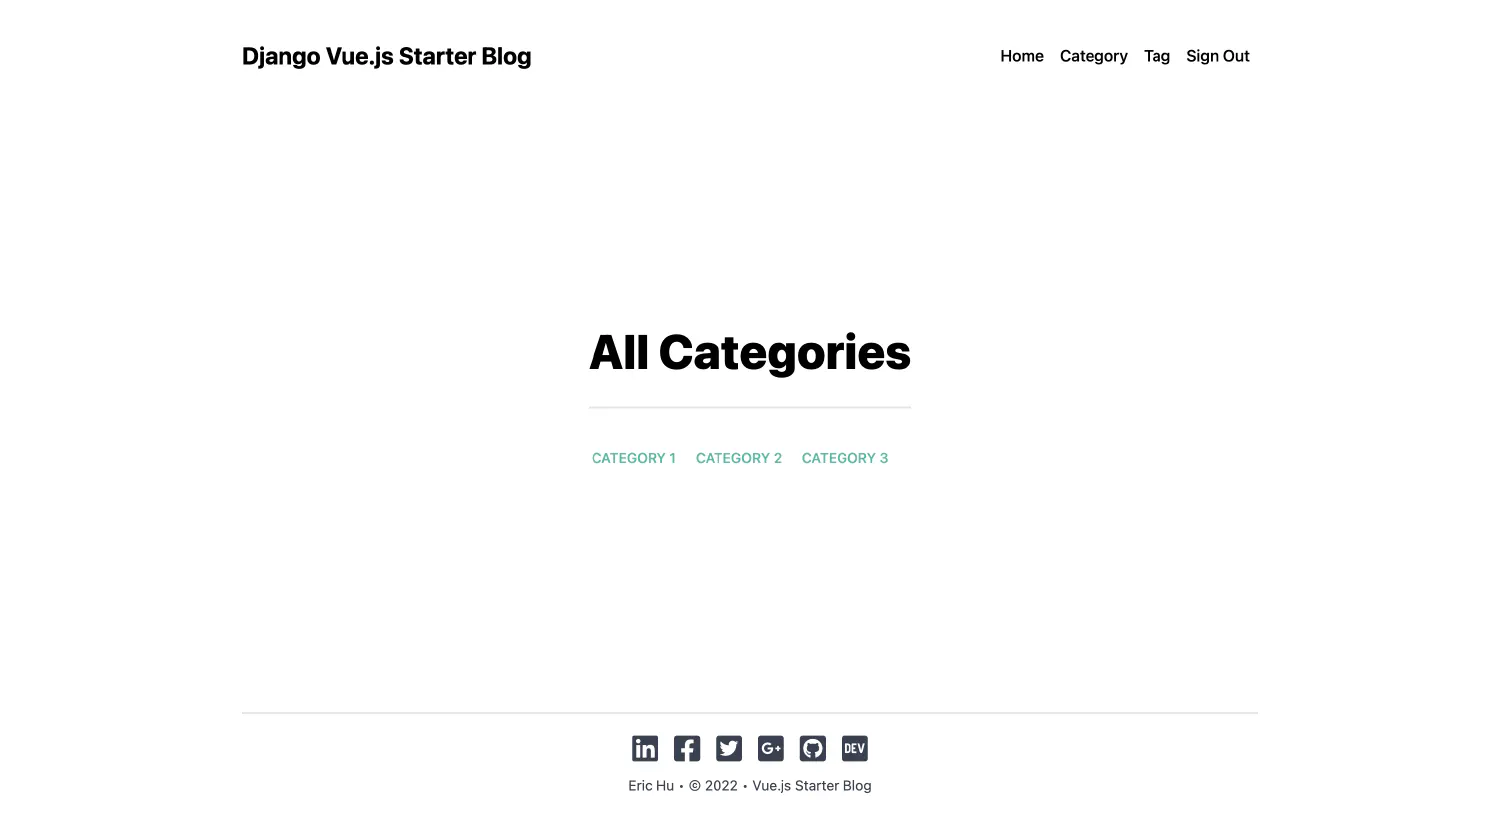
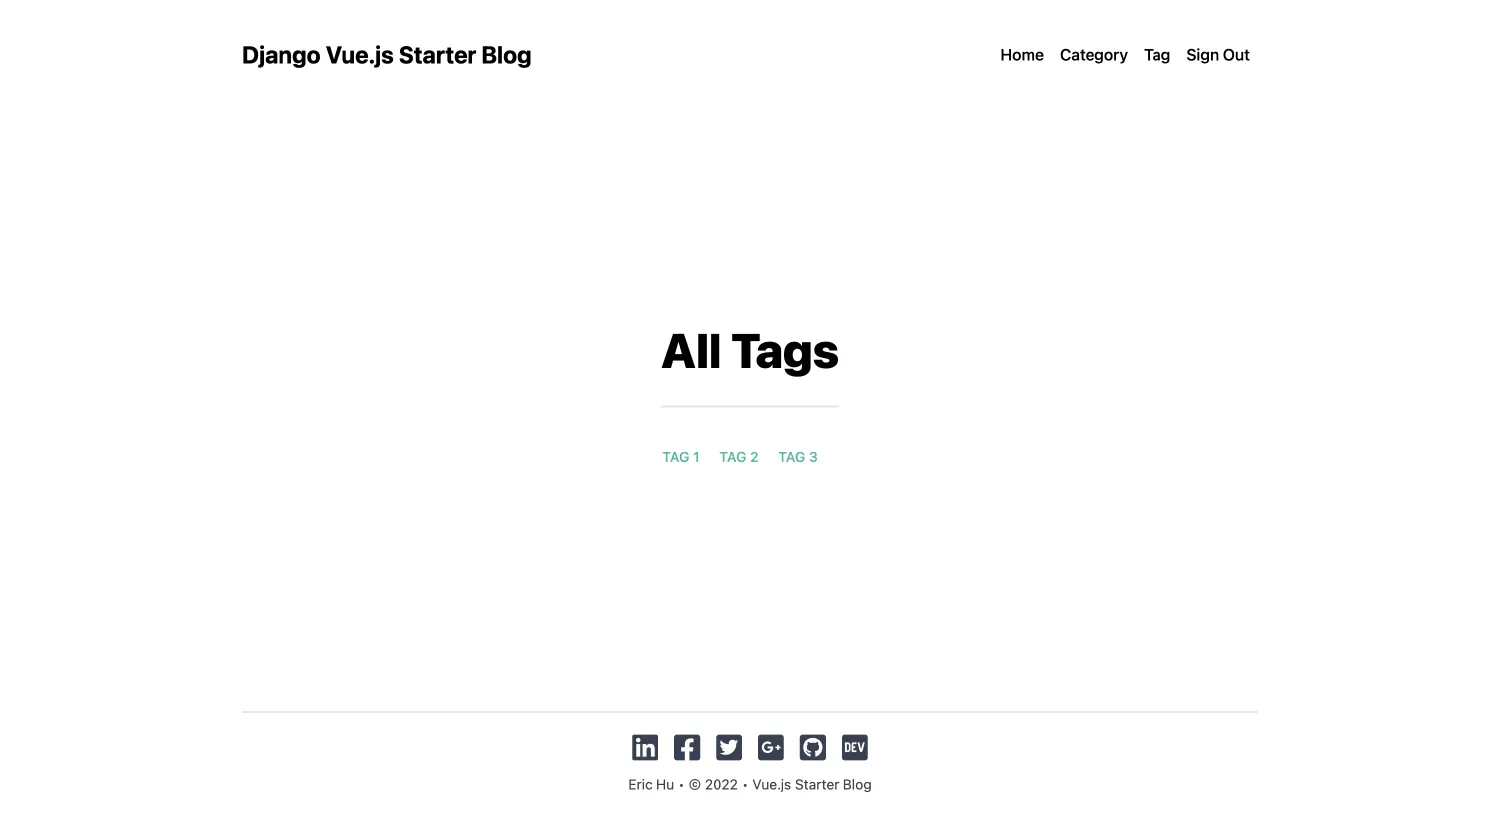
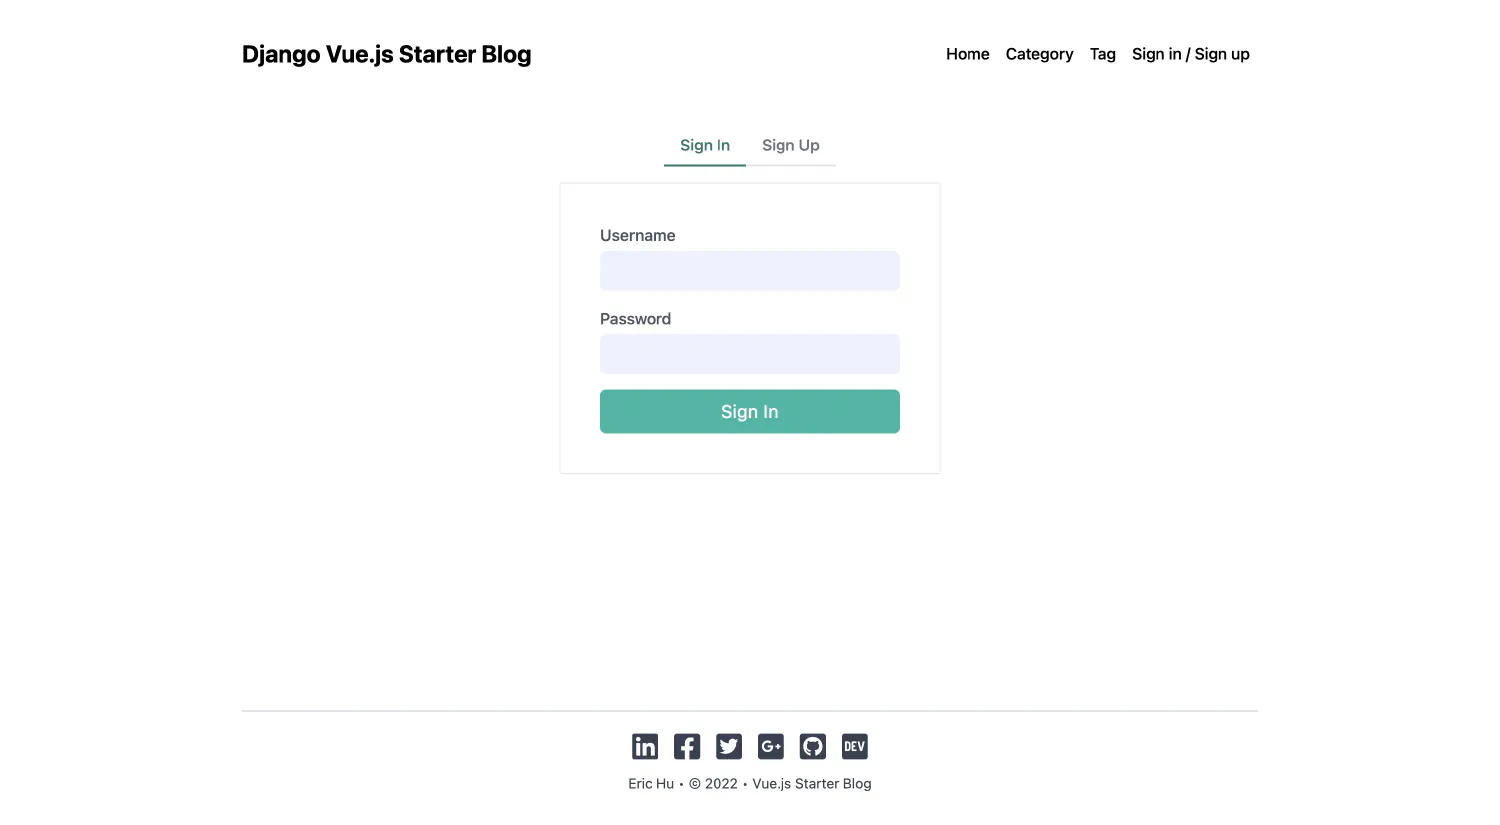
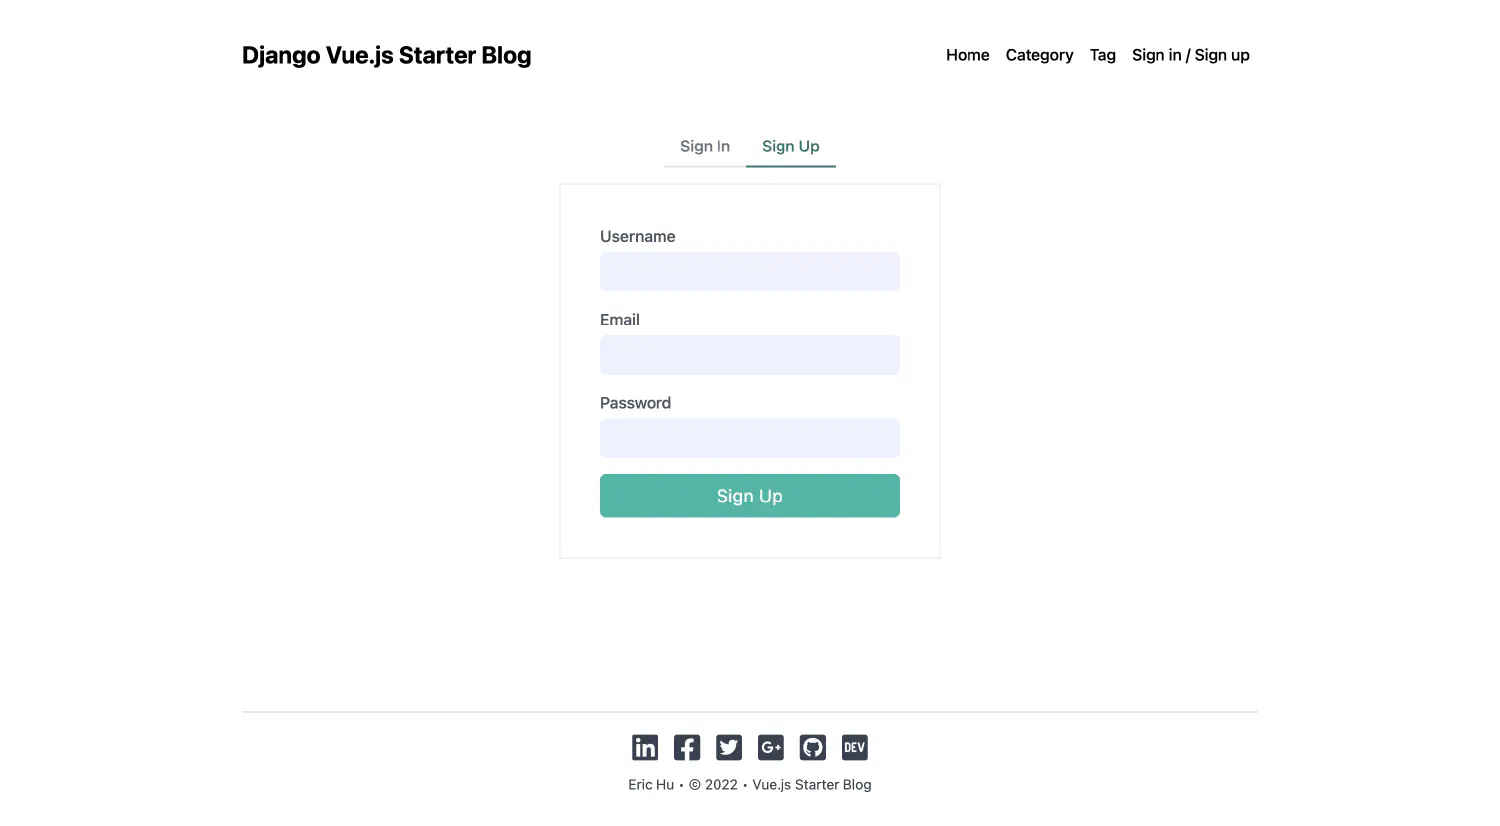
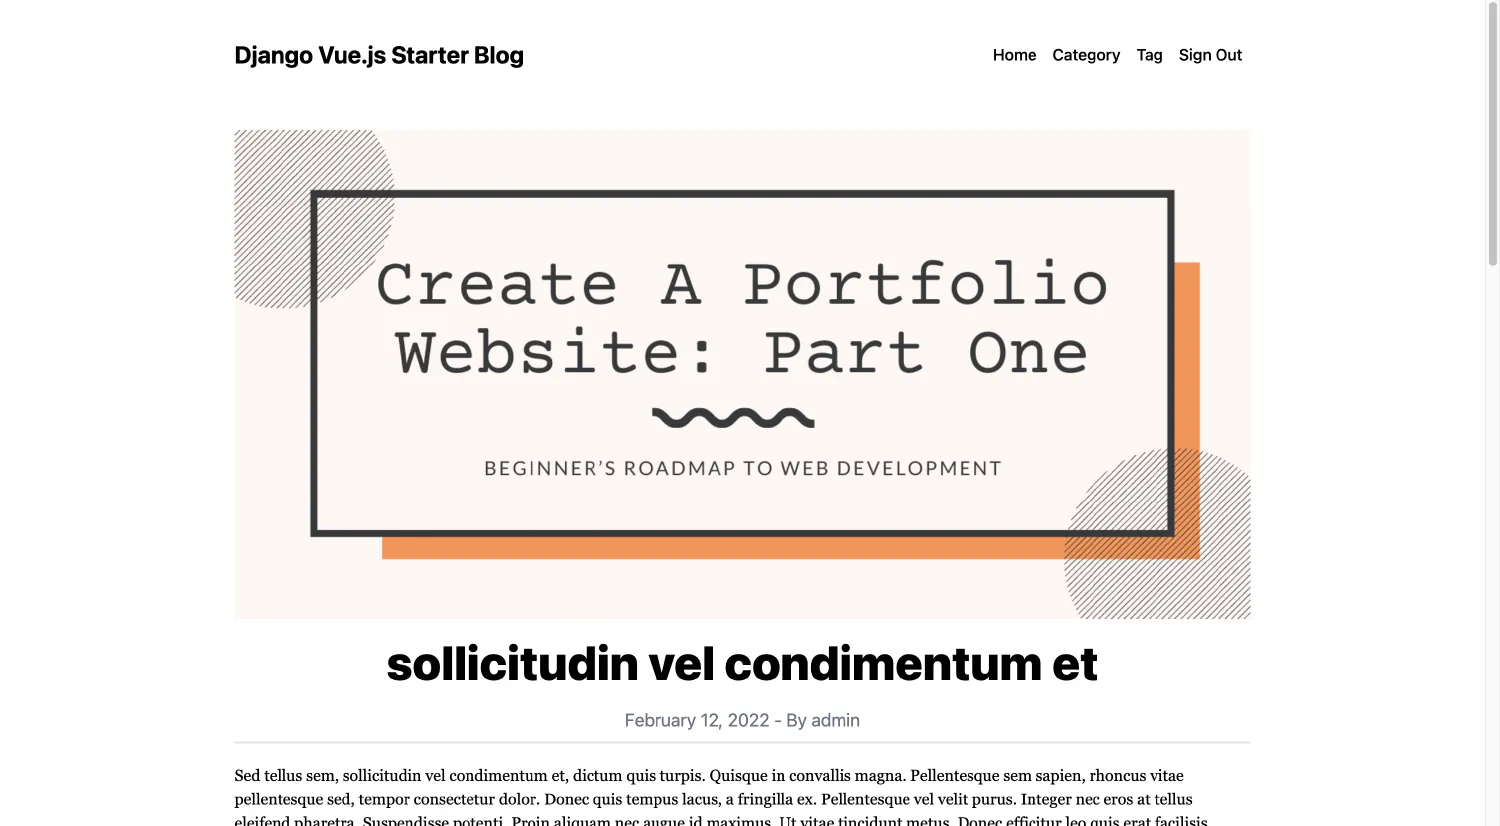
This is the frontend UI that I created for this project, you can either use my code directly or if you don’t like it, you can follow this tutorial on Vue.js and create your own.
Home Page
All Categories
All Tags
Sign In Page
Sign Up Page
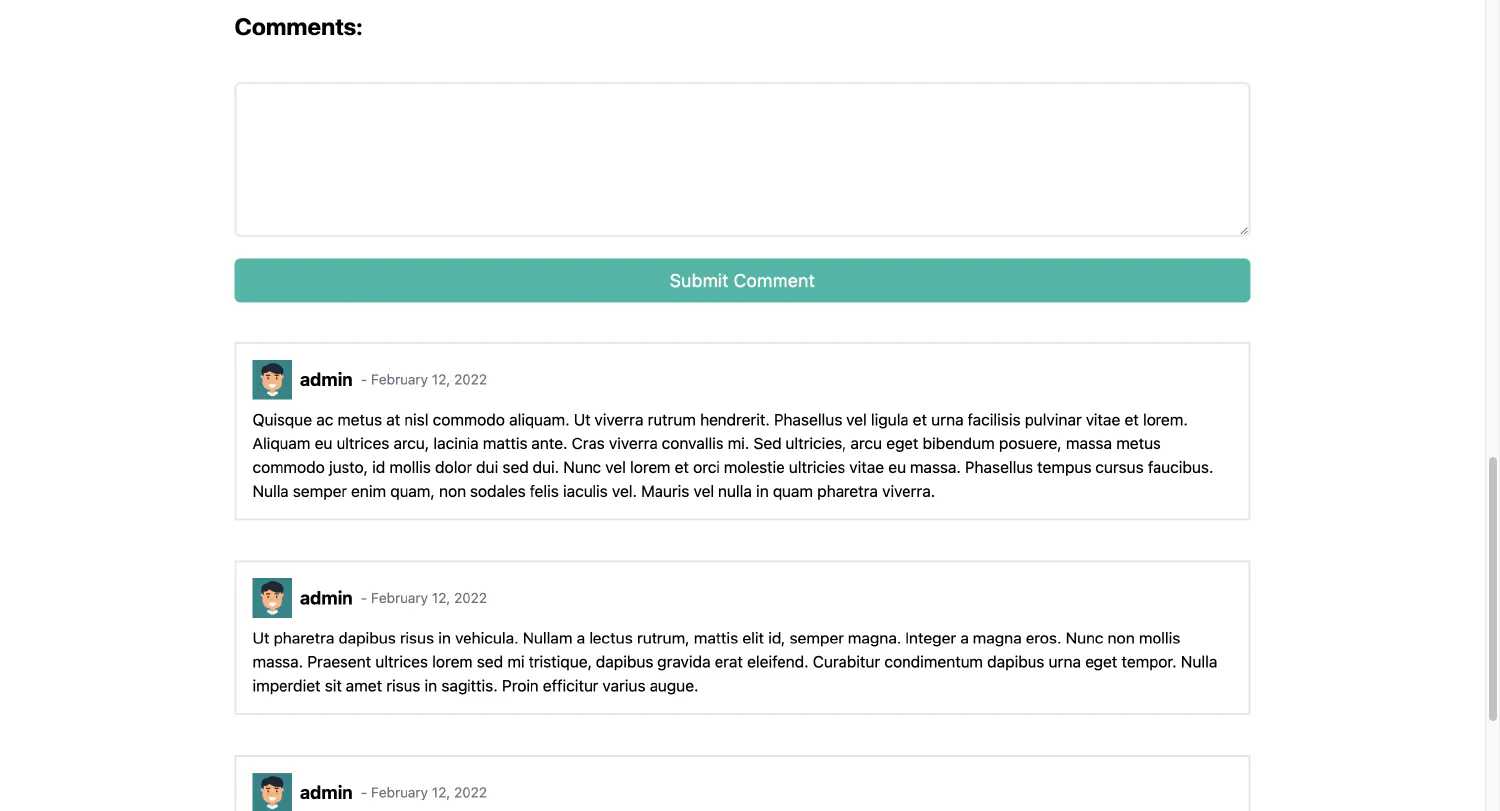
Post Page
Comment Section
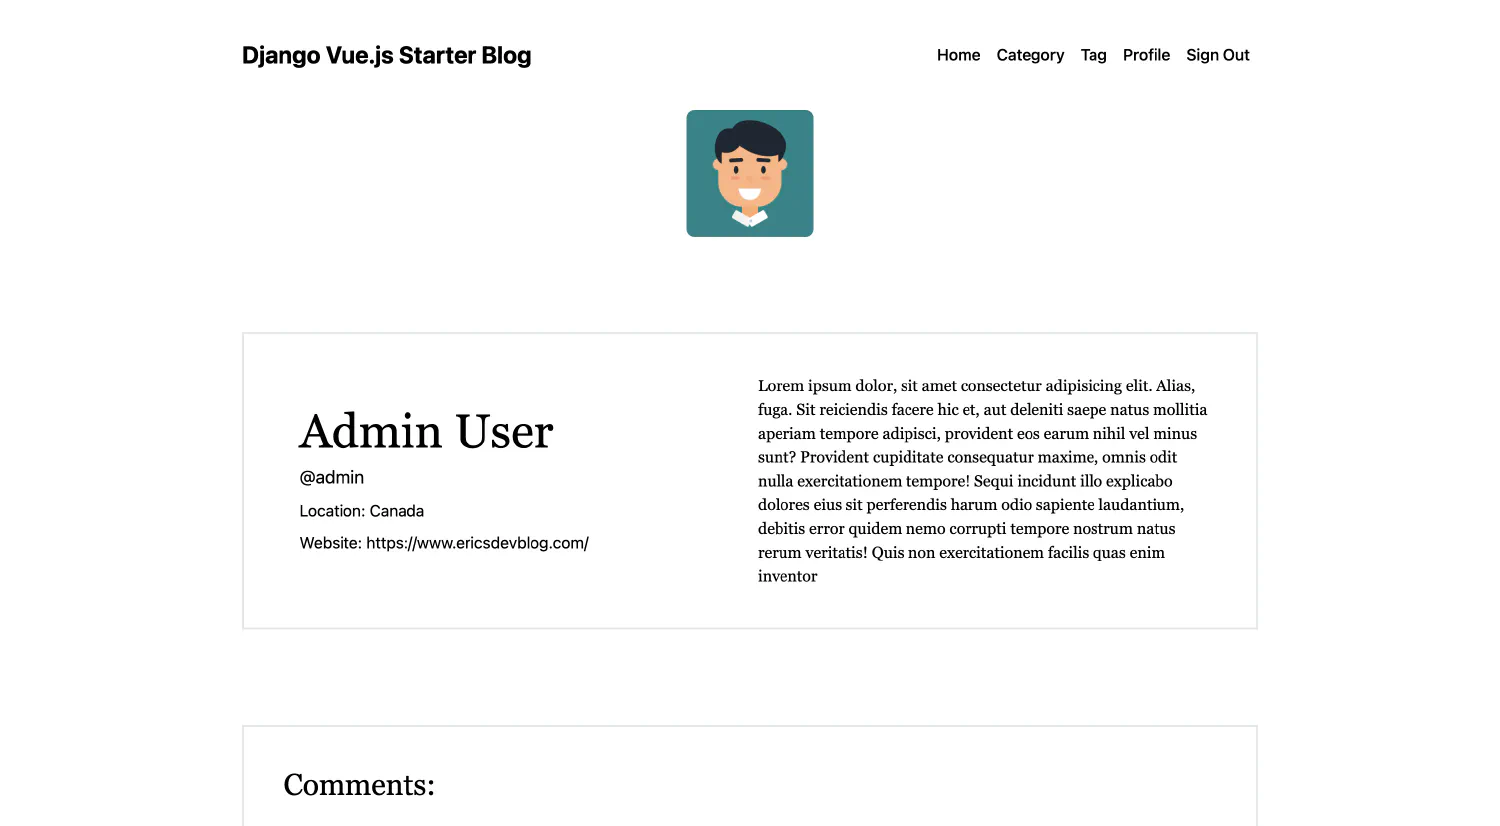
User Profile Page
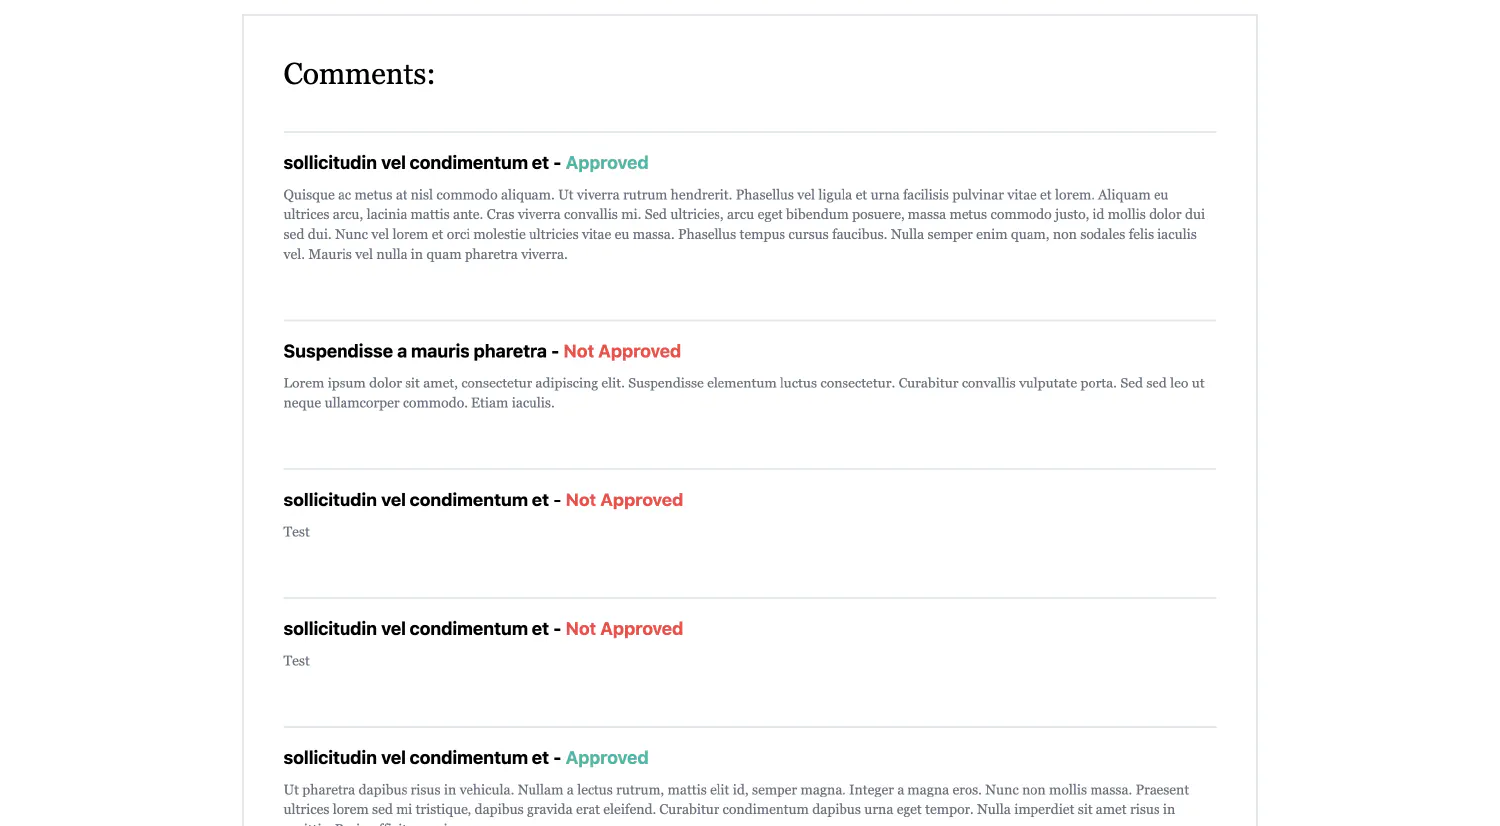
User Profile Page Comment Section
If you think my articles are helpful, please consider making a donation to me. Your support is greatly appreciated.