Now that you know how to retrieve data using queries and how to send data using mutations, you can try something a little bit more challenging. In this article, let’s create a comment and a like reaction system for our blog project.
Before proceeding to the rest of this article, make sure you are familiar with Django and Vue.js. If not, please go through the following tutorials first:
Let’s start with the comment section. There are a few things you need to remember before diving into the code. First, for security reasons, only users that are logged in can leave comments. Second, each user can leave multiple comments, and each comment only belongs to one user. Third, each article can have multiple comments, and each comment only belongs to one article. Last but not least, the comment has to be approved by the admin before showing up on the article page.
With that in mind, let’s start by creating the model for the comments. This part should be fairly easy to understand if you already know how to work with Django.
1
2
3
4
5
6
7
8
9
# Comment modelclassComment(models.Model):
content = models.TextField(max_length=1000)
created_at = models.DateField(auto_now_add=True)
is_approved = models.BooleanField(default=False)
# Each comment belongs to one user and one post user = models.ForeignKey(User, on_delete=models.SET_NULL, null=True)
post = models.ForeignKey(Post, on_delete=models.SET_NULL, null=True)
Next, go ahead and apply the changes you’ve made to the models. Go to the terminal and run the following commands.
1
python manage.py makemigrations
1
python manage.py migrate
You also need to set up GraphQL at the backend. You can add a type for the comment model.
1
2
3
classCommentType(DjangoObjectType):
classMeta:
model = models.Comment
And then the mutation. Note that there are three things Django needs to know to add a comment, the content of the comment, the user that wants to create this comment, and the article that the user is commenting on.
As for the frontend, let’s go to Post.vue, this is where the comments are shown. Please note that I removed some unrelated code in the following examples, so that the code snippets won’t be too long, but if you wish to have the complete code, you can download the source code here .
First, in the created() hook, you retrieve the requested article as well as the comments using the POST_BY_SLUG query, which is shown above. Next, in the computed property, you need to filter out the comments that are not approved by the admin. And finally, you pass the comment, the post ID and the user ID to the CommentSectionComponent.
CommentSectionComponent.vue
1
2
3
4
5
6
7
8
9
10
11
12
13
<template>
<divclass="home">
. . .
<!-- Comment Section --><!-- Pass the approved comments, the user id and the post id to the comment section component --> <comment-section-componentv-if="this.approvedComments"
:comments="this.approvedComments":postID="this.postBySlug.id":userID="this.userID" ></comment-section-component>
</div>
</template>
Next, let’s take a closer look at the comment section component. This component contains two sections, a form that allows the user to leave comments, which is only shown when the user is logged in, and a list of existing comments.
I assume you already know how to use Pinia to verify if the user is logged in, and how to use props to pass information between different components, I’ll skip this part, and let’s focus on the submitComment() method.
When this method is invoked, it will test if the comment is empty, and if not, it will use the SUBMIT_COMMENT mutation to create a new comment. The SUBMIT_COMMENT mutation is defined as follows:
The following code is the HTML section of CommentSection.vue file. Notice that at the end of this code, we used another component CommentSingle.vue to display one single comment.
<template>
<divclass=". . .">
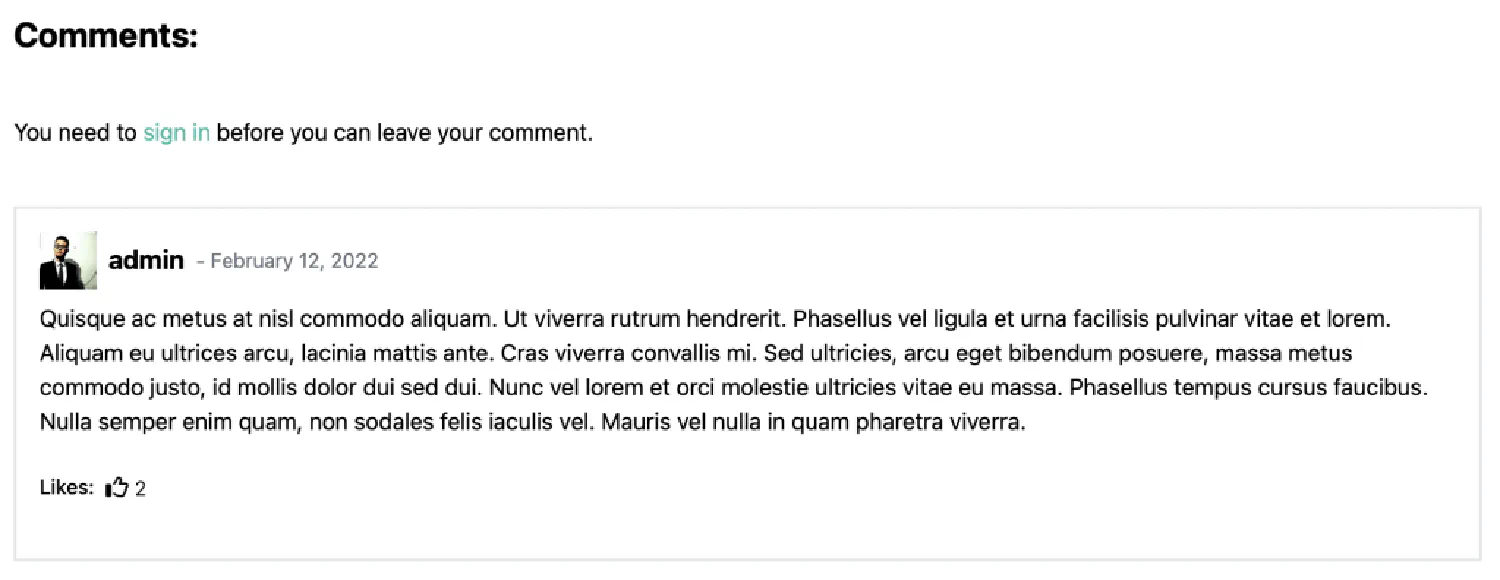
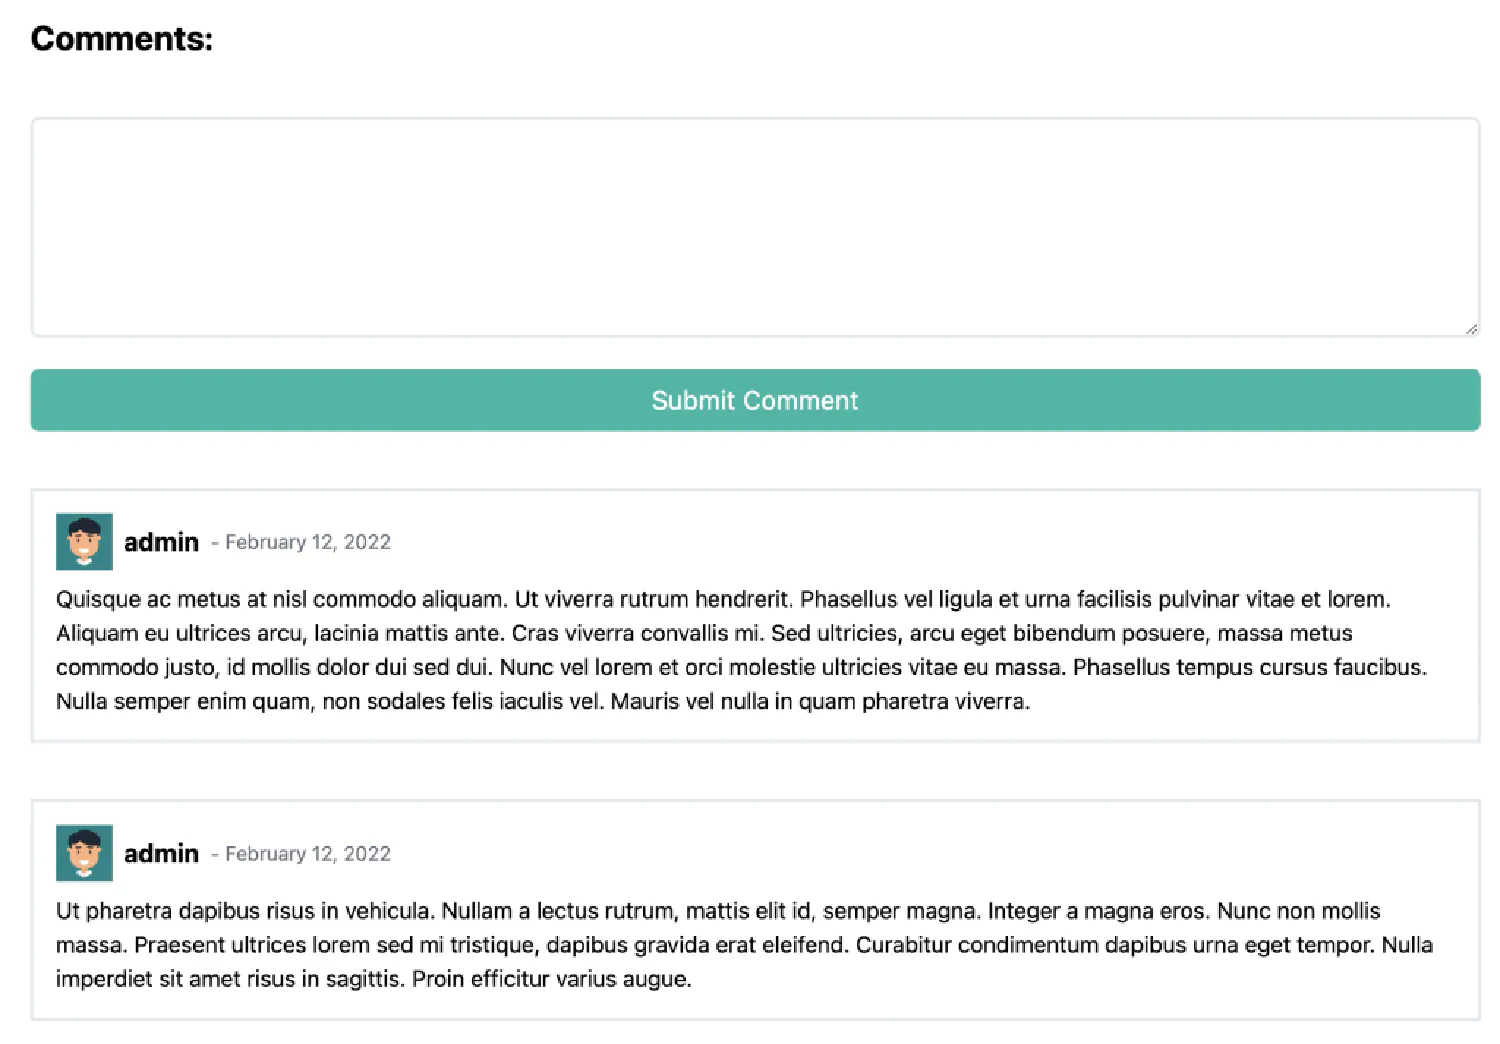
<pclass="font-bold text-2xl">Comments:</p>
<!-- If the user is not authenticated --> <divv-if="!this.user.isAuthenticated">
Youneedto <router-linkto="/account">sign in</router-link>
before you can leave your comment.
</div>
<!-- If the user is authenticated --> <divv-else>
<divv-if="this.commentSubmitSuccess" class="">
Your comment will show up here after is has been approved.
</div>
<form action="POST" @submit.prevent="submitComment">
<textarea type="text" class=". . ." rows="5" v-model="commentContent" />
<button class=". . .">SubmitComment</button>
</form>
</div>
<!-- Listallcomments -->
<comment-singlev-for="commentincomments"
:key="comment.id":comment="comment":userID="this.userID" >
</comment-single>
</div>
</template>
Now, let’s take a closer look at the CommentSingle.vue file.
As for the like system, there are also a few things you need to keep in mind. First, the user has to be logged in to add a like. Unverified users can only see the number of likes. Second, each user can only send one like to one article, and clicking the like button again would remove the like reaction. Lastly, each article can receive likes from multiple users.
Since each article can have many likes from many users, and each user can give many likes to many articles, this should be a many-to-many relationship between Post and User.
Also notice that this time a get_number_of_likes() function is created to return the total number of likes. Remember to apply these changes to the database using the commands we’ve talked about before.
1
2
3
4
5
6
7
8
9
10
11
12
# Post modelclassPost(models.Model):
...# Each post can receive likes from multiple users, and each user can like multiple posts likes = models.ManyToManyField(User, related_name='post_like')
...defget_number_of_likes(self):
return self.likes.count()
<script>
import { POST_BY_SLUG } from "@/queries";
import { UPDATE_POST_LIKE } from "@/mutations";
. . .
exportdefault {
. . .
async created() {
. . .
// Find if the current user has liked the post
let likedUsers =this.postBySlug.likes;
for (let likedUser in likedUsers) {
if (likedUsers[likedUser].id ===this.userID) {
this.liked =true;
}
}
// Get the number of likes
this.numberOfLikes =parseInt(this.postBySlug.numberOfLikes);
},
methods: {
updateLike() {
if (this.liked ===true) {
this.numberOfLikes =this.numberOfLikes -1;
} else {
this.numberOfLikes =this.numberOfLikes +1;
}
this.liked =!this.liked;
this.$apollo.mutate({
mutation: UPDATE_POST_LIKE,
variables: {
postID:this.postBySlug.id,
userID:this.userID,
},
});
},
},
};
</script>
I deleted some code to make this example shorter, but there are still four things we need to talk about in this example. First, the POST_BY_SLUG query that you use to retrieve the article, you need to make sure that it returns the number of likes and the users that already liked the article.
Next, in the created() hook, after you’ve retrieved the post, you must determine if the current user is in the list of users that already liked the post.
Then, in the updateLike() method, when this method is invoked, it will change the number of likes based on whether or not the user has liked the post.
Finally, the method updates the post’s likes in the backend using the UPDATE_POST_LIKE mutation.
mutations.js
 1
 2
 3
 4
 5
 6
 7
 8
 9
10
11
12
13
exportconst UPDATE_POST_LIKE = gql`
mutation ($postID: ID!, $userID: ID!) {
updatePostLike(postId: $postID, userId: $userID) {
post {
id
title
likes {
id
}
}
}
}
`;
After learning how to create a comment and a like system, let’s consider a more challenging task. What if we want to create a nested commenting system, where users can comment on another comment? How can we change our code to make this possible? And how can we create a like system for the comment as well?
The complete implementation of these functionalities are included in the source code of this tutorial.
If you think my articles are helpful, please consider making a donation to me. Your
support is greatly appreciated.