Django for Beginners #1 - Getting Started
- Django for Beginners #1 ← You are here
- Django for Beginners #2
- Django for Beginners #3
- Django for Beginners #4
- Django for Beginners #5
Django is a high-level, free and open-source web framework written in Python. It is widely used for building complex web applications and is known for its ability to handle high traffic, its security features and for its reusable components. It follows the model-view-controller (MVC) architectural pattern and comes with a built-in admin interface, authentication support and an ORM (Object-Relational Mapper) that allows you to define your database schema using Python classes.
In addition, Django has a large and active community that provides a wealth of tutorials, packages, and other resources for developers to use. Many well-known and high-traffic websites, such as Instagram, Pinterest and The Washington Times, are built using Django. It is considered one of the most popular and powerful web frameworks for Python, it is widely used by both start-ups and large companies, making it a great choice for building robust and scalable web applications. Its flexibility and scalability make it a top choice for developers and organizations looking to build complex web applications with a minimal footprint.
➡️ Get the source code for FREE!
Installing necessary tools #
To get started, there are a few tools that you need to install on your machine. For a web application, you need at least a programming language (Python), a database (SQLite), and a server (Django’s built-in dev server) for the application to run successfully. Remember that this stack is only for the dev environment, so you should never use it in the production environment.
And, of course, you also need an IDE, such as PyCharm, or at least a code editor. I’ll use VS Code for this tutorial since it is a free software.
Creating a new Django project #
After everything has been properly installed, it is time to start coding! First of all, you need to create a new working directory to keep everything organized:
| |
| |
Next, create a new Python virtual environment inside the working directory. This virtual environment will be isolated from your system’s Python environment, as well as other Python projects you might have on your machine.
| |
Please note here if you are using Linux or macOS, you might have to run python3 instead of python, but I’ll keep using python for simplicity.
This command will create an env directory containing the virtual environment you just created. You can activate the virtual environment using the following command:
| |
If you are using Windows, use this command instead:
| |
If the virtual environment has been successfully activated, your terminal prompt will look like this:
| |
(env) means you are currently working inside a virtual environment named env.
Now it is time for us to initialize a new Django project. You need to install the Django package by running the following command:
| |
Next, you can use the django-admin command to create a new Django project:
| |
A new djangoBlog directory will be created:
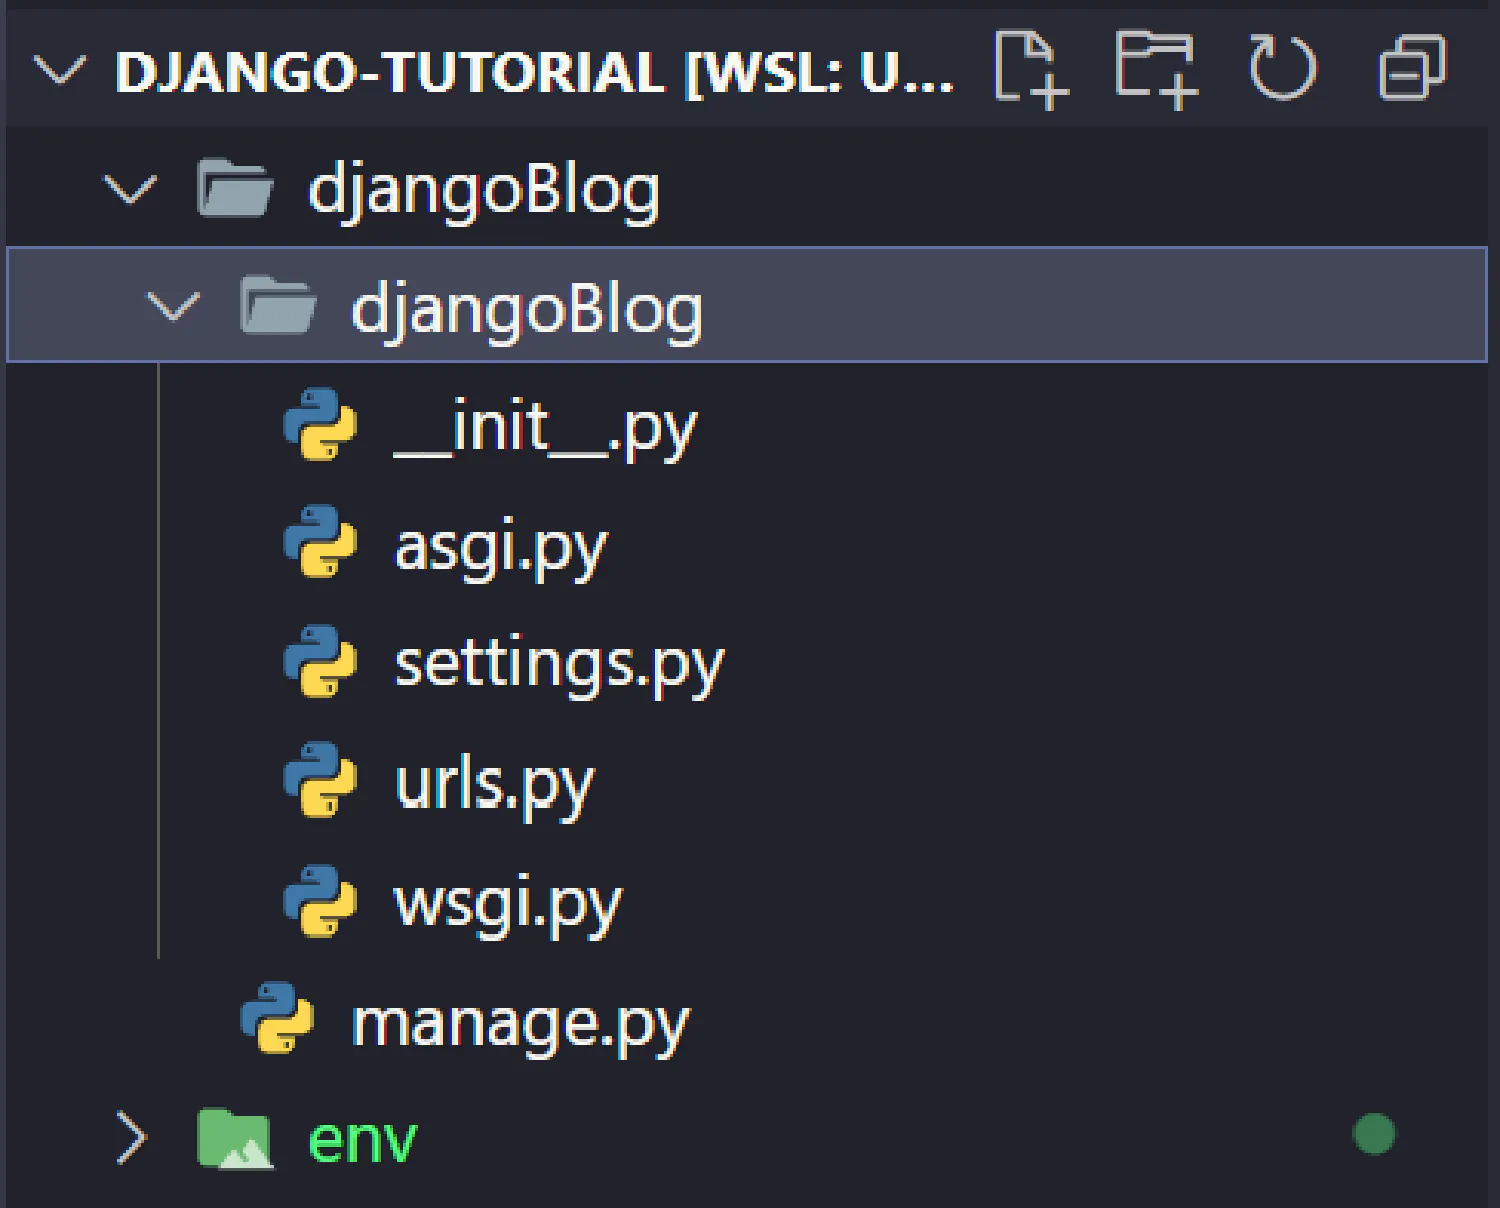
I prefer to restructure the project a bit so that everything starts with the project root directory. You don’t have to do this if you don’t want to.
Create a blog app #
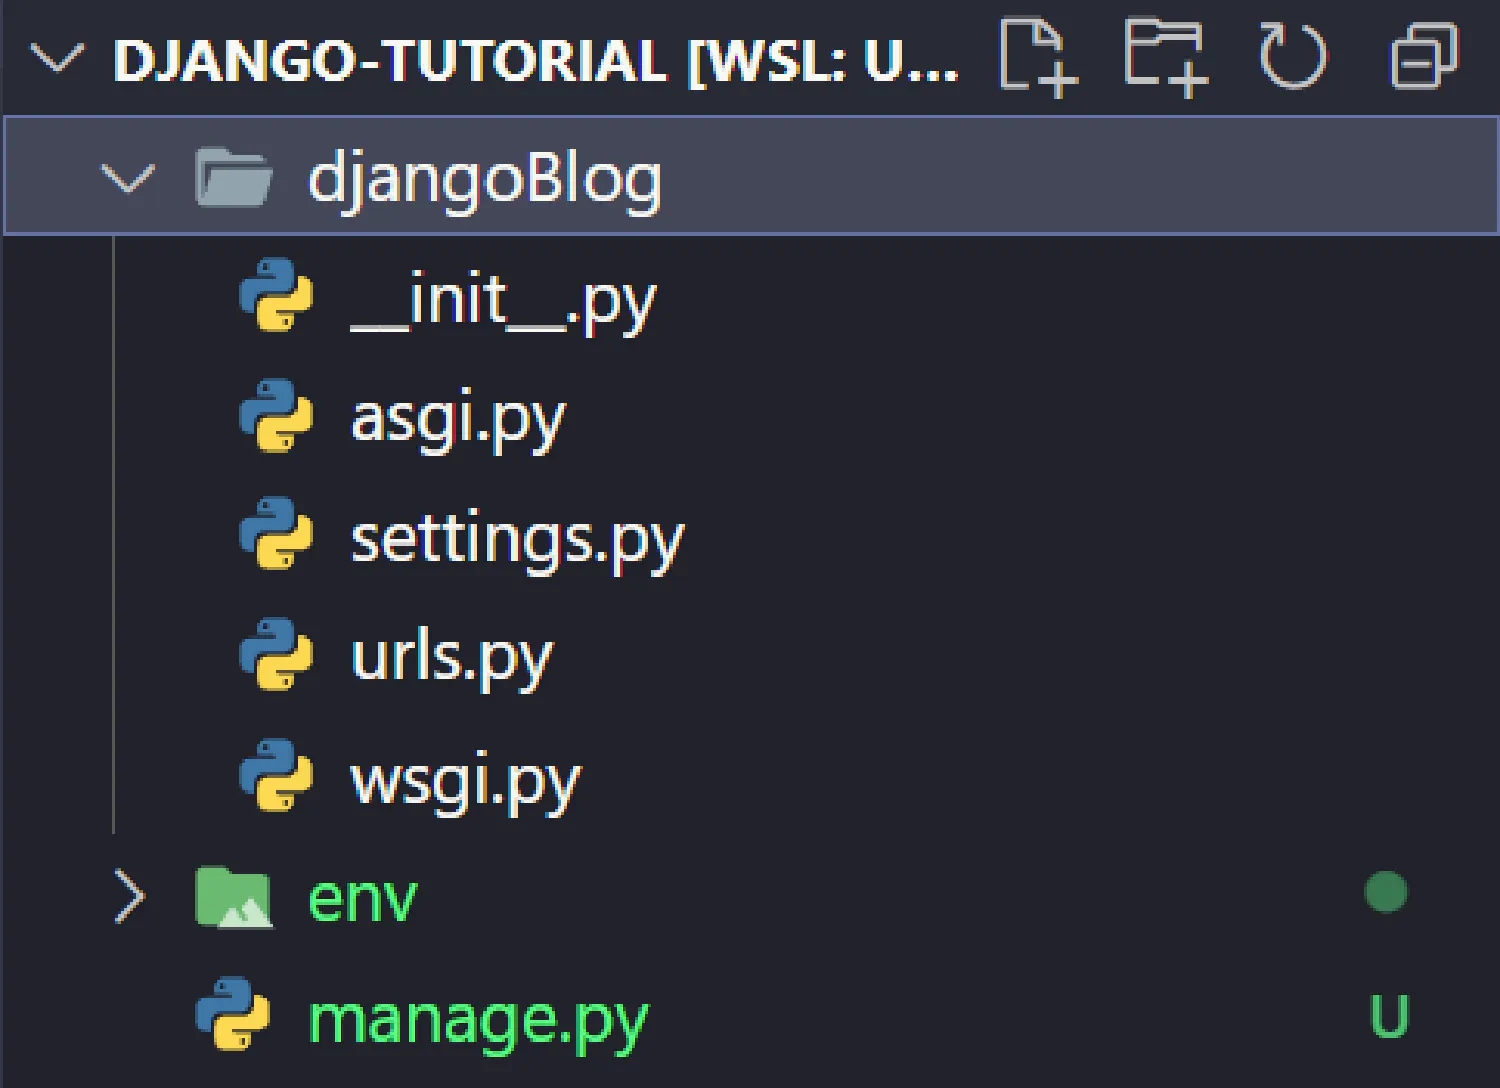
Right now, the project is still empty, and as you can see, the project structure is very simple compared to Laravel. We’ll discuss each file in detail later.
Django allows you to create multiple apps in a single project. For example, there could be a blog app, a gallery app, and a forum app inside one single project. These apps could share the same static files (CSS and JavaScript files), images, and videos, or they could be completely independent of each other. It entirely depends on your own need.
In this tutorial, we’ll create just one blog app. Go back to the terminal and execute this command:
| |
You should see a new blog folder created under the project root directory. Here is a small command-line trick, you can list the content of a directory using the following command:
| |
If you want to include hidden files as well:
| |
If you want to see the file structure:
| |
You might have to install tree for this to work, depending on your operating system.
From now on, I’ll use this command to display the file structure. Right now, your project should have the following structure:
| |
Next, you need to register this new blog app with Django. Go to settings.py and find INSTALLED_APPS:
| |
Start the server #
Now, you can start the development server to test if everything works. Open the terminal, and run the following command:
| |
You’ll see the following output on the command line:
| |
Open the browser and go to http://127.0.0.1:8000/

Application Structure #
Before we can start coding, let’s talk about the structure of this new Django application and what each file does.
| |
The root directory #
manage.py: A command-line utility that lets you interact with this Django project in various ways.djangoBlog: The main project directory, which contains the settings file and the entry point of the project.blog: Theblogapp.
The project directory #
djangoBlog/__init__.py: An empty file that tells Python that this directory should be considered a Python package.djangoBlog/settings.py: As the name suggests, it is the setting/configuration file for this Django project.djangoBlog/urls.py: The URL declarations for this Django project, a table of contents of your Django application. We’ll talk more about this later.djangoBlog/asgi.py: An entry-point for ASGI-compatible web servers to serve your project.djangoBlog/wsgi.py: An entry-point for WSGI-compatible web servers to serve your project.
The app directory #
blog/migrations: This directory contains all the migration files for the blog app. Unlike Laravel, these files are automatically generated by Django based on your models.blog/admin.py: Django also comes with an admin panel, and this file contains all the configurations for it.blog/models.py: Models describe the structure and relation of the database. The migration files are generated based on this file.blog/views.py: This is equivalent to the controllers in Laravel. It contains all the core logic of this app.
Configuring our Django project #
Before we dive into our project, there are some changes you need to make to the settings.py file.
Allowed hosts #
The ALLOWED_HOSTS is a list of domains that the Django site is allowed to serve. This is a security measure to prevent HTTP Host header attacks, which are possible even under many seemingly-safe web server configurations.
However, you might notice that even if the ALLOWED_HOSTS is currently empty, we can still access our site using the host 127.0.0.1. That is because when DEBUG is True, and ALLOWED_HOSTS is empty, the host is validated against ['.localhost', '127.0.0.1', '[::1]'].
Database #
DATABASES is a dictionary containing the database settings that our website needs to use. By default, Django uses SQLite, which is a very light weighted database consisting of only one file. It should be enough for our small demo project, but it won’t work for large sites. So, if you want to use other databases, here is an example:
| |
As a side note, Django recommends using PostgreSQL as your database in a production environment. I know many tutorials are teaching you how to use Django with MongoDB, but that’s actually a bad idea. MongoDB is a great database solution, it just doesn’t work so well with Django. You can read this article for details.
Static and media files #
And finally, we need to take care of the static and media files. Static files are CSS and JavaScript files, and media files are images, videos, and other things the user might upload.
Static Files
First, we need to specify where these files are stored. We’ll create a static directory inside the blog app for our Django site. This is where we store static files for the blog app during development.
| |
In the production environment, however, things are a bit different. You need a different folder under the root directory of our project. Let’s call it staticfiles.
| |
Then you need to specify this folder in the settings.py.
| |
Next, you need to tell Django what URL to use when accessing these files in the browser. It does not have to be /static, but do make sure it does not overlap with our URL configurations which we’ll talk about later.
| |
Media Files
Media files are configured in the same way. You can create a mediafiles folder in the project root directory:
| |
And then, specify the location and URL in the settings.py file:
| |
URL dispatchers in Django #
In the web development field, there is something we call the MVC (Model-View-Controller) structure. In this structure, the model is in charge of interacting with our database, each model should correspond to one database table. The view is the frontend part of the application, it is what the users can see. And finally, the controller is the backend logic of the app, such as retrieving data from the database through the models, putting them in the corresponding view, and eventually returning the rendered template back to the user.
Django is a web framework designed based on this structure, just with different terminology. For Django, it is the MTV (Model-Template-View) structure. The template is the frontend, and the view is the backend logic.
In this tutorial, our focus will be understanding each of these layers, but first, we need to start with the entry point of every web application, the URL dispatcher. What it does is when the user types in a URL and hits Enter, the dispatcher reads that URL and directs the user to the correct page.
Basic URL configurations #
The URL configurations are stored in example/urls.py:
| |
The file gives us an example of what an URL dispatcher should look like:
| |
It reads information from a URL and returns a view. If you’ve followed the tutorial series on Laravel, do not confuse this view with the view in Laravel. Remember that Django’s view is, in fact, Laravel’s controller.
In this example, if the domain is followed by admin/, the dispatcher will route the user to the admin page.
Passing parameters with Django URL dispatchers #
It is often necessary to take URL segments and pass them to the view as extra parameters. For example, if you want to display a blog post page, you’ll need to pass the post id or the slug to the view so that you can use this extra information to find the blog post you are searching for. This is how we can pass a parameter:
| |
The angle brackets will capture a part of the URL as a parameter. On the left side, the int is called a path converter, and it captures an integer parameter. Any string, excluding a / character, is matched if a converter isn’t included. On the right side, it is the name of the parameter. We’ll need to use it in the view.
The following path converters are available by default:
str: Matches any non-empty string, excluding the path separator,'/'. This is the default if a converter isn’t included in the expression.int: Matches zero or any positive integer. Returns anint.slug: Matches any slug string consisting of ASCII letters or numbers, plus the hyphen and underscore characters. For example,building-your-1st-django-site.uuid: Matches a formatted UUID. To prevent multiple URLs from mapping to the same page, dashes must be included, and letters must be lowercase. For example,075194d3-6885-417e-a8a8-6c931e272f00. Returns aUUIDinstance.path: Matches any non-empty string, including the path separator,'/'. This allows you to match against a complete URL path rather than a segment of a URL path as withstr.
Using regular expressions to match URL patterns #
Sometimes the pattern you need to match is more complicated, in which case you can use regular expressions to match URL patterns. We briefly talked about regular expressions in our JavaScript course.
To use regular expressions, you need to use re_path() instead of path():
| |
Importing other URL configurations #
Imagine you have a Django project with multiple different apps in it. If you put all URL configurations in one file, it will be really messy. When this happens, you can separate the URL configurations and move them to different apps. For example, in our project, we can create a new urls.py inside the blog app.
| |
This means if the URL has the pattern http://www.mydomain.com/blog/xxxx, Django will go to blog/urls.py and match for the rest of the URL.
Define the URL patterns for the blog app in the exact same way:
| |
This pattern will match the URL pattern: http://www.mydomain.com/blog/post/123
Naming URL patterns #
One last thing I’d like to mention is that you can name our URL pattern by giving it a third parameter like this:
| |
This little trick is very important, it allows us to reverse resolute URLs from the template. We’ll talk about this when we get to the template layer.
That is all we need to cover for the basics of URL dispatcher. However, you may have noticed that something is missing. What if the HTTP requests have different methods? How could we differentiate them? In Django, you cannot match different HTTP methods inside the URL dispatcher. All methods match the same URL pattern, and we’ll have to use flow control to write different codes for different methods inside the view functions. We’ll discuss this in detail in future articles.
If you think my articles are helpful, please consider making a donation to me. Your support is greatly appreciated.