Django for Beginners #2 - The MTV Structure
- Django for Beginners #1
- Django for Beginners #2 ← You are here
- Django for Beginners #3
- Django for Beginners #4
- Django for Beginners #5
Django is a web dev framework designed based on the MTV (Model-Template-View) structure. In this structure, the model is in charge of interacting with our database, each model should correspond to one database table. The template is the frontend part of the application, it is what the users are going to see. And finally, the view is the backend logic of the app, it is usually in charge of retrieving data from the database through the models, putting them in the corresponding view, and eventually returning the rendered template to the user. In this article, we will discuss how this architecture works in your Django application.
➡️ Get the source code for FREE!
Let’s start with the models #
The model is one of the best features of Django. For other web frameworks, you need to create both a model and a migration file. The migration file is a schema for the database, which describes the structure (column names and column types) of the database. The model provides an interface that handles the data manipulation based on that schema.
But for Django, you only need a model, and the corresponding migration files can be generated with a simple command, saving you a lot of time.
Each app has one models.py file, and all the models related to the app should be defined inside. Each model corresponds to a migration file, which corresponds to a database table. To differentiate tables for different apps, a prefix will be automatically assigned to each table. For our blog app, the corresponding database table will have the prefix blog_.
Here is an example of a model:
blog/models.py
| |
You can then generate a migration file using the following command:
| |
And the generated migration file should look like this:
blog/migrations/0001_initial.py
| |
The migration file is a schema that describes how the database table should look, you can use the following command to apply this schema:
| |
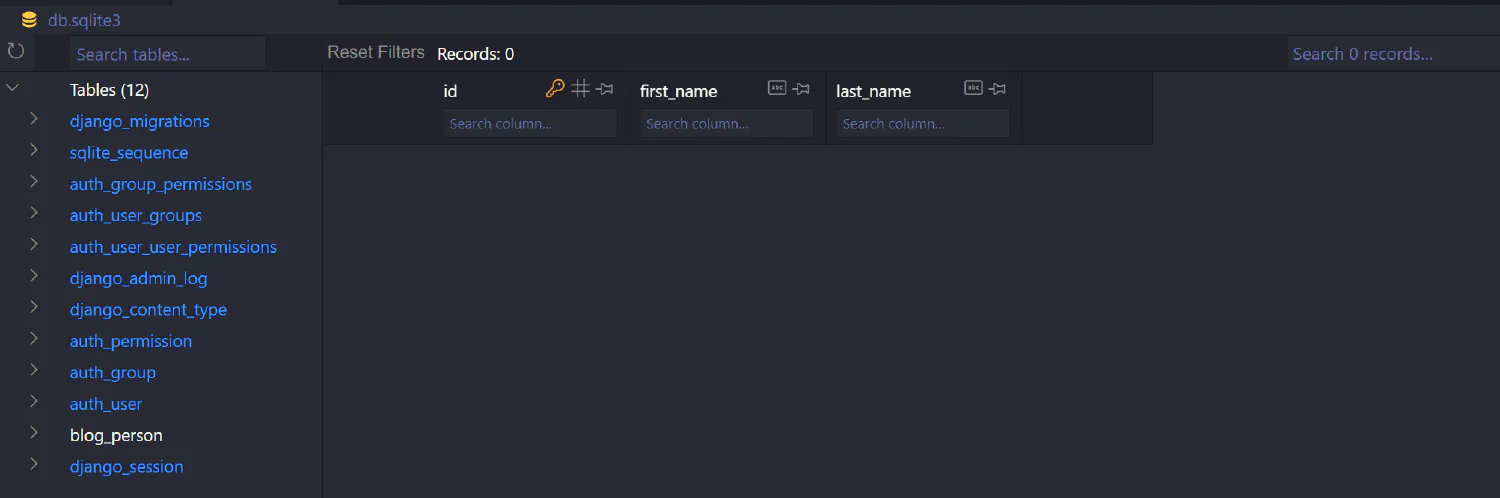
Your database (db.sqlite3) should look like this:
As a beginner, you should never try to edit or delete the migration files, just let Django do everything for you unless you absolutely know what you are doing. In most cases, Django can detect the changes you’ve made in the models (even if you deleted something) and generate the migration files accordingly.
In our example, this model will create a database table person, and inside the table, there will be three columns, each named id, first_name, and last_name. The id column is created automatically, as seen in the migration file. The id column is, by default, used as the primary key for indexing.
CharField() is called a field type and it defines the type of the column. max_length is called a field option, and it specifies extra information about that column. You can find a reference of all field types and field options here .
Model field types and options #
To save us some time, I will only introduce some most commonly used field types.
| Field Type | Description |
|---|---|
BigAutoField | Creates an integer column that automatically increments. Usually used for the id column. |
BooleanField | Creates a Boolean value column, with values True or False. |
DateField and DateTimeField | As their names suggest, adds dates and times. |
FileField and ImageField | Creates a column that stores the path, which points to the uploaded file or image. |
IntegerField and BigIntegerField | Integer has values from -2147483648 to 2147483647. Big integer has values from -9223372036854775808 to 9223372036854775807 |
SlugField | Slug is usually a URL-friendly version of the title/name. |
CharField and TextField | CharField and TextField both create a column for storing strings, except TextField corresponds to a larger text box in the Django admin, which we’ll talk about later. |
And field options.
| Field Option | Description |
|---|---|
blank | Allows this field to have an empty entry. |
choices | Gives this field multiple choices, you’ll see how this works after we get to Django Admin. |
default | Gives the field a default value. |
unique | Makes sure that every item in the column is unique. Usually used to slug and other fields that are supposed to have unique values. |
Makes sure that every item in the column is unique. Usually used to slug and other fields that are supposed to have unique values.
Meta options #
You can also add a Meta class inside the model class, which contains extra information about this model, such as database table name, ordering options, and human-readable singular and plural names.
| |
Model methods #
Model methods are functions defined inside the model class. These functions allow us to perform custom actions on the current instance of the model object. For example:
| |
When the baby_boomer_status() method is called, Django will examine the person’s birth date and return the person’s baby-boomer status.
Objects, methods, and properties are very important concepts in programming languages, and you can read this article for more information.
Model inheritance #
In most web applications, you’ll need more than one model, and some of them will have common fields. In this case, you can create a parent model which contains the common fields, and make other models inherit from the parent.
| |
Notice that CommonInfo is marked as an abstract model, which means this model doesn’t really correspond to an individual model, instead, it is used as a parent to other models.
To verify this, generate a new migration file:
blog/migrations/0002_student.py
| |
| |
As you can see, only a Student table is created.
Database relations #
So far, we’ve only talked about how to create individual tables, however, in most applications, these tables aren’t entirely independent, and there are usually relations between different tables. For instance, you could have a category that has multiple posts, a post that belongs to a specific user, etc. So how can you describe such relations in Django?
There are primarily three types of database relations, one-to-one, many-to-one, and many-to-many.
One-to-one relation
The one-to-one relationship should be the easiest to understand. For example, each person could have one phone, and each phone could belong to one person. We can describe this relation in the models like this:
| |
The OneToOneField field type works just like any other field type, except it takes at least two arguments. The first argument is the name of the model with whom this model has a relationship. And the second argument is on_delete, which defines the action Django will take when data is deleted. This has more to do with SQL than Django, so we are not going into this topic in detail, but if you are interested, here are some available values for on_delete.
You can now generate and apply migrations for these models and see what happens. If you run into problems running these commands, simply delete the db.sqlite3 file and the migration files to start over.
| |
| |
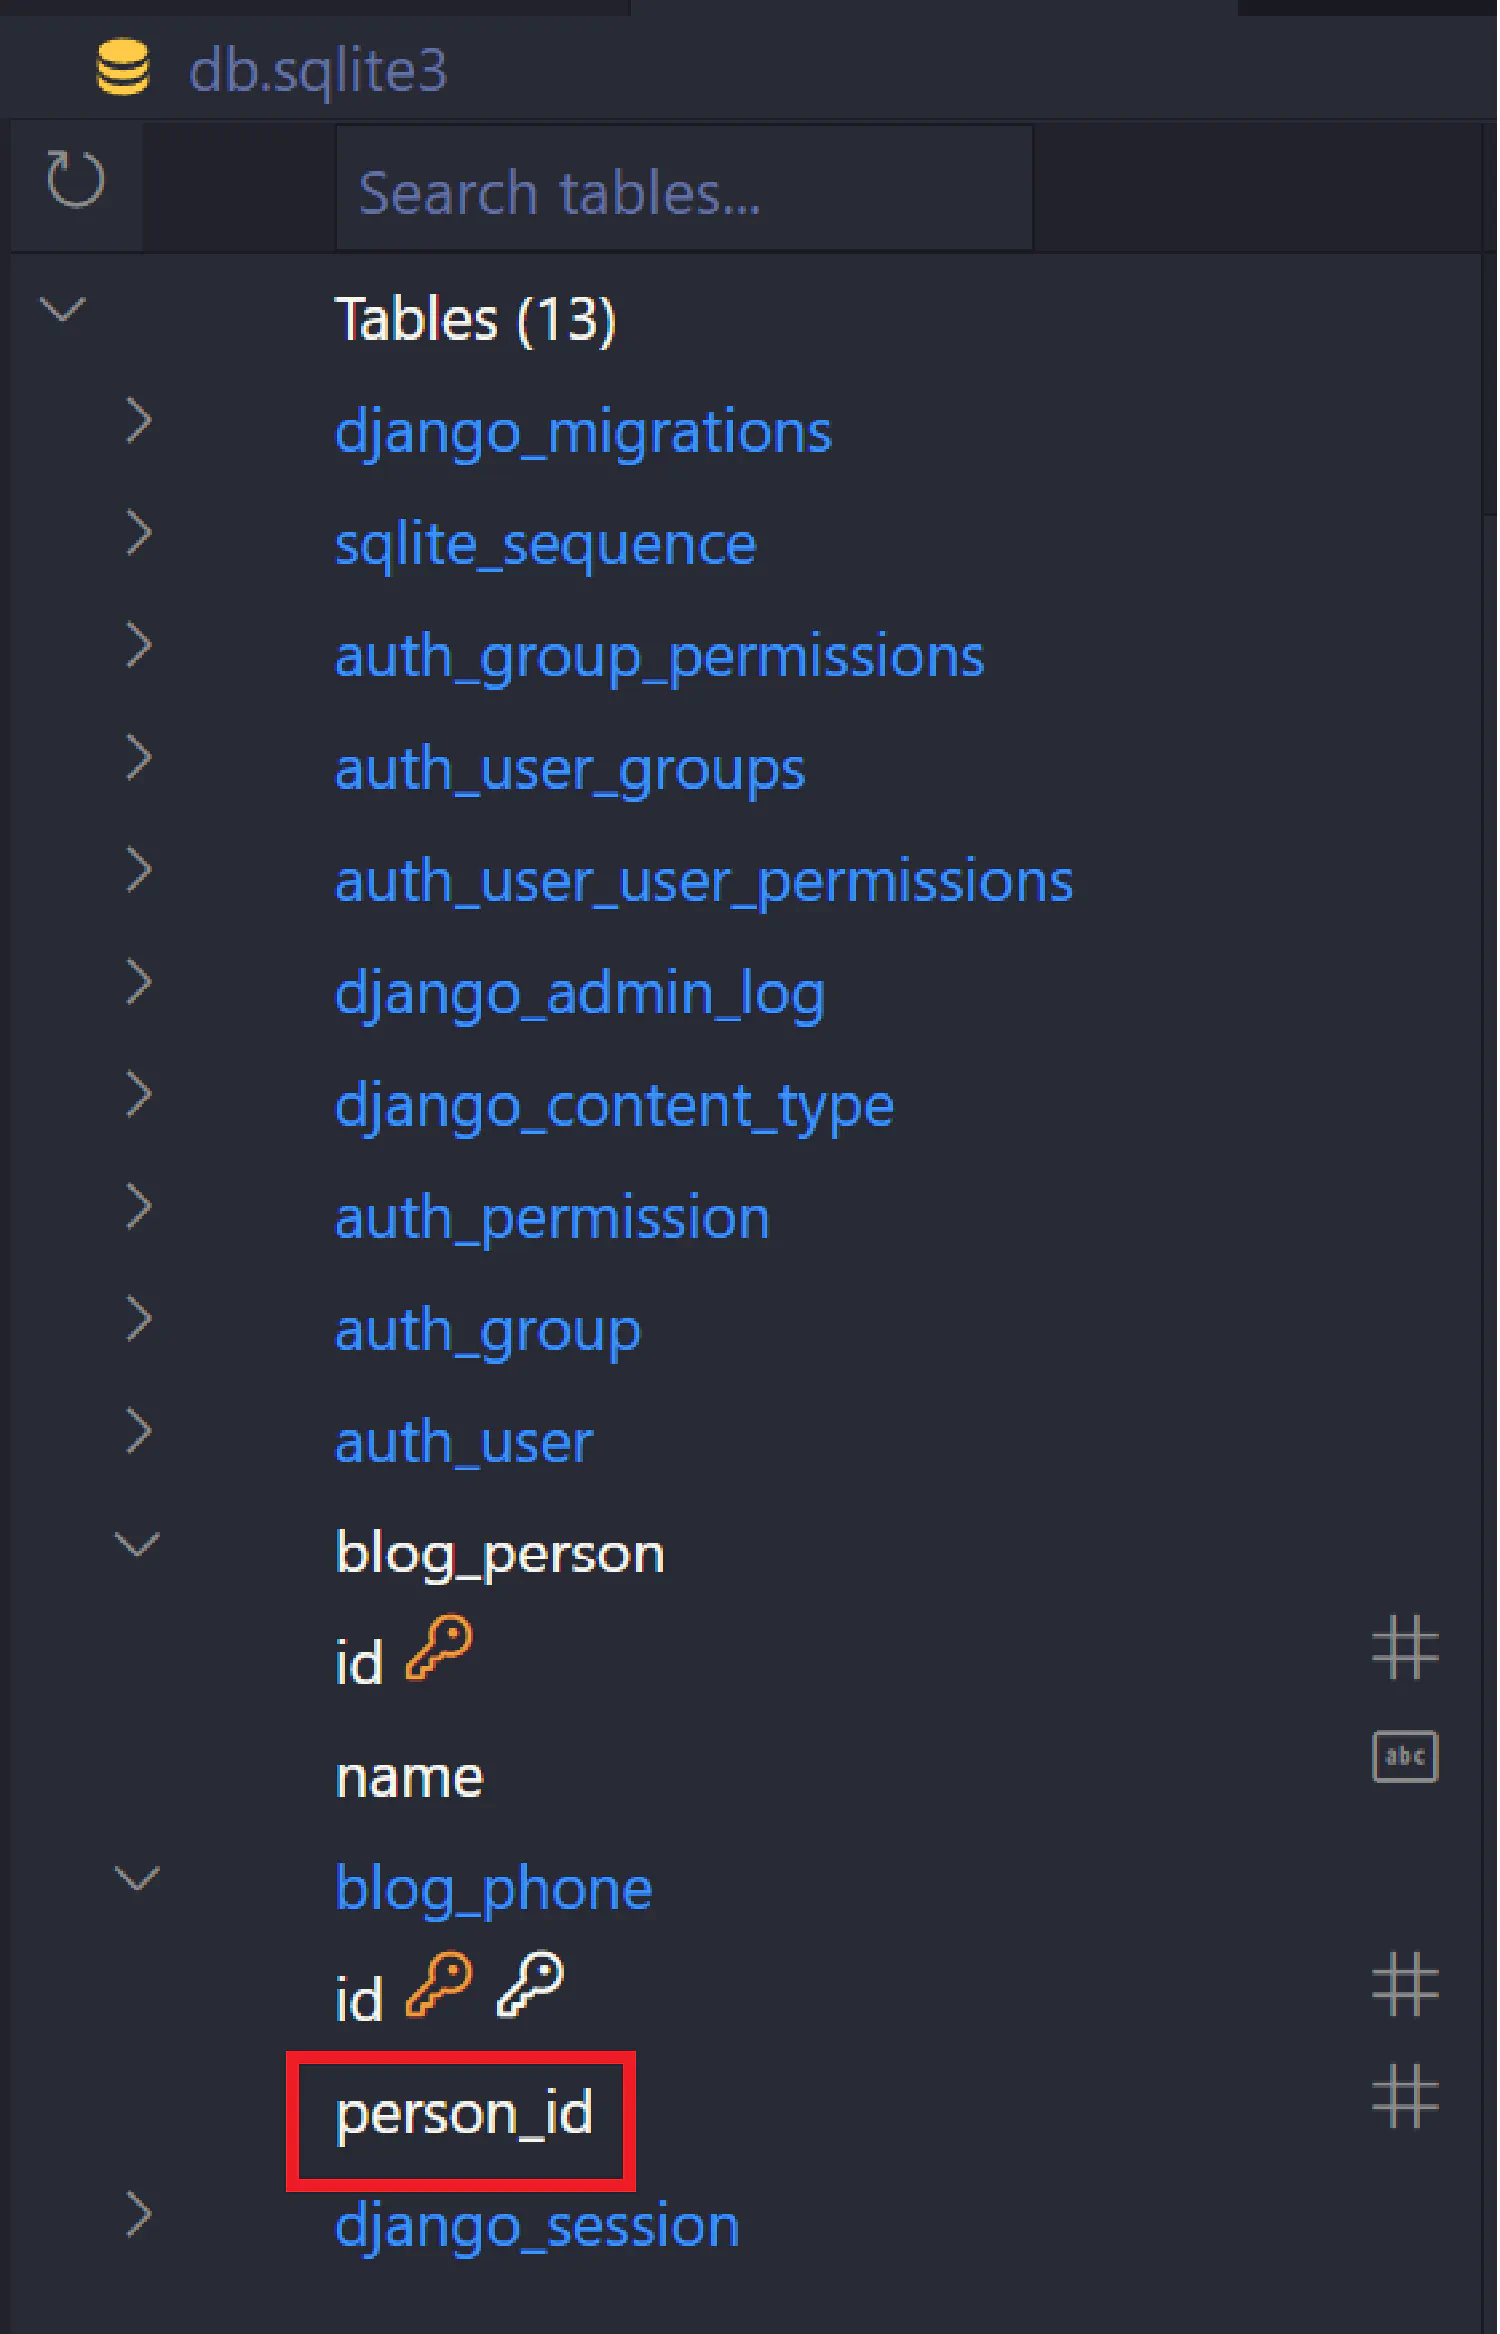
As you can see, the OneToOneField created a person_id column inside the blog_phone table, and this column will store the id of the person that owns this phone.
Many-to-one relation
Each category can have many posts, and each post belongs to one category. This relation is referred to as a Many-to-one relation.
| |
ForeignKey will create a category_id column in the blog_post table, which stores the id of the category that this post belongs to.
Many-to-many relation
Many-to-many relation is slightly more complicated. For example, every article could have multiple tags, and each tag could have multiple articles.
| |
Instead of creating a new column, this code will create a new table called post_tags, which contains two columns, post_id, and tag_id. This allows you to locate all the tags associated with a particular post, and vice versa.
To make things clearer, imagine we have a table like this:
| post_id | tag_id |
|---|---|
| 1 | 1 |
| 2 | 1 |
| 3 | 2 |
| 1 | 2 |
| 2 | 3 |
For a post with id=1, there are two tags, each with id=1 and id=2. If we want to do things backward and find posts through a tag, we can see that for a tag with id=2, there are two posts, id=3 and id=1.
Now the view layer #
The view layer is one of the most important components in a Django application, it is where we write all the backend logic. The most common thing a view is supposed to do is retrieve data from the database through the corresponding model, process the retrieved data, put them in the corresponding location in the template, and finally, render and return that template back to the user.
Of course, retrieving data is not the only thing we can do with a view function. In most web applications, there are four most basic operations we can do with data, create, read, update and delete them. These operations put together are often referred to as CRUD. We are going to investigate all of them in this tutorial.
We’ve already discussed models in the previous section, but we still don’t know how to retrieve or store data using the model. Django offers us a very simple API to help us with that, which is called the QuerySet .
Suppose that this is your model:
blog/models.py
| |
With the help of QuerySet, you can manipulate data through this model inside the view functions, which are located inside the blog/views.py file.
Creating and saving data #
Let’s say you are trying to create a new category, this is what you can do:
| |
This should be very easy for you to understand if you are familiar with the concept of object-oriented programming. If not, here is an article on that subject.
In this example, we simply created a new instance of the Category object and used the save() method, which belongs to that object, to save the information to the database.
Now, what about relations? For example, there is a many-to-one relationship between category and post, which we defined using the ForeignKey() field. We assume there are enough records in the database.
| |
There is also a many-to-many relation between posts and tags.
| |
Retrieving data #
Retrieving objects is slightly more complicated than what we’ve just seen. Imagine we have thousands of records in our database. How do we find one particular record, if we don’t know the id? Or, what if we want a collection of records that fits particular criteria instead of one record?
QuerySet Methods
QuerySet methods allow you to retrieve data based on certain criteria. And they can be accessed using the attribute objects. We’ve already seen an example, get(), which is used to retrieve one particular record.
| |
You can also retrieve all records using the all() method.
| |
The all() method returns what we call a QuerySet, it is a collection of records. And you can further refine that collection by chaining a filter() or exclude() method.
| |
This will return all the posts that are published in the year 2006. And pub_date__year is called a field lookup, we’ll discuss this topic in detail later.
Or we can exclude the posts that are published in the year 2006.
| |
Besides get(), all(), filter() and exclude(), there are lots of other QuerySet methods just like them. We can’t talk about all of them here, but if you are interested, here is a full list of all QuerySet methods.
Field Lookups
Field Lookups are the keyword arguments for methods get(), filter() and exclude(). If you are familiar with SQL clauses, they work just like the SQL WHERE clause. And they take the form fieldname__lookuptype=value. Notice that it is a double underscore in between.
| |
In this example, pub_date is the field name, and lte is the lookup type, which means less than or equal to. This code will return all the posts where the pub_date is less than or equal to 2006-01-01.
Here is a list of all field lookups you can use.
Field lookups can also be used to find records that have a relationship with the current record. For example:
| |
This line of code will return all posts that belong to the category whose name is "Django".
This works backward too. For instance, we can return all the categories that have at least one post whose title contains the word "Django".
| |
We can go across multiple relations as well.
| |
This will return all categories that own posts, which are published by the user Admin. In fact, you can chain as many relationships as you want.
Deleting Objects #
The method we use to delete a record is conveniently named delete(). The following code will delete the post that has pk=1.
| |
We can also delete multiple records together.
| |
This will delete all posts that are published in the year 2005.
However, what if the record we are deleting relates to another record? For example, here we are trying to delete a category with multiple posts.
| |
By default, Django emulates the behaviour of the SQL constraint ON DELETE CASCADE, which means all the posts that belong to this category also be deleted. If you wish to change that, you can change the on_delete option to something else. Here is a reference of all available options for on_delete.
The view function #
So far, we’ve only seen some snippets showing what you can do inside a view function, but what does a complete view function look like? Well, here is an example. In Django, all the views are defined inside the views.py file.
| |
There are two things you need to pay attention to in this example.
First, notice that this view function takes an input request. This variable request is an HttpRequest object, and it is automatically passed to the view from our URL dispatcher. If you are not familiar with HTTP, you should go through this article first.
The request contains a lot of information about the current HTTP request. For example, we can access the HTTP request method and write different codes for different methods.
| |
Here is a list of all the information you can access from the request.
Second, notice that a shortcut called render() is imported, and it is then used to pass the variable posts to the template blog/index.html.
This is called a shortcut because, by default, you are supposed to load the template with the loader() method, render that template with the retrieved data, and return an HttpResponse object. Django simplified this process with the render() shortcut. To make life easier for you, I’m not going to talk about the complex way here, since we will not use it in this tutorial anyway.
Here is a list of all shortcut functions in Django.
The Django template system #
Now, let’s talk about templates. The template layer is the frontend part of a Django application, which is why the template files are all HTML code since they are what you see in the browser, but things are slightly more complicated than that. If it contains only HTML codes, the entire website would be static, and that is not what we want. So the template would have to tell the view function where to put the retrieved data.
Configurations #
Before we start, there is something you need to change in the settings.py, you must tell Django where you are putting the template files.
First, create the templates directory. I choose to put it under the root directory of the project, but you can move it somewhere else if you want.
| |
Go to settings.py and find TEMPLATES.
| |
Change the DIRS option, which points to the template folder. Now let’s verify that this setting works. Create a new URL pattern that points to a test() view.
djangoBlog/urls.py
| |
Create the test() view:
blog/views.py
| |
Go to the templates folder and create a test.html template:
| |
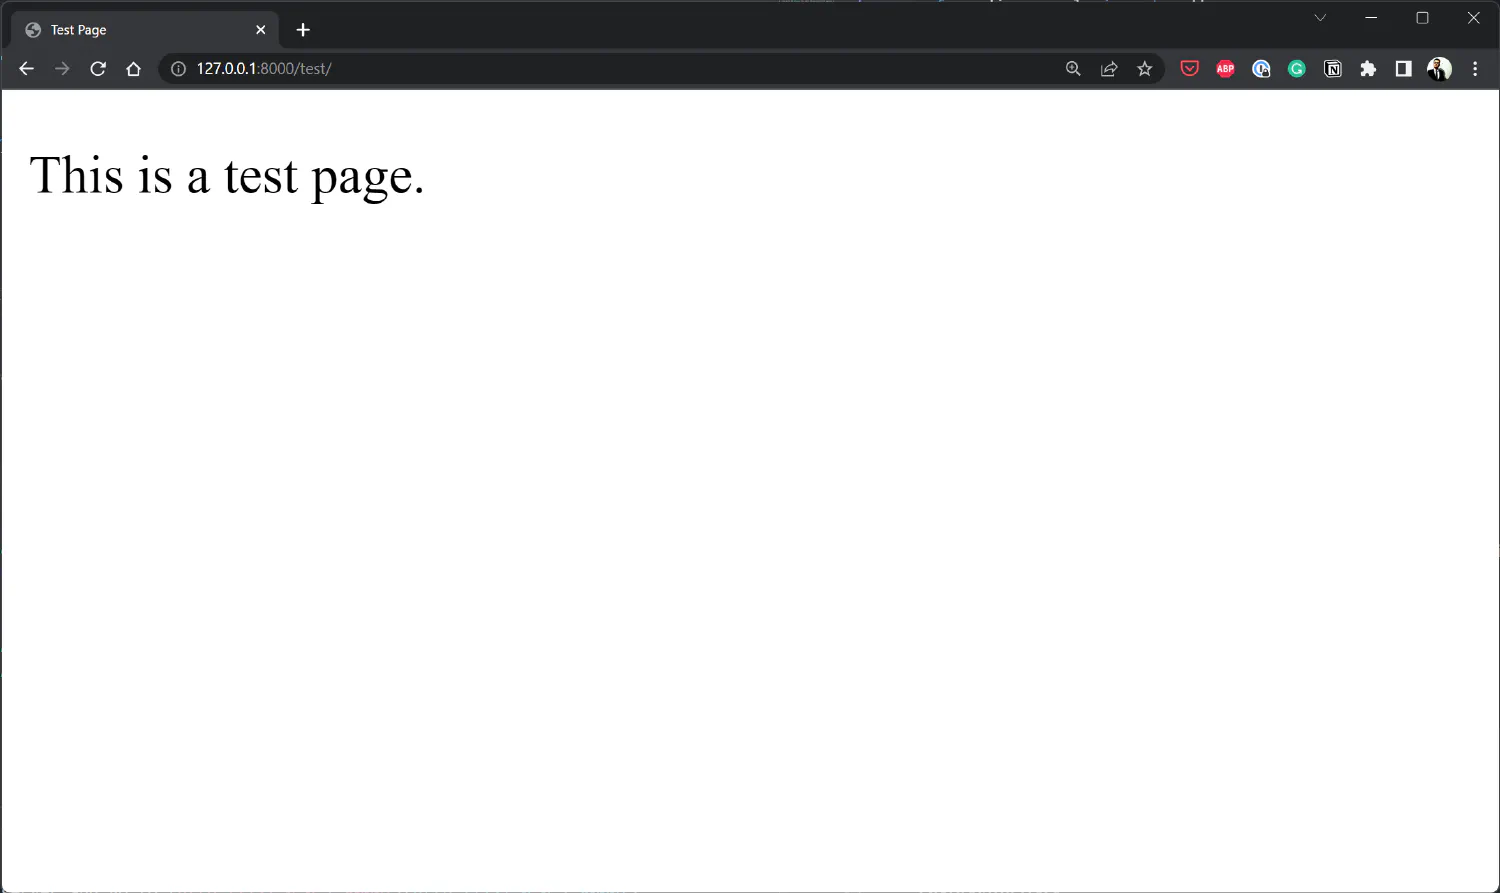
Start the dev server and go to http://127.0.0.1:8000/ .
The Django template language #
Now let’s discuss Django’s template engine in detail. Recall that we can send data from the view to the template like this:
| |
The string 'Jack' is assigned to the variable name and passed to the template. And inside the template, we can display the name using double curly braces, {{ }}.
| |
Refresh the browser, and you will see the output.

However, in most cases, the data that is passed to the template is not a simple string. For example:
| |
In this case, the post variable is, in fact, a dictionary . You can access the items in that dictionary like this in the template:
| |
Filters
Filters transform the values of variables. For example, we have a variable django, with the value 'the web framework for perfectionists with deadlines'. If we put a title filter on this variable:
| |
The template will be rendered into:
| |
Here is a full list of all built-in filters in Django.
Tags
Tags add programming language features such as flow control and loops to HTML code, which will save us a lot of time and resources, we don’t have to write the same code over and over again. All tags are defined using {% %}.
For example, this is a for loop:
| |
This is an if statement:
| |
And this is an if-else statement:
| |
Here is a full list of all built-in tags in Django. There are lots of other useful filters and tags in Django template system, we’ll talk about them as we encounter specific problems in the future.
The inheritance system #
The primary benefit of using the Django template is that you do not need to write the same code over and over again. For example, in a typical web application, there is usually a navigation bar and a footer, which will appear on every page. Repeating all of these code on every page will make it very difficult for maintenance. Django offers us a very easy way to solve this problem.
Let’s create a layout.html file in the templates folder. As the name suggests, this is the place where we define the layout of our template. To make this example easier to read, I skipped the code for the footer and navbar.
layout.html
| |
Notice that in this file, we defined two blocks, meta and content, using the {% block ... %} tag. To use this layout, we define a home.html template.
home.html
| |
When this template is called, Django will first find the layout.html file, and fill out the meta and content blocks with information on this home.html page.
Also, notice there is something else in this template. {% include 'vendor/sidebar.html' %} tells Django to look for the templates/vendor/sidebar.html and place it here.
sidebar.html
| |
It is not exactly a sidebar, but we can use it to demonstrate this inheritance system works. Also make sure your view is correct.
| |
And make sure your URL dispatcher points to this view.
| |
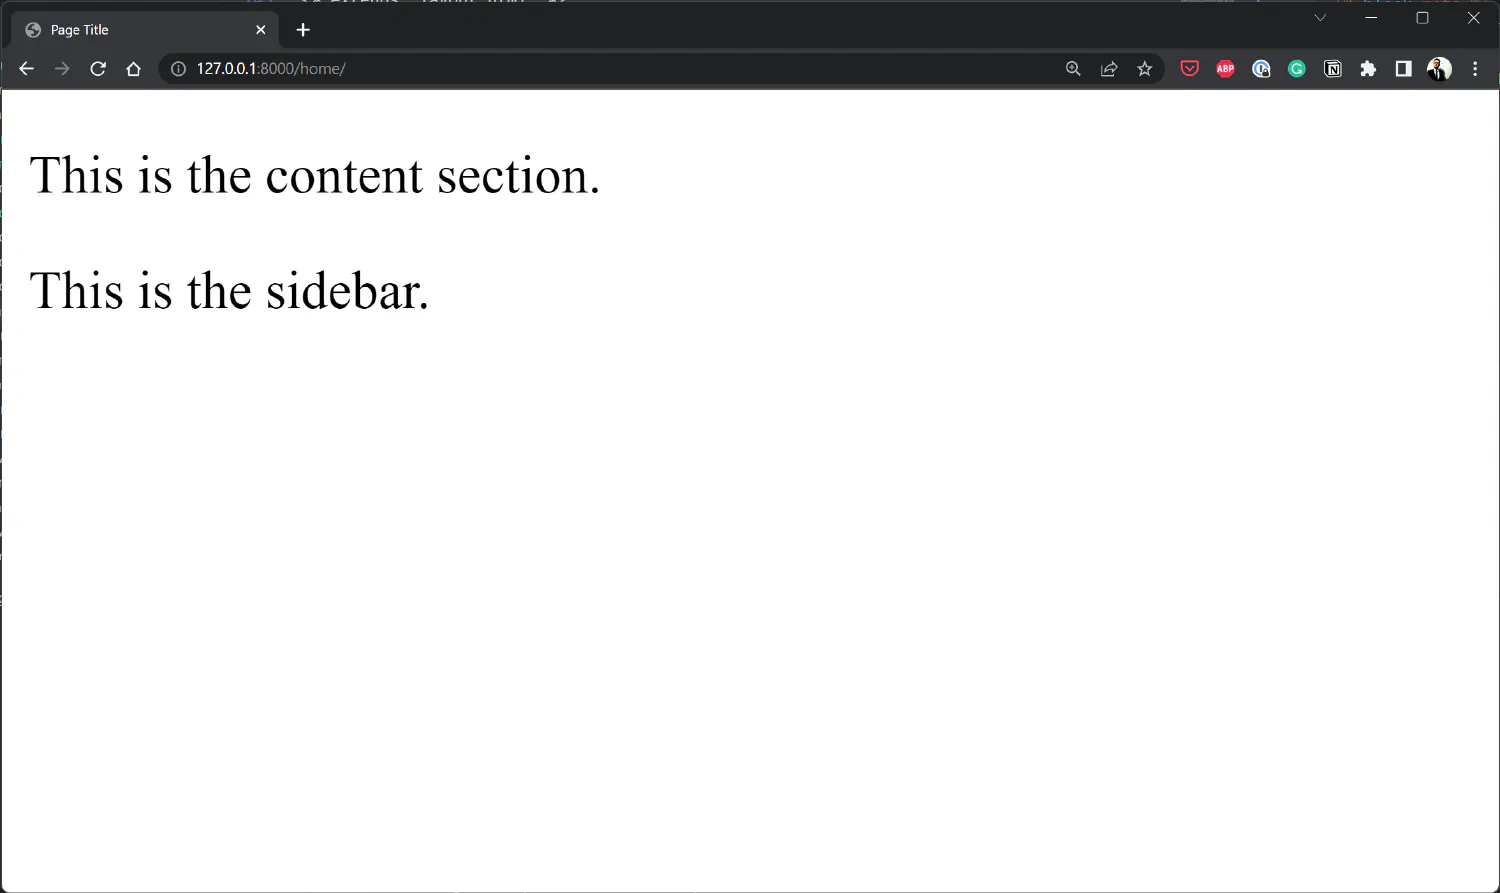
Open your browser and go to http://127.0.0.1:8000/home, and you should see the following page:
If you think my articles are helpful, please consider making a donation to me. Your support is greatly appreciated.