Django for Beginners #4 - The Blog App
- Django for Beginners #1
- Django for Beginners #2
- Django for Beginners #3
- Django for Beginners #4 ← You are here
- Django for Beginners #5
Finally, it is time for us to create a complete blog application using Django. In the previous article, we explored how the model, view, and template may work together to create a Django application, but frankly, it is a tedious process since you have to write at least 5 actions for each feature, and most of the code feels repetitive.
So in this article, we are going to utilize one of the best features of Django, it’s built-in admin panel. For most features you wish to create for your application, you only need to write the show/list action, and Django will automatically take care of the rest for you.
➡️ Get the source code for FREE!
Create the model layer #
Again, let’s start by designing the database structure.
Design the database structure #
For a basic blogging system, you need at least 4 models: User, Category, Tag, and Post. In the next article, we will add some advanced features, but for now, these four models are all you need.
The User model
| key | type | info |
|---|---|---|
| id | integer | auto increment |
| name | string | |
| string | unique | |
| password | string |
The User model is already included in Django, and you don’t need to do anything about it. The built-in User model provides some basic features, such as password hashing, and user authentication, as well as a built-in permission system integrated with the Django admin. You’ll see how this works later.
The Category model
| key | type | info |
|---|---|---|
| id | integer | auto increment |
| name | string | |
| slug | string | unique |
| description | text |
The Tag model
| key | type | info |
|---|---|---|
| id | integer | auto increment |
| name | string | |
| slug | string | unique |
| description | text |
The Post model
| key | type | info |
|---|---|---|
| id | integer | auto increment |
| title | string | |
| slug | string | unique |
| content | text | |
| featured_image | string | |
| is_published | boolean | |
| is_featured | boolean | |
| created_at | date |
The Site model
And of course, you need another table that stores the basic information of this entire website, such as name, description and logo.
| key | type | info |
|---|---|---|
| name | string | |
| description | text | |
| logo | string |
The relations
For this blog application, there are six relations you need to take care of.
- Each user has multiple posts
- Each category has many posts
- Each tag belongs to many posts
- Each post belongs to one user
- Each post belongs to one category
- Each post belongs to many tags
Implement the design #
Next, it’s time to implement this design.
The Site model
First of all, you need a Site model.
| |
Notice the ImageField(), this field is, in fact, a string type. Since databases can’t really store images, instead, the images are stored in your server’s file system, and this field will keep the path that points to the image’s location.
In this example, the images will be uploaded to mediafiles/logo/ directory. Recall that we defined MEDIA_ROOT = "mediafiles/" in settings.py file.
For this ImageField() to work, you need to install Pillow on your machine:
| |
The Category model
| |
The Category model should be easy to understand. What I want to talk about is the Meta class. This is how you add metadata to your models.
Recall that model’s metadata is anything that’s not a field, such as ordering options, database table name, etc. In this case, we use verbose_name_plural to define the plural form of the word category. Unfortunately, Django is not as “smart” as Laravel in this particular aspect, if we do not give Django the correct plural form, it will use categorys instead.
And the __str__(self) function defines what field Django will use when referring to a particular category, in our case, we are using the name field. It will become clear why this is necessary when you get to the Django Admin section.
The Tag model
| |
The Post model
| |
Line 1, if you just copy and paste this code, your editor will tell you that it cannot find the RichTextField and ckeditor. That is because it is a third-party package, and it is not included in the Django framework.
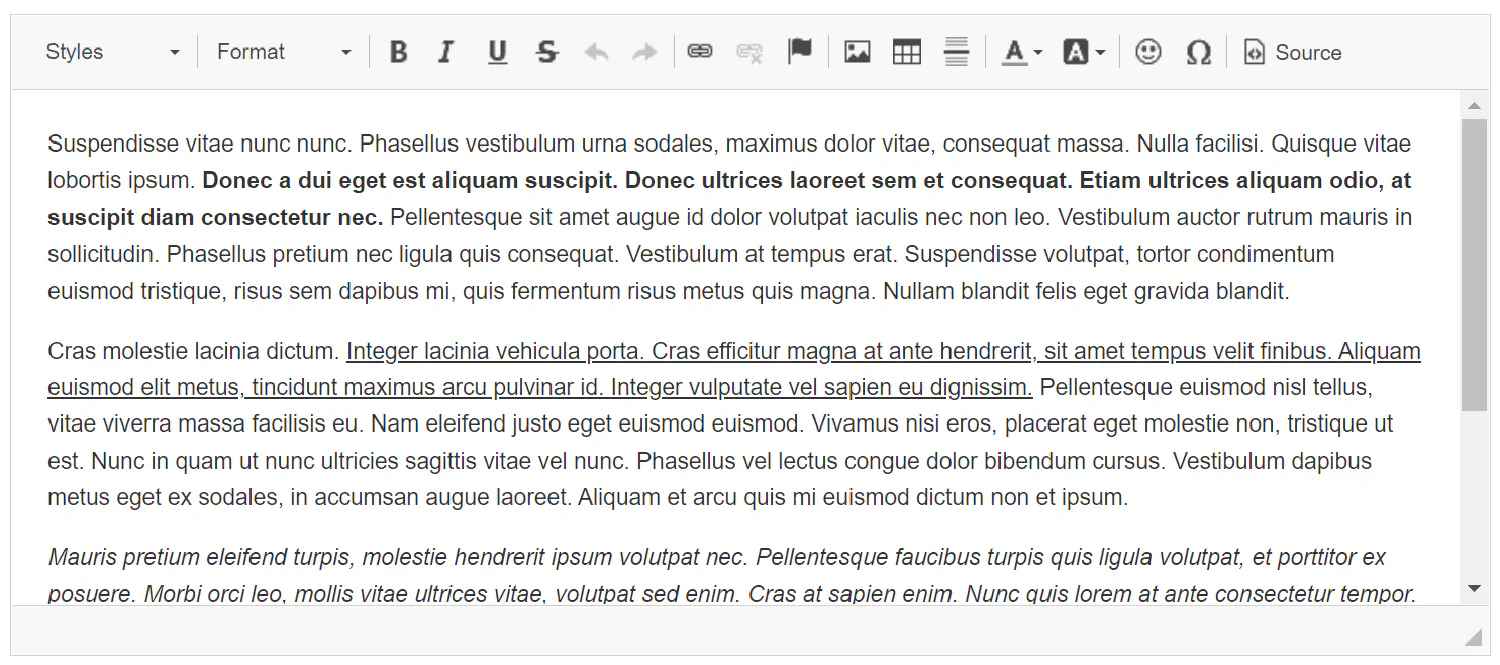
Recall that in the previous article, when you create a post, you can only add plain text, which is not ideal for a blog article. The rich text editor or WYSIWYG HTML editor allows you to edit HTML pages directly without writing the code. In this tutorial, I am using the CKEditor as an example.
To install CKEditor, run the following command:
| |
After that, register ckeditor in settings.py:
| |
Define relations
Finally, you can add relations to the models. You only need to add three lines of code in the Post model:
| |
And since we are using the built-in User model (settings.AUTH_USER_MODEL), remember to import the settings module.
| |
Last but not least, generate the migration files and apply them to the database.
| |
| |
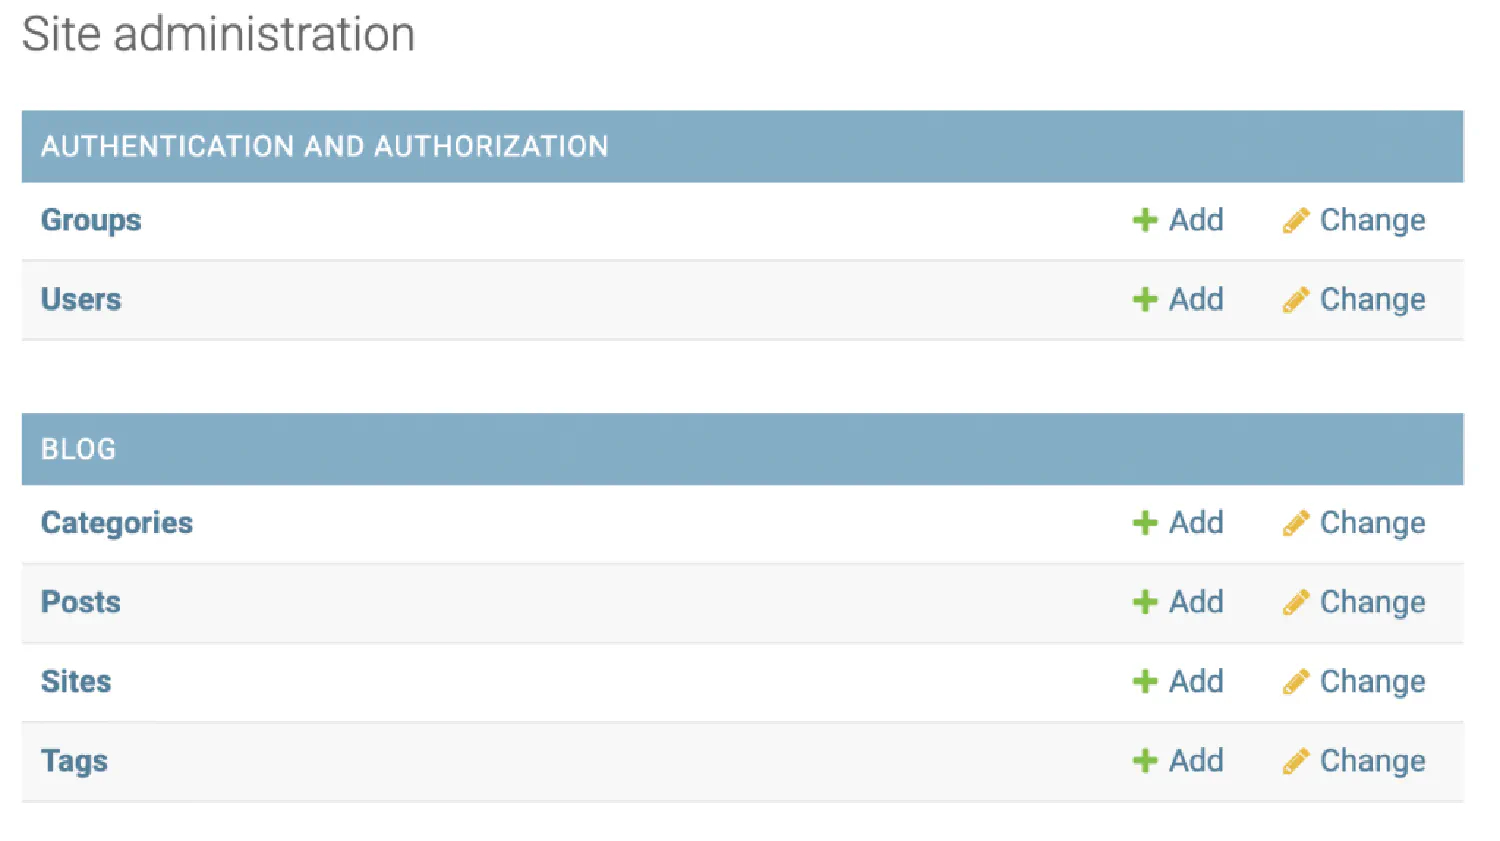
Set up the admin panel #
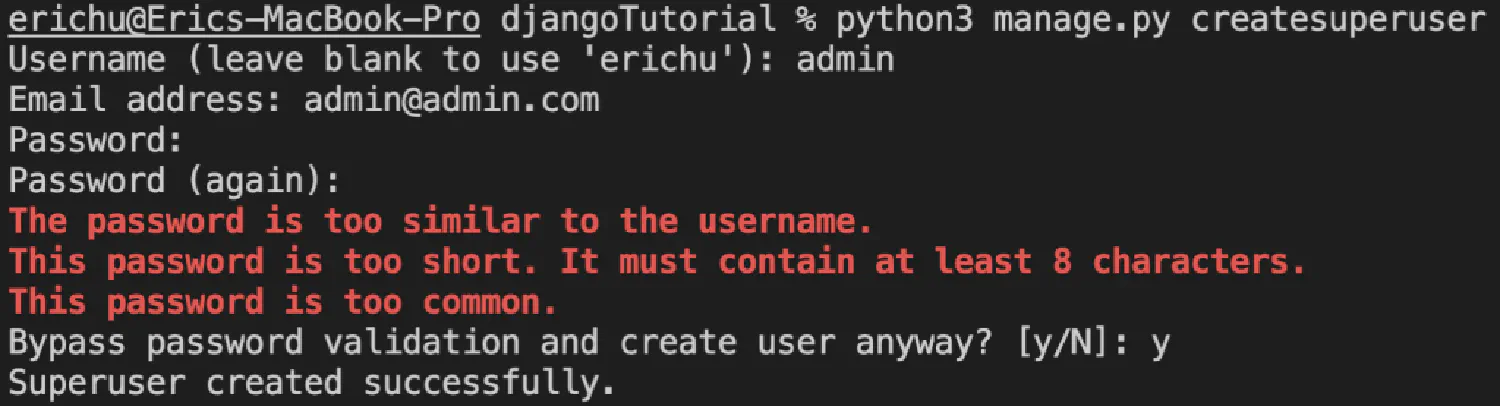
Our next step would be to set up the admin panel. Django comes with a built-in admin system, and to use it, all you need to do is just register a superuser by running the following command:
| |
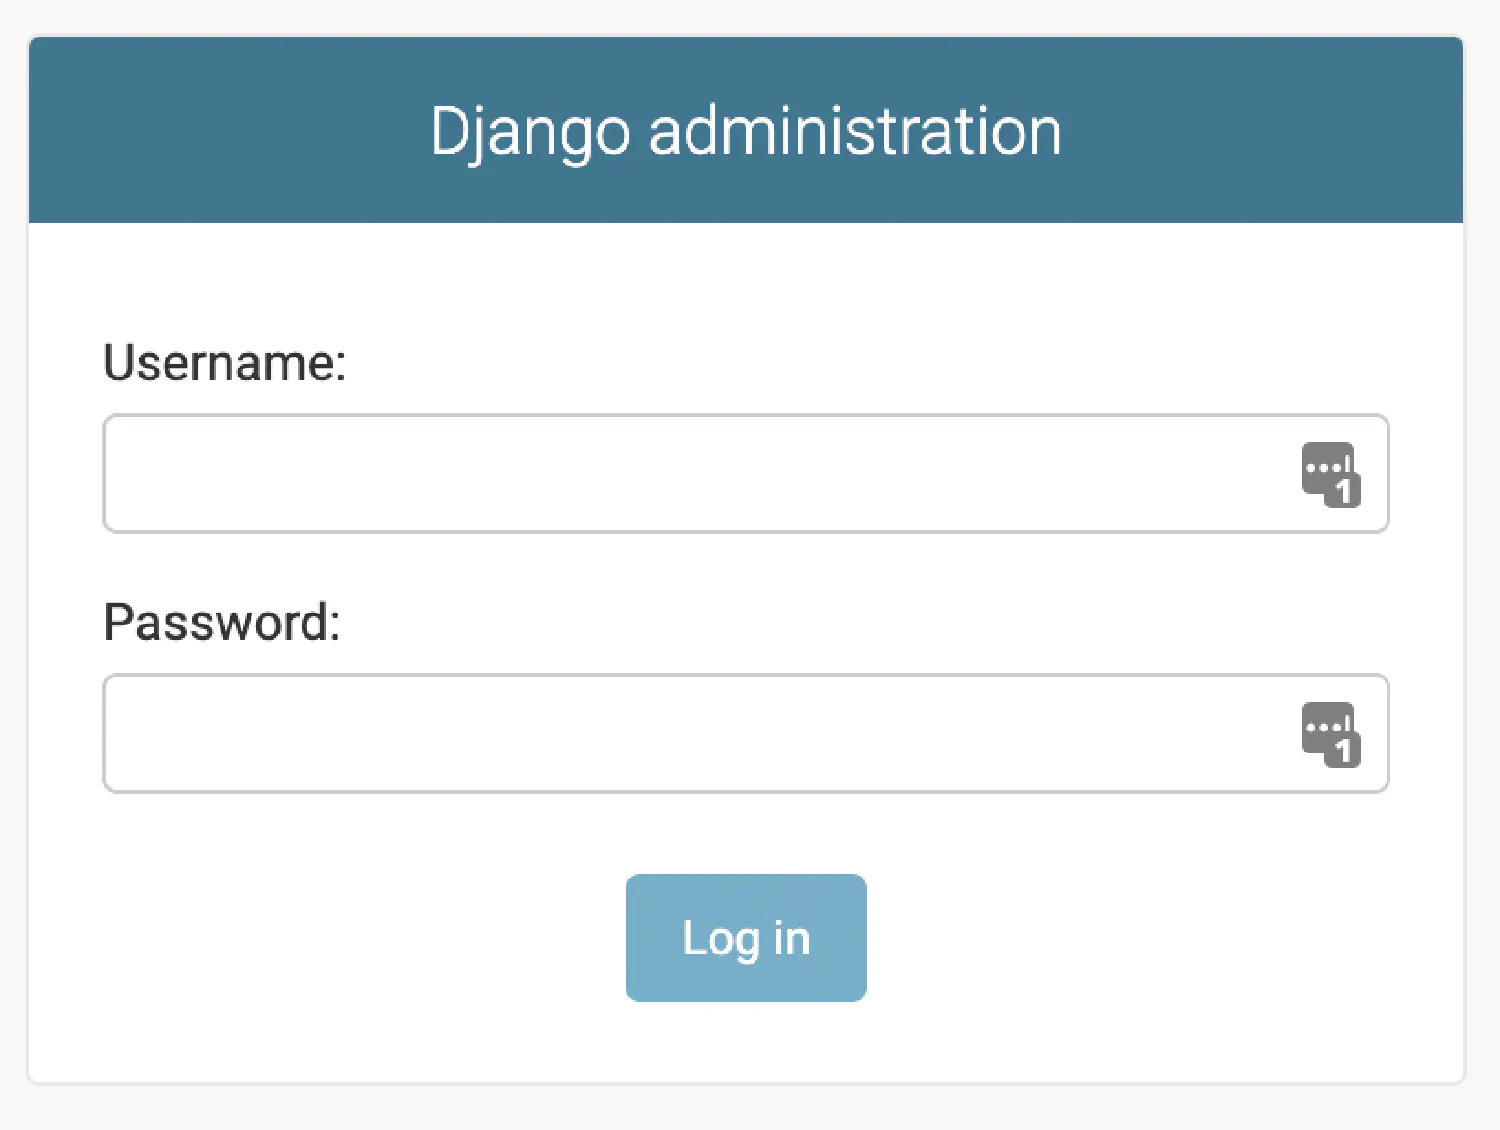
And then, you can access the admin panel by going to http://127.0.0.1:8000/admin/ .
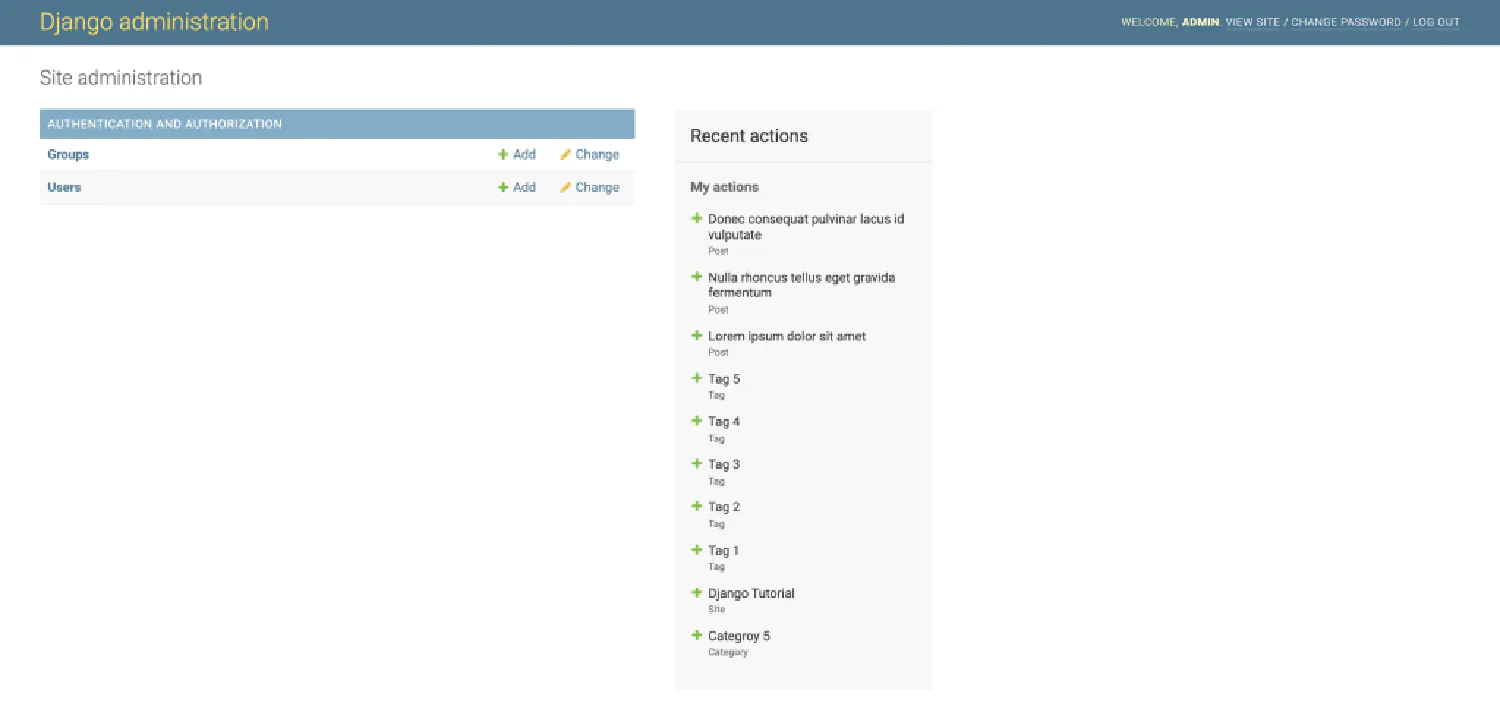
Right now, the admin panel is still empty, there is only an authentication tab, which you can use to assign different roles to different users. This is a rather complicated topic requiring another tutorial article, so we will not cover that right now. Instead, we focus on how to connect your blog app to the admin system.
Inside the blog app, you should find a file called admin.py. Add the following code to it.
blog/admin.py
| |
On line 2, import the models you just created, and then register the imported model using admin.site.register(). However, notice that when you register the Category model, there is something extra called CategoryAdmin, which is a class that is defined on line 6. This is how you can pass some extra information to the Django admin system.
Here you can use prepopulated_fields to generate slugs for all categories, tags, and posts. The value of the slug will be depended on the name. Let’s test it by creating a new category.
Go to http://127.0.0.1:8000/admin/. Click on Categories, and add a new category. Remember we defined the plural form of Category in our model? This is why it is necessary, if we don’t do that, Django will use Categorys instead.
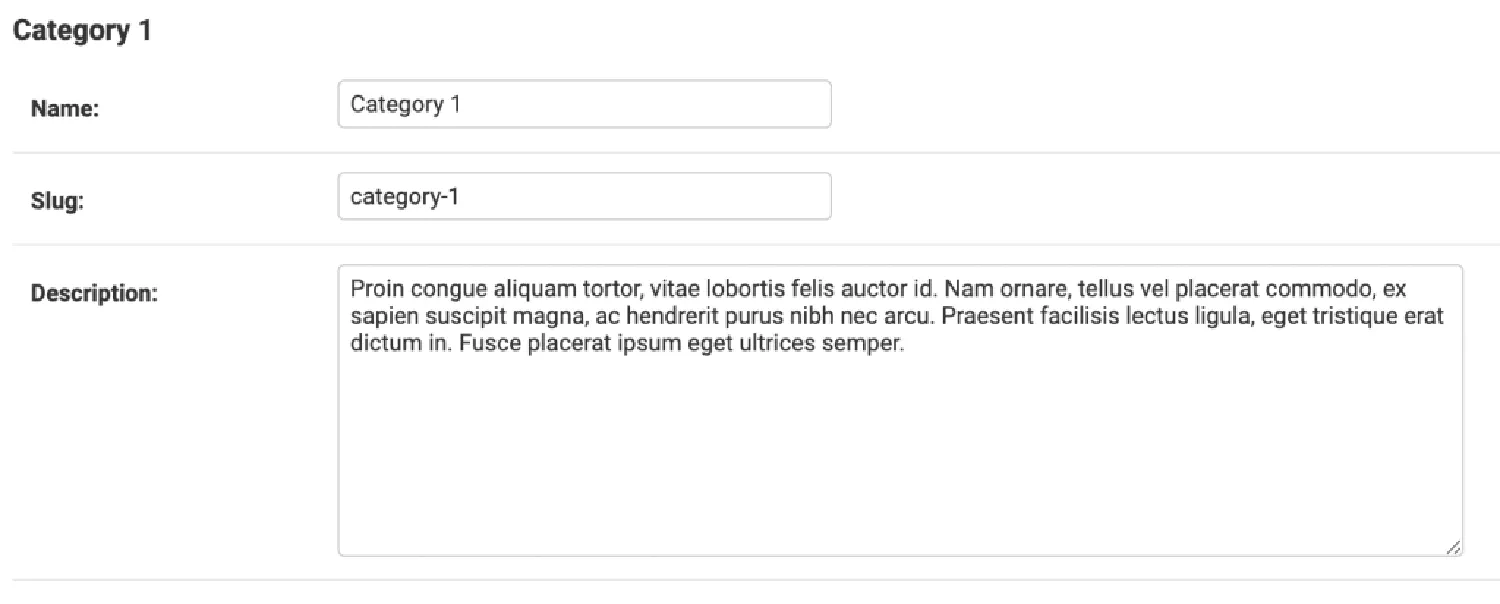
Notice that the slug will be automatically generated as you type in the name. Try adding some dummy data, everything should work smoothly.
Optional configurations #
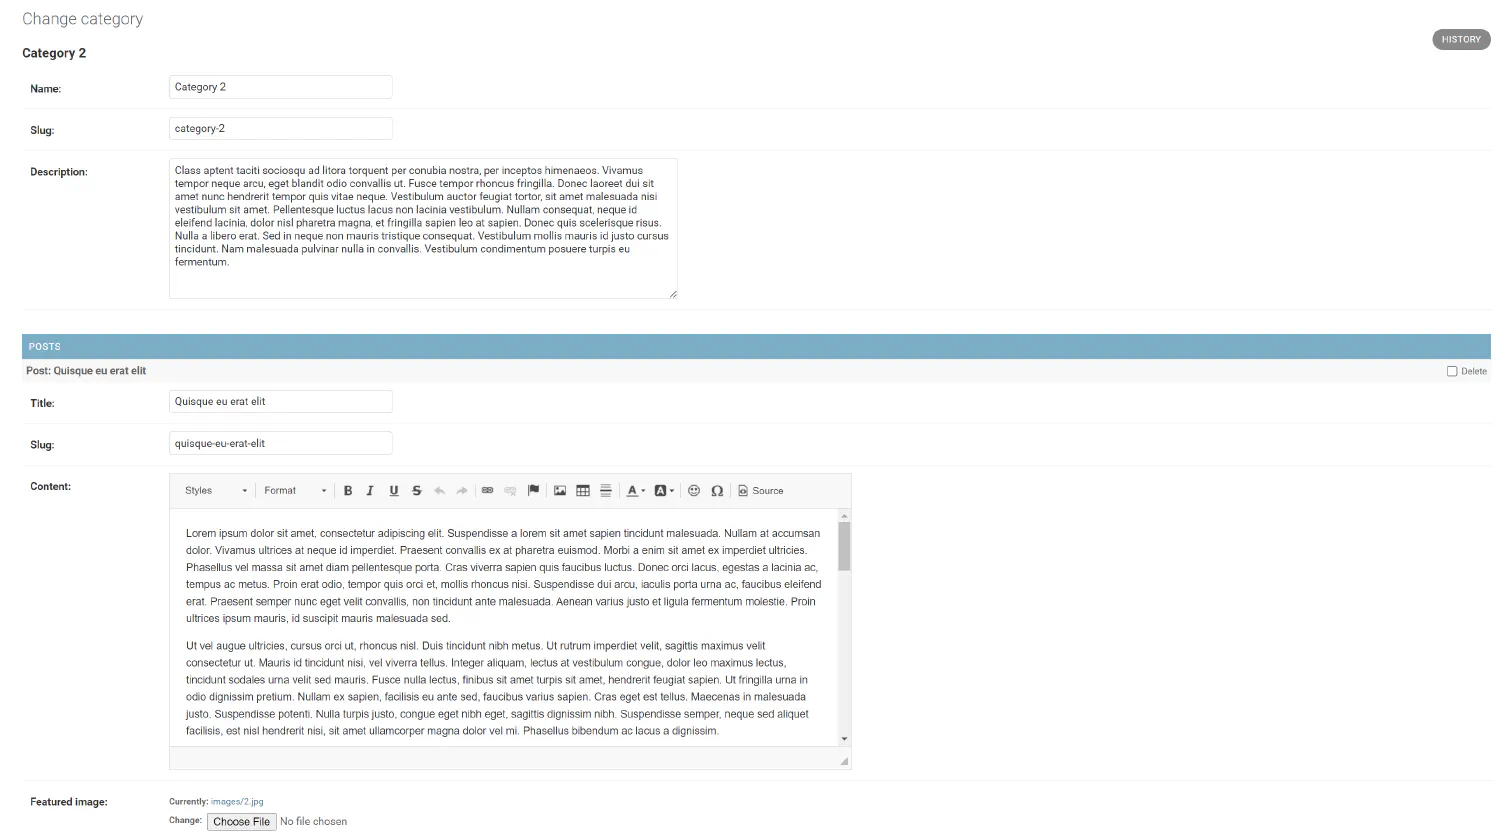
However, our work is not done yet. Open the category panel, you will notice that you can access categories from the post page, but there is no way to access corresponding posts from the category page. If you don’t think that’s necessary, you can jump to the next section. But if you want to solve this problem, you must use InlineModelAdmin.
blog/admin.py
| |
First, create a PostInlineCategory class, and then use it in the CategoryAdmin. max_num = 2 means only two posts will be shown on the category page. This is how it looks:
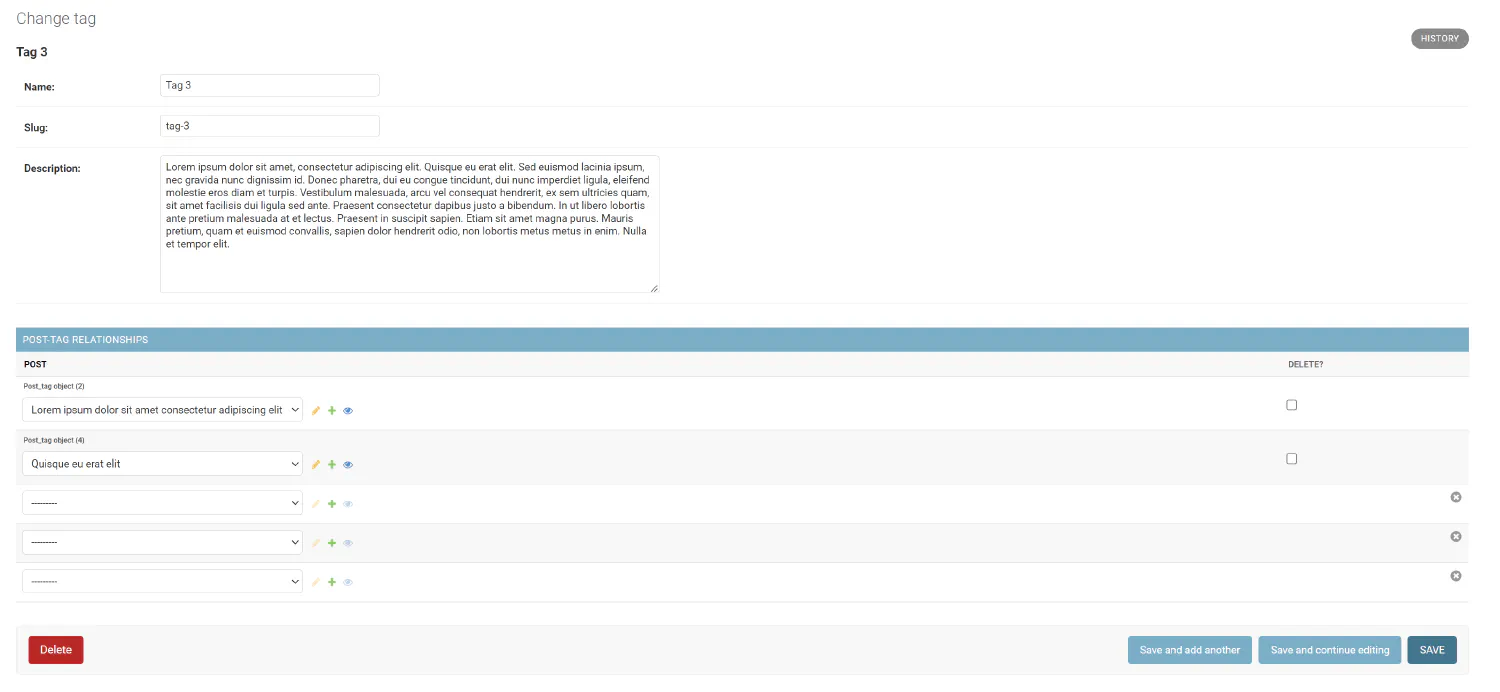
Next, you can do the same for the TagAdmin.
blog/admin.py
| |
The code is very similar, but notice the model is not just Post, it is Post.tag.through. That is because the relationship between Post and Tag is a many-to-many relationship. This is the final result.
Build the view layer #
In the previous sections, we mainly focused on the backend and admin part of our Django application. Now, it is time for us to focus on the frontend, the part that the users can see. We’ll start with the view functions.
Since we have the admin panel set up for our blog application, you don’t need to build the full CRUD operations on your own. Instead, you only need to worry about how to retrieve information from the database. You need four pages, home, category, tag, and post, and you’ll need one view function for each of them.
The home view
blog/views.py
| |
Line 1, here, we import the models we created in the previous article.
Line 4, site contains the basic information of your website, and you are always retrieving the first record in the database.
Line 5, filter(is_published=True)ensures that only published articles will be displayed.
Next, don’t forget the corresponding URL dispatcher.
djangoBlog/urls.py
| |
The category view
blog/views.py
| |
djangoBlog/urls.py
| |
Here we passed an extra variable, slug, from the URL to the view function, and on lines 3 and 4, we used that variable to find the correct category and posts.
The tag view
blog/views.py
| |
djangoBlog/urls.py
| |
The post view
blog/views.py
| |
djangoBlog/urls.py
| |
Create the template layer #
For the templates, instead of writing your own HTML and CSS code, you may use the template I’ve created here , since HTML and CSS are not really the focus of this tutorial.
This is the template structure I’m going with.
| |
The layout.html contains the header and the footer, and it is where you import the CSS and JavaScript files. The home, category, tag and post are the templates that the view functions point to, and they all extends to the layout. And finally, inside the vendor directory are the components that will appear multiple times in different templates, and you can import them with the include tag.
Layout
layout.html
| |
There is one thing we need to talk about in this file. Notice from line 7 to 8, this is how you can import static files (CSS and JavaScript files) in Django. Of course, we are not discussing CSS in this tutorial, but I’d like to talk about how it can be done if you do need to import extra CSS files.
By default, Django will search for static files in individual app folders. For the blog app, Django will go to /blog and search for a folder called static, and then inside that static folder, Django will look for the style.css file, as defined in the template.
| |
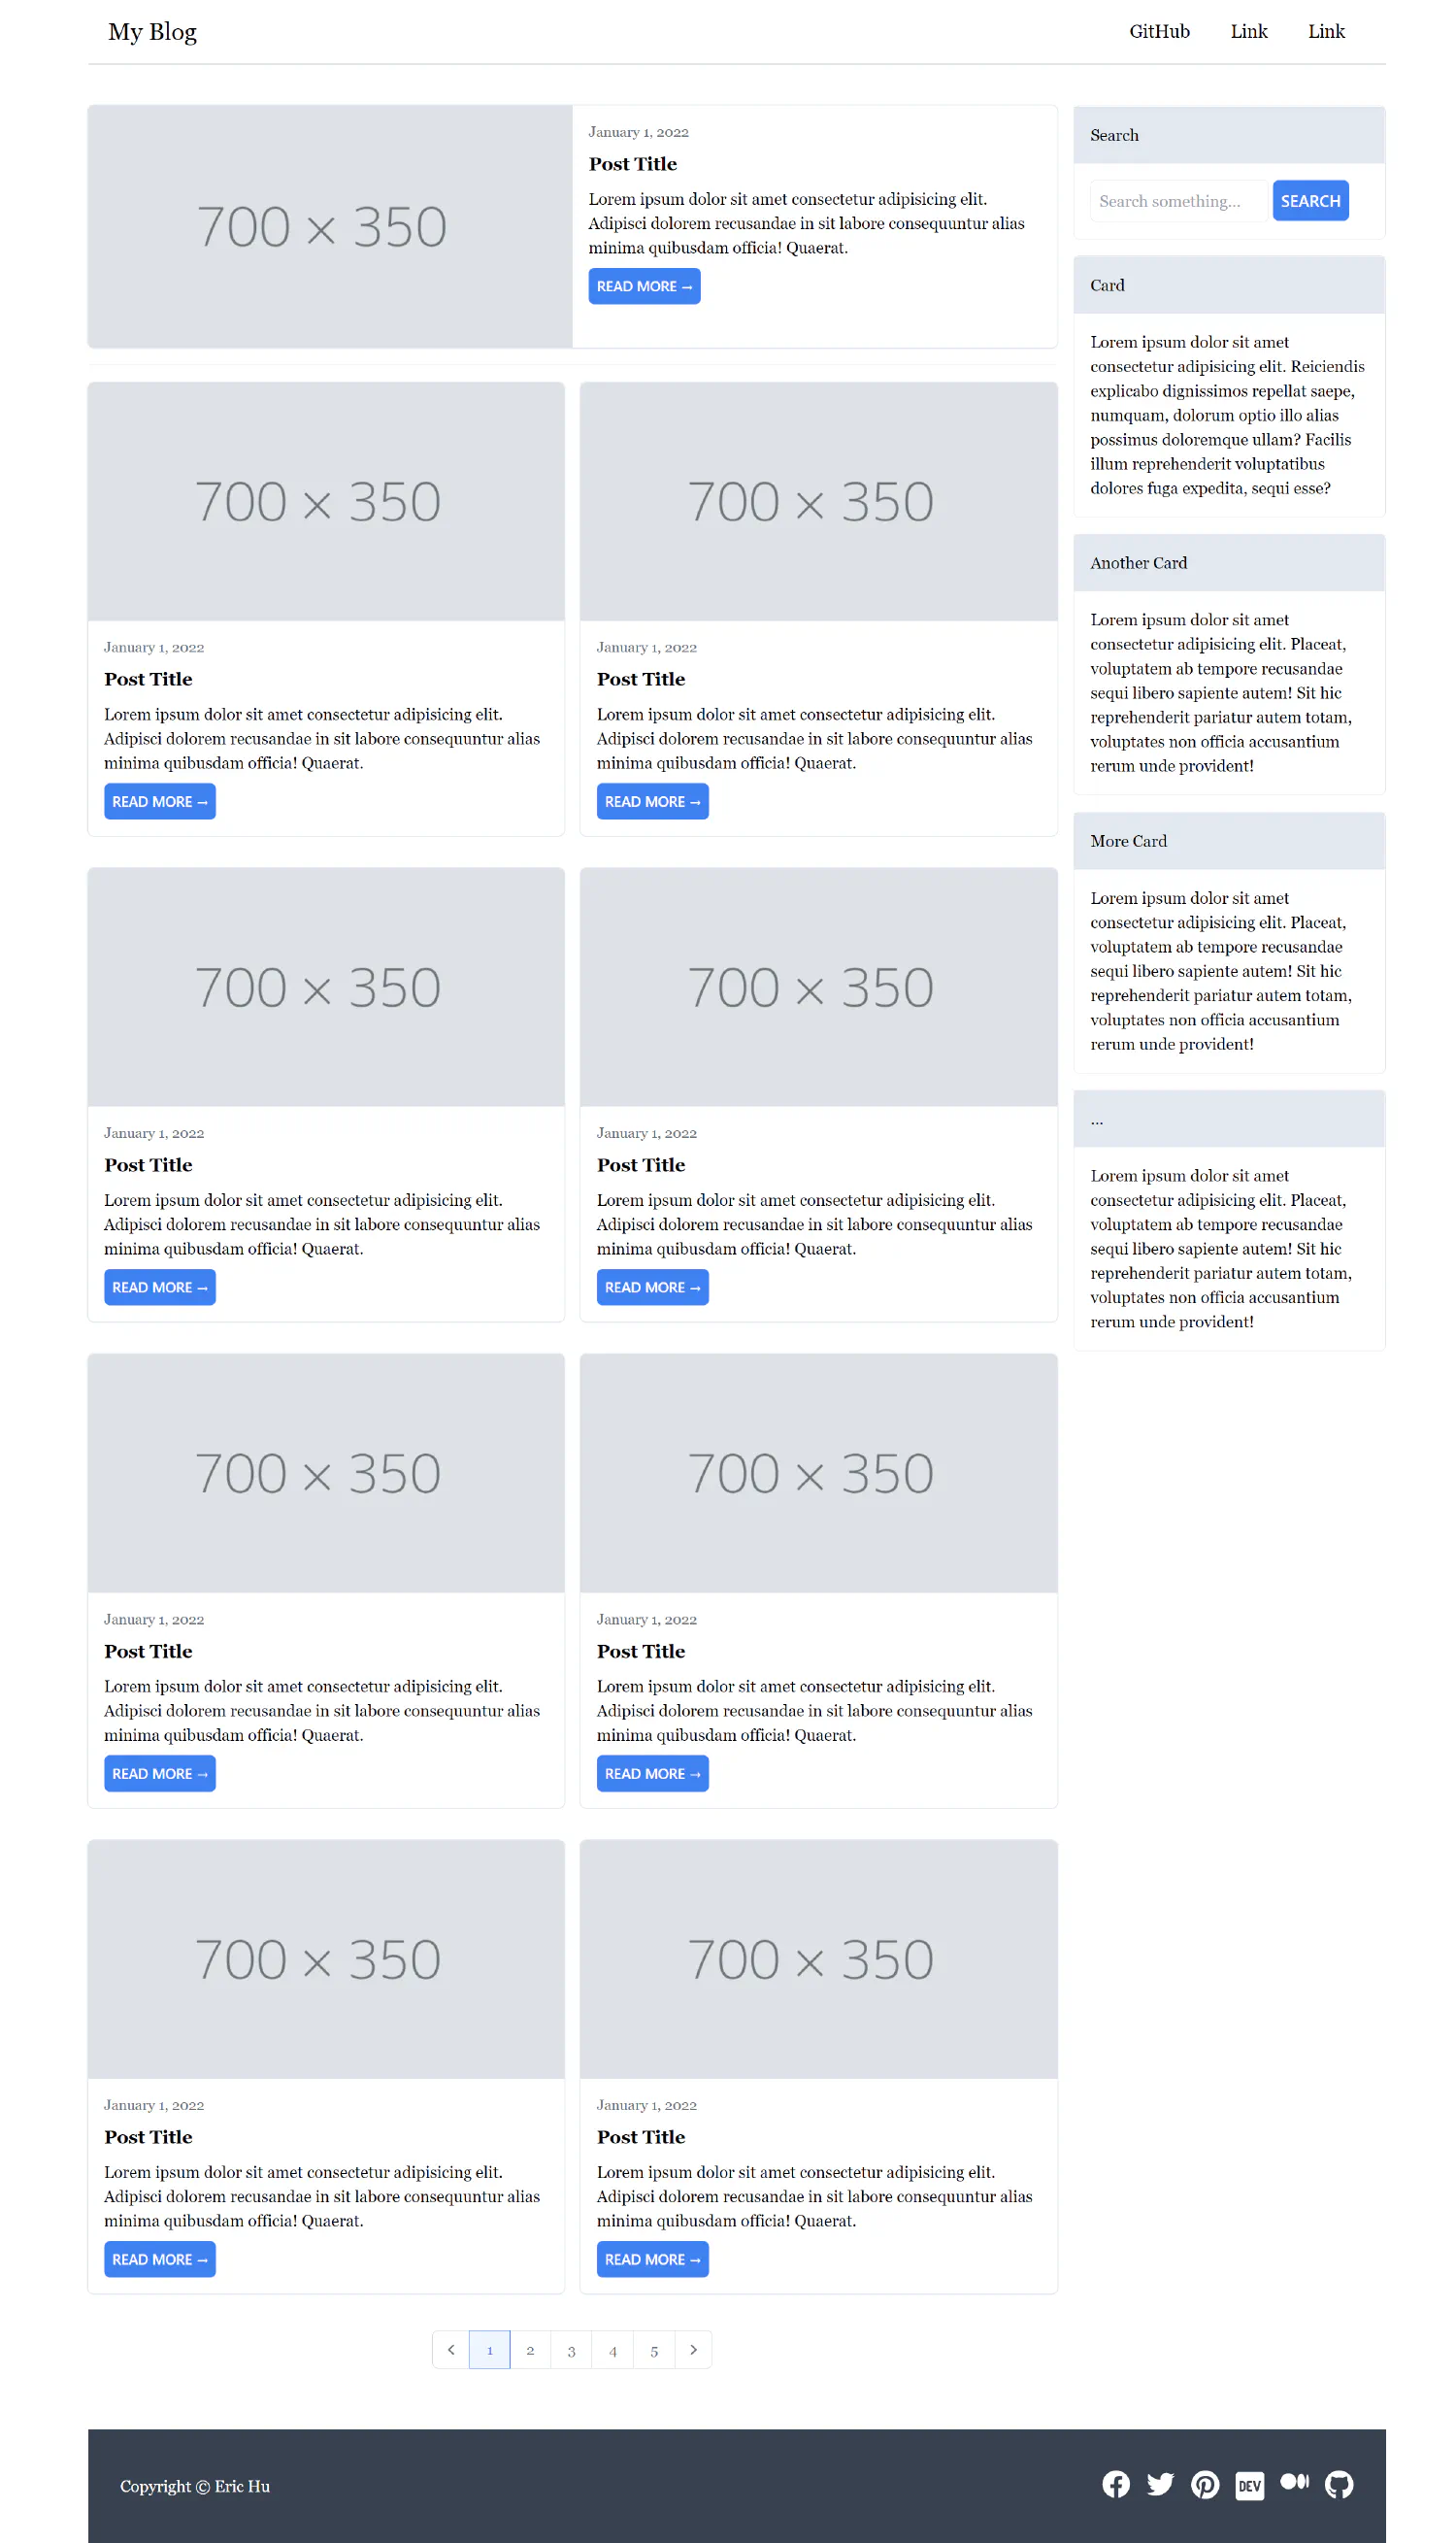
Home
home.html
| |
Notice that instead of hardcoding the sidebar and the list of posts, we separated them and placed them in the vendor directory, since we are going to use the same components in the category and the tag page.
List of posts
vendor/list.html
| |
From line 3 to 27, recall that we passed a variable posts from the view to the template. The posts contains a collection of posts, and here, inside the template, we iterate over every item in that collection using a for loop.
Line 6, recall that we created a URL dispatcher like this:
| |
In our template, {% url 'post' post.slug %} will find the URL dispatcher with the name 'posts', and assign the value of post.slug to the variable <slug:slug>, which will then be passed to the corresponding view function.
Line 14, the date filter will format the date data that is passed to the template since the default value is not user-friendly. You can find other date formats here .
Line 18, here we chained two filters to post.content. The first one removes the HTML tags, and the second one takes the first 30 words and slices the rest.
Sidebar
vendor/sidebar.html
| |
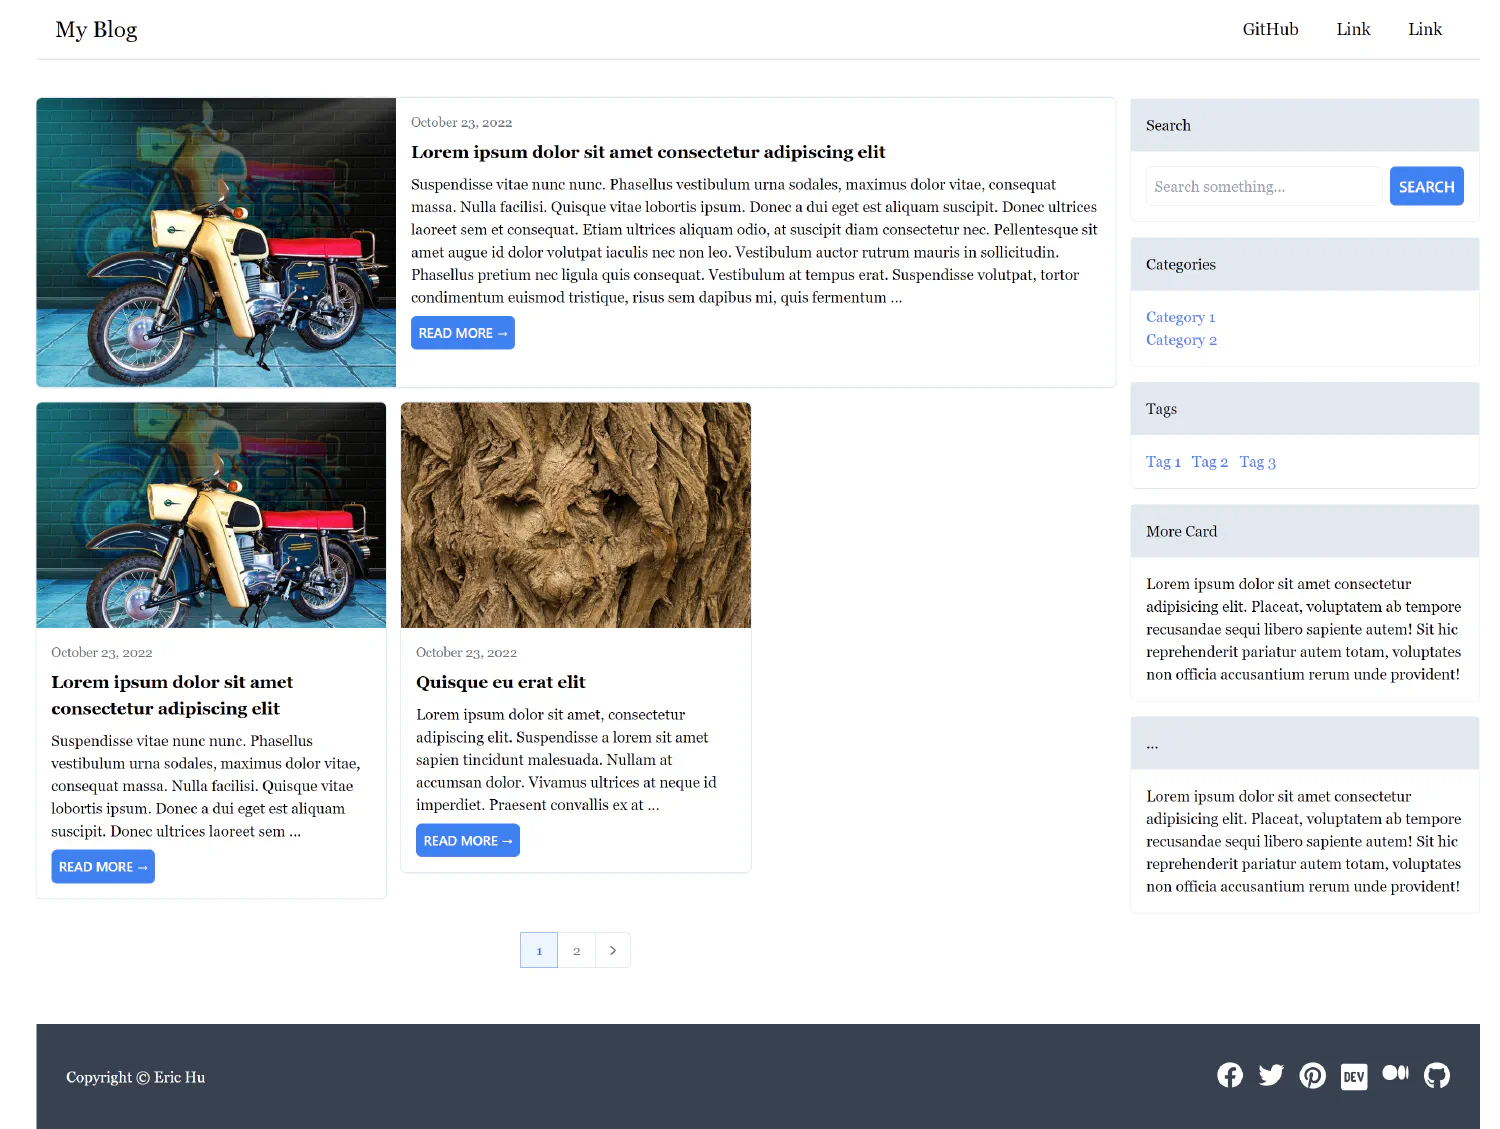
Category
category.html
| |
Tag
tag.html
| |
Post
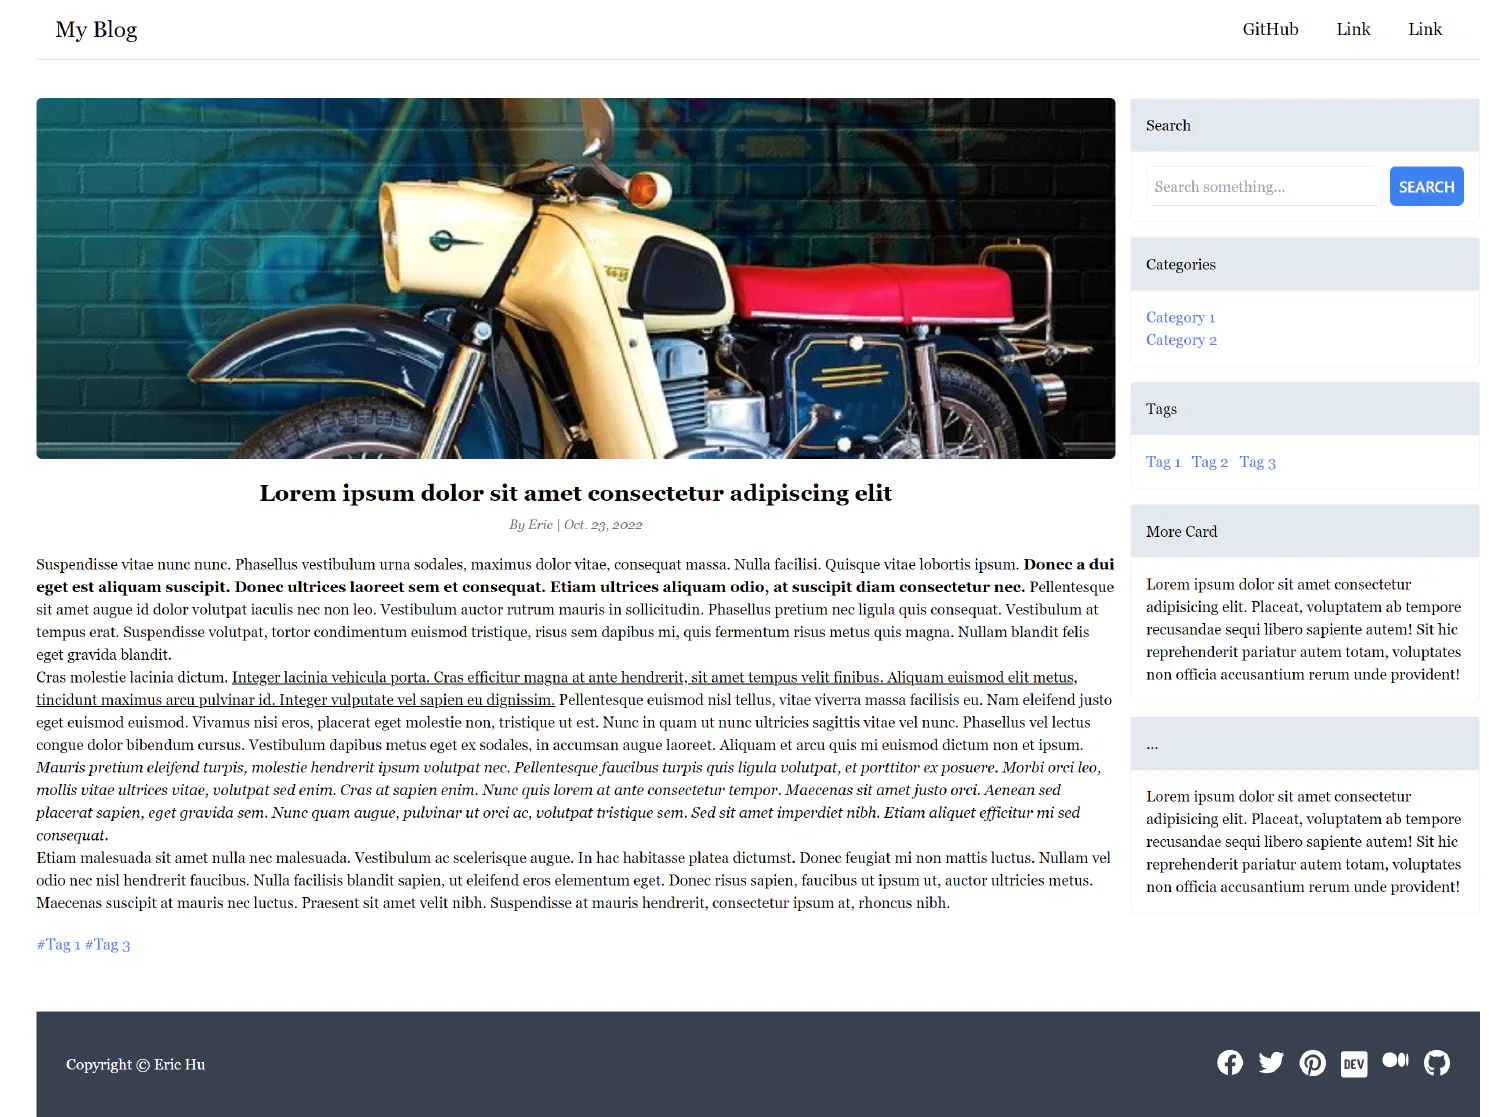
| |
One last thing we need to talk about is line 19, notice we added a safe filter. That is because, by default, Django will render HTML code as plain text for security reasons, we have to tell Django that it is OK to render HTML codes as HTML.
Lastly, start the dev server and explore your first Django app.
| |
If you think my articles are helpful, please consider making a donation to me. Your support is greatly appreciated.