How to Send Emails with Django
➡️ This tutorial is also published at www.thedevspace.io .
In today’s interconnected world, email remains a vital means of communication for businesses, organizations, and individuals. As a Django developer, understanding how to integrate email functionality into your web applications is essential for enhancing user engagement and delivering critical information. Whether you’re looking to send user notifications, password resets, newsletters, or any other type of email, Django provides a robust framework that simplifies the process.
In this article, we will delve into the intricacies of sending emails in Django. From configuring the email settings to leveraging Django’s built-in features, this guide will equip you with the knowledge and tools to incorporate email functionality into your Django projects seamlessly. By the end, you’ll be empowered to craft and send personalized emails, automating your communication process and providing a delightful experience for your users.
➡️ Get the source code for FREE!
Configuring the project #
First, let us discuss the configuration process. To begin, locate the settings.py file within your project directory, and proceed to append the following lines of code:
| |
In the example provided, we’re utilizing the default SMTP backend and Gmail service to handle email sending. To personalize it for your needs, simply replace <your_email> with your email address, and <your_password> with the App password generated from your Google account.
To generate the App password, you can follow these steps:
- Visit the Google Account page.
- Navigate to the Security section and select 2-Step Verification. You must turn on the 2-Step Verification before proceeding to the next step.
- Under App passwords, choose the Mail app and select the device for which you want to generate the app password.
- Click the Generate button to create the app password.
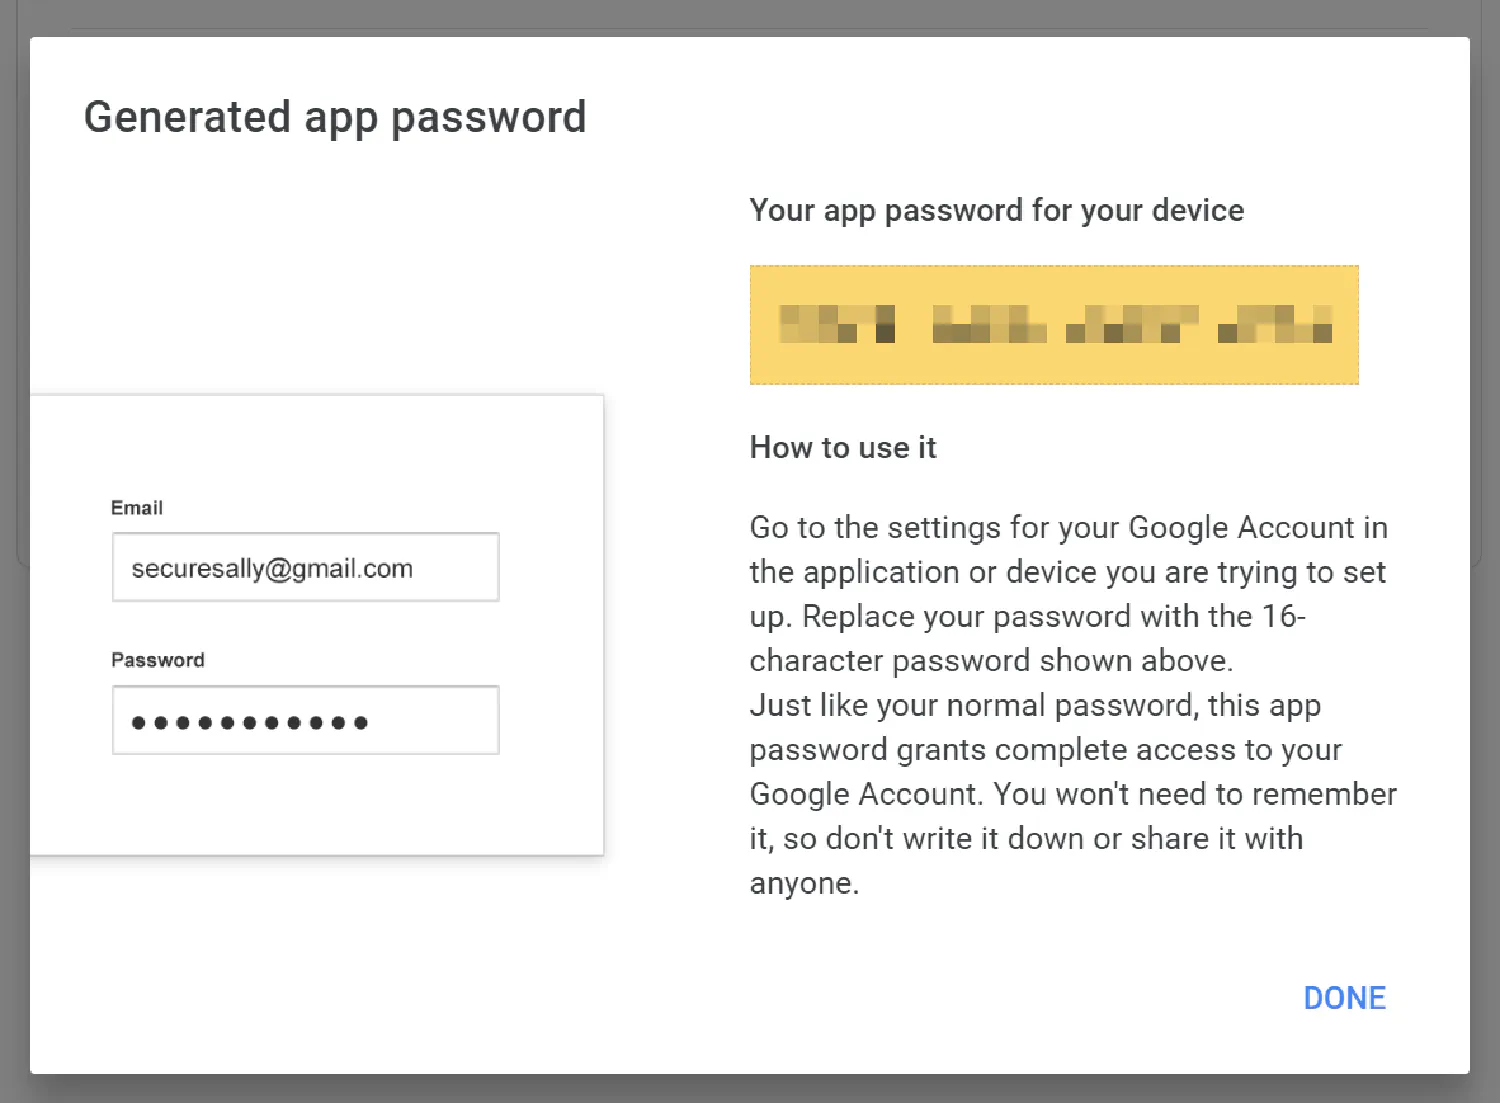
Following these steps will give you a secure and personalized configuration for sending emails in your Django application.
Sending your first email #
Next, you can proceed to send a test email. Go to views.py:
| |
This example uses the default send_mail() method to send an email, which takes the following parameters:
subject: The subject of the email.message: The actual content of the email.from_email: The email address that this email is sent from. If not set, Django will use the value of theDEFAULT_FROM_EMAILsetting. You may add this setting to thesettings.pyfile.recipient_list: A list of email addresses. Each member ofrecipient_listwill see the other recipients in the “To:” field of the email message.fail_silently: A boolean value. When it’sFalse,send_mail()will raise ansmtplib.SMTPExceptionif an error occurs.
In order to test this code, create a route that points to this send() view.
| |
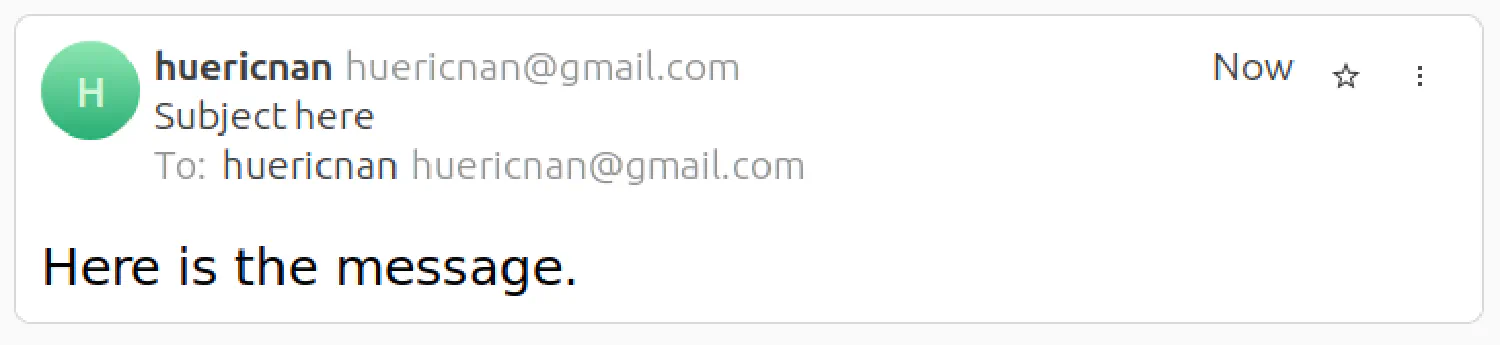
Start the Django application and send a request to http://127.0.0.1:8000/send/.
| |
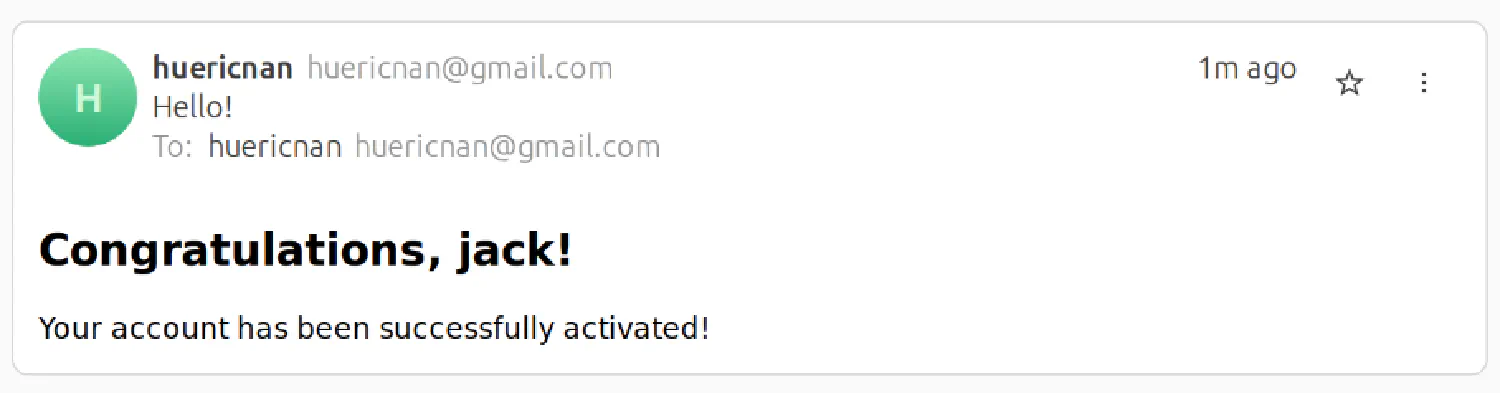
Wait a few seconds, and you should get the following email in your inbox.
Sending emails in bulk #
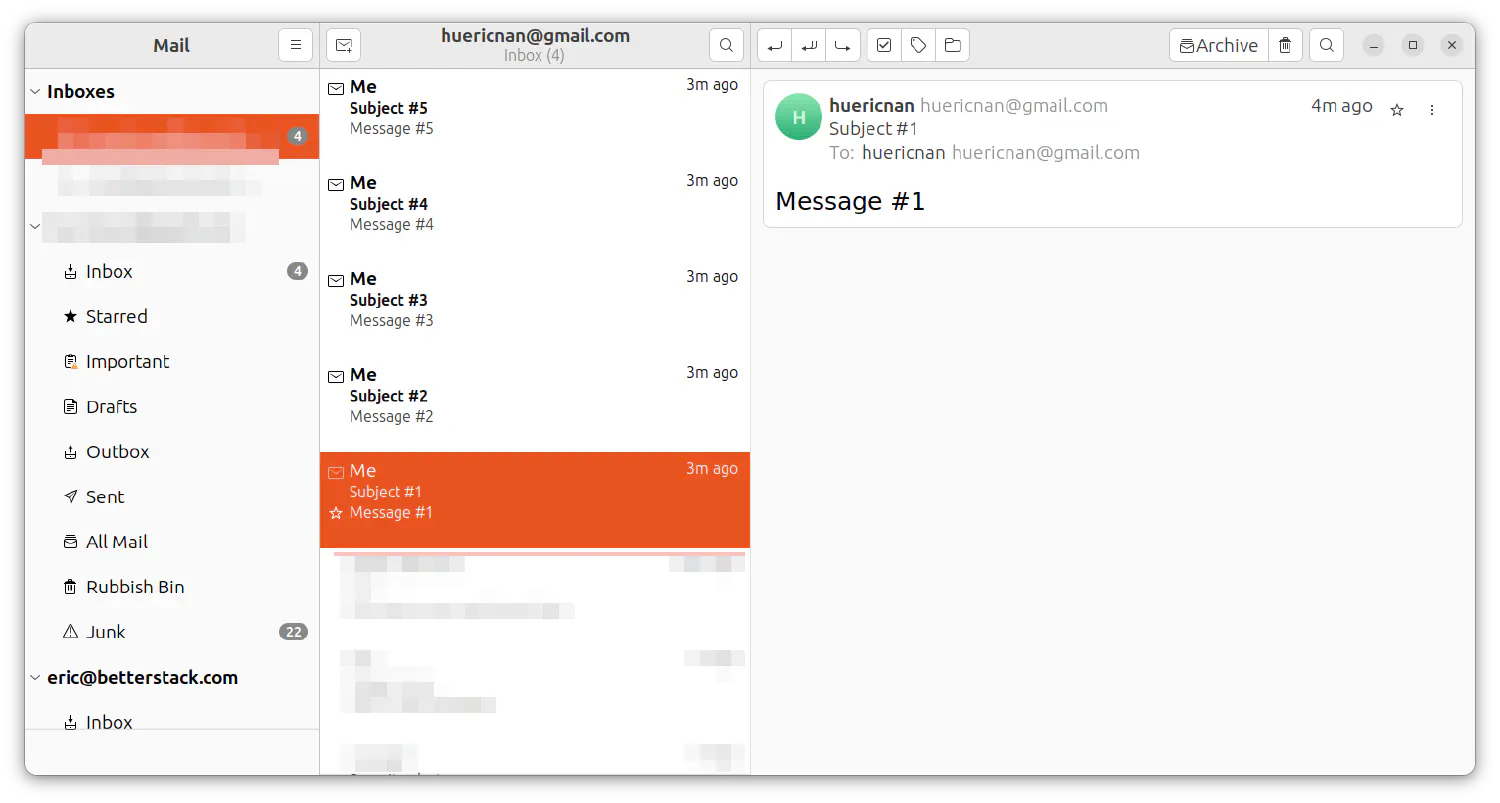
To send multiple emails together, you may use the send_mass_mail() method instead.
| |
The <email_address> placeholder can be different values. Send a request to the route, and you should receive five emails.
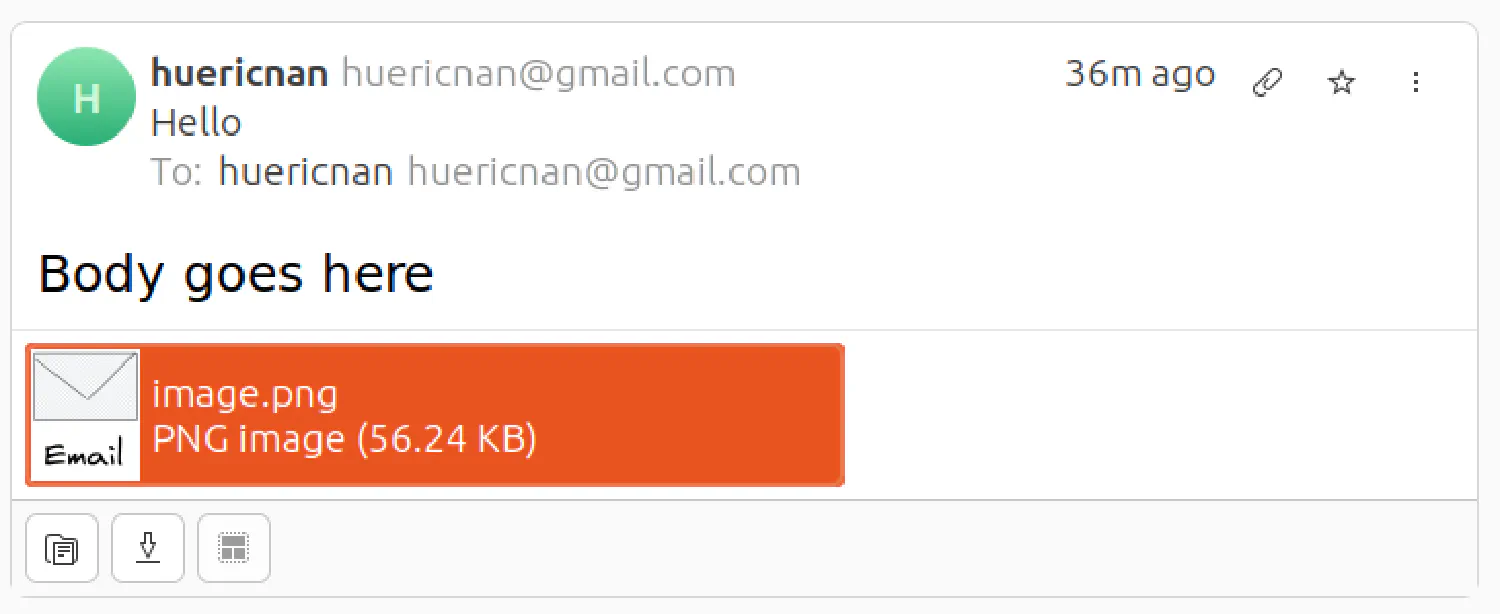
Sending emails with attachments #
Both send_mail() and send_mass_mail() methods are, in fact, wrappers using the EmailMessage class. They provide shortcuts allowing us to send emails more efficiently. However, if you want to do something more complex, for example, an email with attachments, you’ll have to use the EmailMessage class directly.
| |
The attach() method takes three arguments: filename, content, and mimetype. filename is the name of the file attachment as it will appear in the email, content is the binary data that will be contained inside the attachment and mimetype is the optional MIME type for the attachment.
Alternatively, you can create an attachment directly using a file in your filesystem without having to read the binary data first.
| |
Sending HTML emails #
Nowadays, most emails are crafted with HTML to make them more appealing to the readers. And Django also provides a way to send emails written in HTML.
| |
The EmailMultiAlternatives class offers a way to send emails crafted in different formats. Notice that, in this example, there is a text_content and a html_content. By default, the body of the email will be html_content. However, if the recipient cannot open HTML, the text_content will be displayed instead.

Creating templates for your emails #
Sometimes, the email you send to different recipients might be different. For example, if you send account confirmation emails to different users, their usernames should differ. In this case, you should create a template for the emails. First, create a template directory for your app:
| |
email.txt
| |
email.html
| |
Modify the send_html() view to use the templates instead:
| |
Conclusion #
With Django’s powerful email capabilities at your fingertips, you can create dynamic and engaging email experiences that enrich your web applications. This guide has provided a step-by-step approach to configuring your email settings, utilizing Django’s built-in functions, and exploring advanced techniques for effective email communication.
Hope this article has been of assistance to you. Thanks for reading!
If you think my articles are helpful, please consider making a donation to me. Your support is greatly appreciated.