Building a Calculator with HTML, CSS, and JavaScript
➡️ This tutorial is also published at www.thedevspace.io .
In this article, we will discuss how to create a calculator using HTML, CSS, and JavaScript. This project focuses on the most fundamental functionalities, making it an excellent practice project to improve your programming skills as a beginner.
➡️ Get the source code for FREE!
Prerequisites #
Before moving forward with this tutorial, make sure you understand how to create a grid layout, and understand the basics of JavaScript .
Creating the calculator layout #
As usual, let’s start by creating the HTML skeleton.
| |
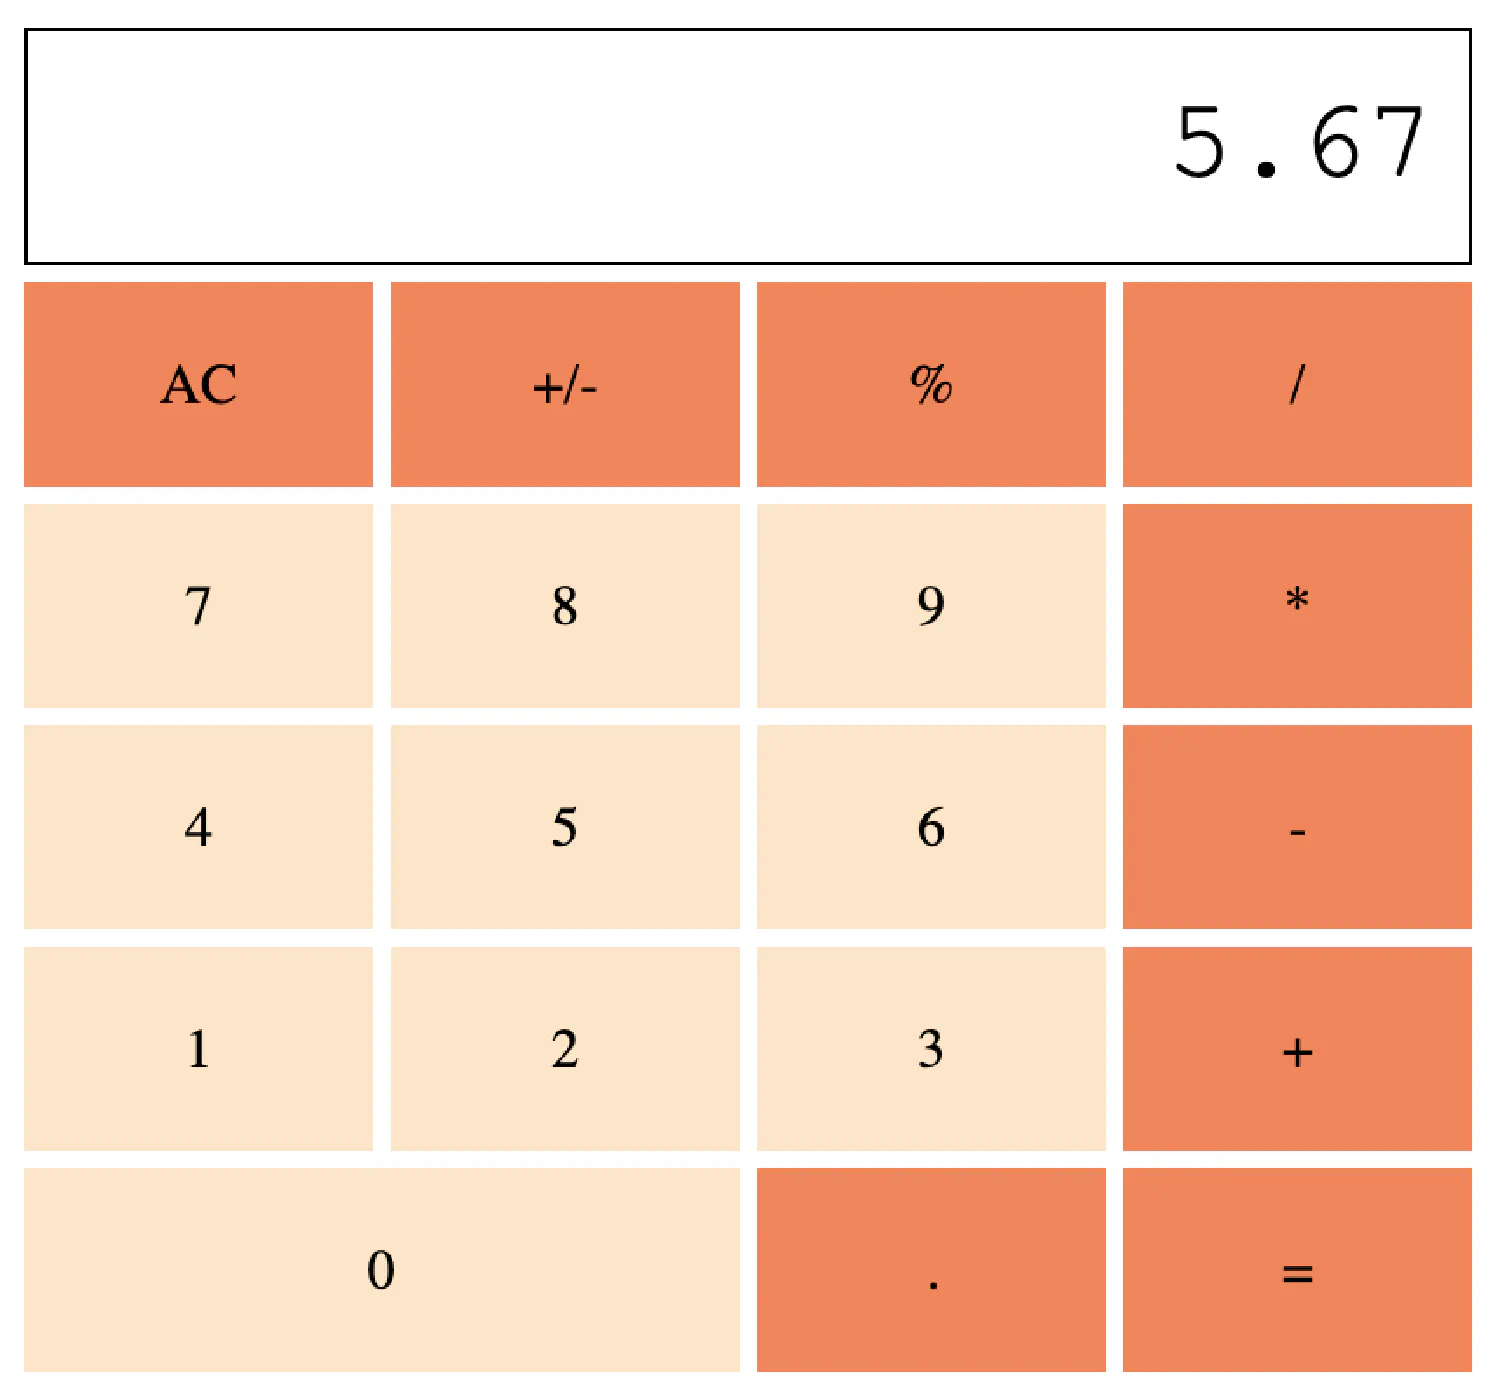
.calculatoris a container that wraps around the whole calculator..displayshows the user input, as well as the output of the calculation..buttonscontains both the.numberbuttons (0-9) and the.functionbuttons (+,-,*…).
And, of course, you must set up the event listeners so that when a button is clicked, the corresponding function is executed.
| |
Before we start coding, we also need to discuss the general structure of this project.
First of all, there should be a global variable (displayValue) to store the displayed value, as well as a helper function (updateDisplay()) that updates the .display based on the variable. The function selects the display element and updates its content.
There should also be an appendNumber() and appendOperator() functions that append new digits to displayValue. Lastly, you need a calculate() function that executes the mathematical expression and returns the value.
And of course, there are other functions such as clearDisplay(), toggleSign(), and percent().
Adding styles #
Next, you should add some styles so that our calculator actually looks like a calculator.
First of all, the .buttons should be a grid layout with 4 columns and 5 rows. As an example, I’m making each cell to be 100px wide, and with a 5px gap in between.
| |
And then customize the individual buttons to make them look more pleasing.
| |

The number 0 is a special case, as it spans over multiple columns. This can be achieved using the grid-column-start and grid-column-end properties.
| |
| |
As for the display, it may be designed however you like, as long as it looks good to you. Here is what I did:
| |
Adding scripts #
And finally, for the most important part, the scripts. First of all, as we’ve discussed before, you need a global variable to store the value that will be displayed, as well as a helper function that updates the display based on the variable.
| |
Here, I’m using the ID selector getElementById("display"), so make sure your display element has the correct ID as well.
| |
innerHTML points to the content of the selected HTML node.
In this example, if the displayValue is empty, 0 will be displayed. If not, the actual value will be displayed.
appendNumber() and appendOperator() #
Next, you need an appendNumber() function that updates the displayValue by appending new numbers and also updates the display afterward.
| |
And of course, the appendOperator() function does the same thing, but with the operator keys.
| |
However, this function is a bit tricker for two reasons. First, you can’t have two consecutive operators. For example, the equation 12 */--+ 21 doesn’t make any sense. So before adding a new operator digit, you must check that the last digit of displayValue is not an operator.
In this example, displayValue.charAt(displayValue.length - 1) retrieves the last digit of displayValue, isNaN() returns true if the given value is NOT a number, and ! flips the given value. Putting them together, line 4 returns true if the last digit of displayValue is a number.
And second, an equation should not start with an operator, so you have to ensure displayValue is not empty before adding an operator (displayValue !== "").
calculate() #
| |
The calculate() function is at the heart of this project, but it is actually rather easy to understand. We are using the built-in function eval() to do all the heavy lifting. You simply pass the displayValue to the function eval(), and it will return the result. However, you should remember to catch the potential errors, just in case the equation doesn’t evaluate to a result that makes sense.
In practice, it is not recommended to use
eval()in the production environment, as it evaluates all JavaScript expressions given to it without proper validation, and this opens the door to code injection attacks. The source code for this article implemented a more production-ready solution, and it is available for free here .
clearDisplay() #
| |
Lastly, the clearDisplay() function resets displayValue to an empty string.
Conclusion #
You may have noticed we neglected two functions, toggleSign() and percent(). The exact implementation of these functions is available in the source code , which you can download for free. But if you prefer implementing your own version, here is a hint:
- The
toggleSign()function should examine the first digit ofdisplayValue. If it is a number, add a-sign in the front. If it is not a number, that meansdisplayValueis already a negative value, so simply remove it. - The
percent()function should first convertdisplayValueinto a number, and then calculatedisplayValue / 100.
If you need more assistance regarding HTML and CSS, check out my course HTML & CSS: A Practical Guide.
Happy coding!
If you think my articles are helpful, please consider making a donation to me. Your support is greatly appreciated.