JavaScript Basics #4
- JavaScript Basics #1
- JavaScript Basics #2
- JavaScript Basics #3
- JavaScript Basics #4 ← You are here
- JavaScript Basics #5
In this article, we are going to discuss two separate topics in JavaScript, regular expressions and the canvas.
Regular expression #
The first topic we are going to discuss in this article is called regular expression. It is technically not a part of JavaScript, it’s a separate language that is built into JavaScript as well as other programming languages. Regular expression has a very awkward and cryptic syntax, but it is also very useful. It is widely used among programmers as a tool to describe, match and replace patterns in string data.
Creating a regular expression #
A regular expression is an object. There are two ways you can create a regular expression in JavaScript. You can either use a RegExp() constructor or you can enclose the pattern inside a pair of forward-slash (/) characters.
| |
Both of these examples describe the same pattern: a character a followed by a b followed by a c. The second notation, however, treats backslash (\) characters differently. For example, since the forward-slash denotes the pattern, if you want a forward-slash to be a part of the pattern, you need to put a backslash in front of it (\/).
Matching patterns #
Regular expression offers a handful of methods for us to use, the most commonly used one should be the test() method, which is used for matching patterns in string data.
| |
In this example, the test() method will examine the string that is passed to it, and return a boolean value telling you if a pattern match is found.
However, simply testing if the pattern "abc" is found in a string does not seem very useful. Sometimes we want to test for a match using a set of characters. For example, the following code test if at least one of the characters, from character 0 to character 9, exists in the string "in 1992".
| |
It is also possible to match any character that is not in the set. For example, this time we’ll match any character that is not 1 or 0.
| |
Some of the commonly used character sets have shortcuts in regular expressions. For instance, \d represents all digit characters, same as [0-9].
\dAny digit character\wAny alphanumeric character (word character)\sAny whitespace character (space, tab, new line …)\DAny non-digit character\WAny non-alphanumeric character\SAny non-whitespace character.Any character except for the new line
Now, we could match a date-time format (10-07-2021 16:06) like this, and as you see, it is awkward and cryptic as advertised.
| |
Matching repeating patterns #
You may have noticed that in our previous example, each \d only matches one digit character. What if we want to match a sequence of digits of arbitrary length? We can do that by putting a plus mark (+) after the element we wish to repeat.
| |
The star sign has a similar meaning except it allows the element to match for zero times.
| |
We can also indicate precisely how many times we want the element to repeat. For example, if we put {4} after an element, that means this element will be repeated four times. If we put {2,4} after that element, it means the element will be repeated at least twice and at most four times.
| |
It is possible to repeat a group of elements as well. We only need to enclose that group of elements inside a pair of parentheses.
| |
In some cases, we need a part of the pattern to be optional. For example, the word “neighbour” can also be spelled “neighbor”, which means the character “u” should be optional. Here is what we can do:
| |
Other methods for matching patterns #
The test() method is the simplest way of finding out if a pattern match is found in a string. However, it doesn’t give you much information besides returning a boolean value telling you if a match is found. The regular expression also has an exec() method (exec stands for execute) that would return an object giving you more information, such as what the match is and where it is found.
| |
There is also a match() method that belongs to the string type, which behaves similarly.
| |
The exec() method can be very useful in practice. For example, we can extract a date and time from a string like this:
| |
The underscore (_) is ignored, it is used to skip the full match that is returned by the exec() method.
However, now we have another problem from this example. If we pass to the exec() method a sequence of nonsense like "100-1-3000", it would still happily extract a date from it.
In this case, we must enforce that the match must span the entire string. To do that, we use the boundary markers ^ and $. The caret sign (^) marks the start of the string and the dollar sign ($) matches the end of the string. So, for instance, the pattern /^\d$/ would match a string that only consists of one digit character.
Sometimes you don’t want the match to be the entire string, a string could be a complete sentence and you want the match to be a word in that sentence. To mark a word boundary, we use the \b marker.
| |
The last type of pattern I’d like to introduce before we wrap up this topic is the choice pattern. Sometimes we don’t want to match a specific pattern, but instead, we have a list of acceptable patterns. we can divide the different patterns using the pipe character (|).
| |
If you are interested in learning more about the regular expression, this is a very interesting website to play around.
Replacing a pattern #
Besides the match() method, string values also have a replace() method that replaces part of the string with another string.
| |
The first argument of the replace() method can also be a regular expression, in which case the first match of that regular expression will be replaced with the second argument. If you wish to replace all matches of the regular expression, add a g option (global option) to that regular expression.
| |
The canvas #
Remember when we talked about HTML and CSS, we briefly introduced something called SVG? It allows us to create beautiful images by simply using HTML tags. Today, we are going to introduce something similar called canvas, except it allows us to use javascript to create graphics on web pages. And because it uses a programming language instead of a simple markup language, that makes canvas much more flexible and powerful compared to SVG.
We know that the SVG has a DOM tree structure, and the shape, color, and position are all represented using HTML tags. The canvas, however, is one single HTML node, but it encapsulates a space on the web page, where you can create beautiful artworks using JavaScript. This space can be defined using the <canvas> tag. Here is an example where we create a simple rectangle inside the canvas space:
| |
The getContext() method is used to access the drawing interface, which is like a toolbox where your digital pens and pencils are stored. The parameter "2d" stands for two-dimensional graphics. If you are interested in creating three-dimensional graphics, you should use WebGL instead. But we are only focusing on the 2D system for now.
Also, notice that we defined the size of the canvas at the beginning. If you don’t do that, the canvas element will take a default width of 300 pixels and a height of 150 pixels.
Lines #
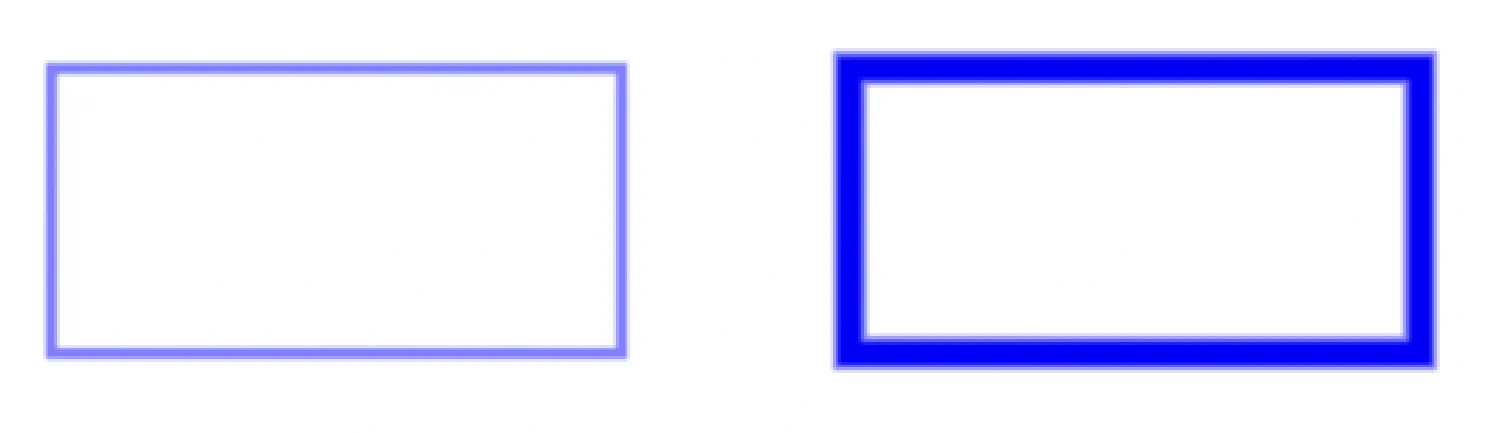
The rectangle we just created is solid, the inside of the rectangle is filled. What if we want something different? It is also possible for us to create a rectangle that only has an outline, by using a very similar method, strokeRect(). This method also takes four parameters, the first two define the position and the last two define the size.
| |
Paths #
Now you might be wondering, that’s not so exciting, we can create rectangles using SVGs just as easily. Don’t worry, the real power of the canvas starts now.
First, we need to understand what a path is. A path is a sequence of line segments. For example, we have a line that starts from coordinate (0, 0) to (0, 50), the second line from (0, 50) to (80, 50), and the third line from (80, 50) to (80, 100). These three line segments will form a path.
The canvas allows us to do something like this:
| |
With paths, we can create any shape we want. For example, the following code creates a triangle:
| |

Curves #
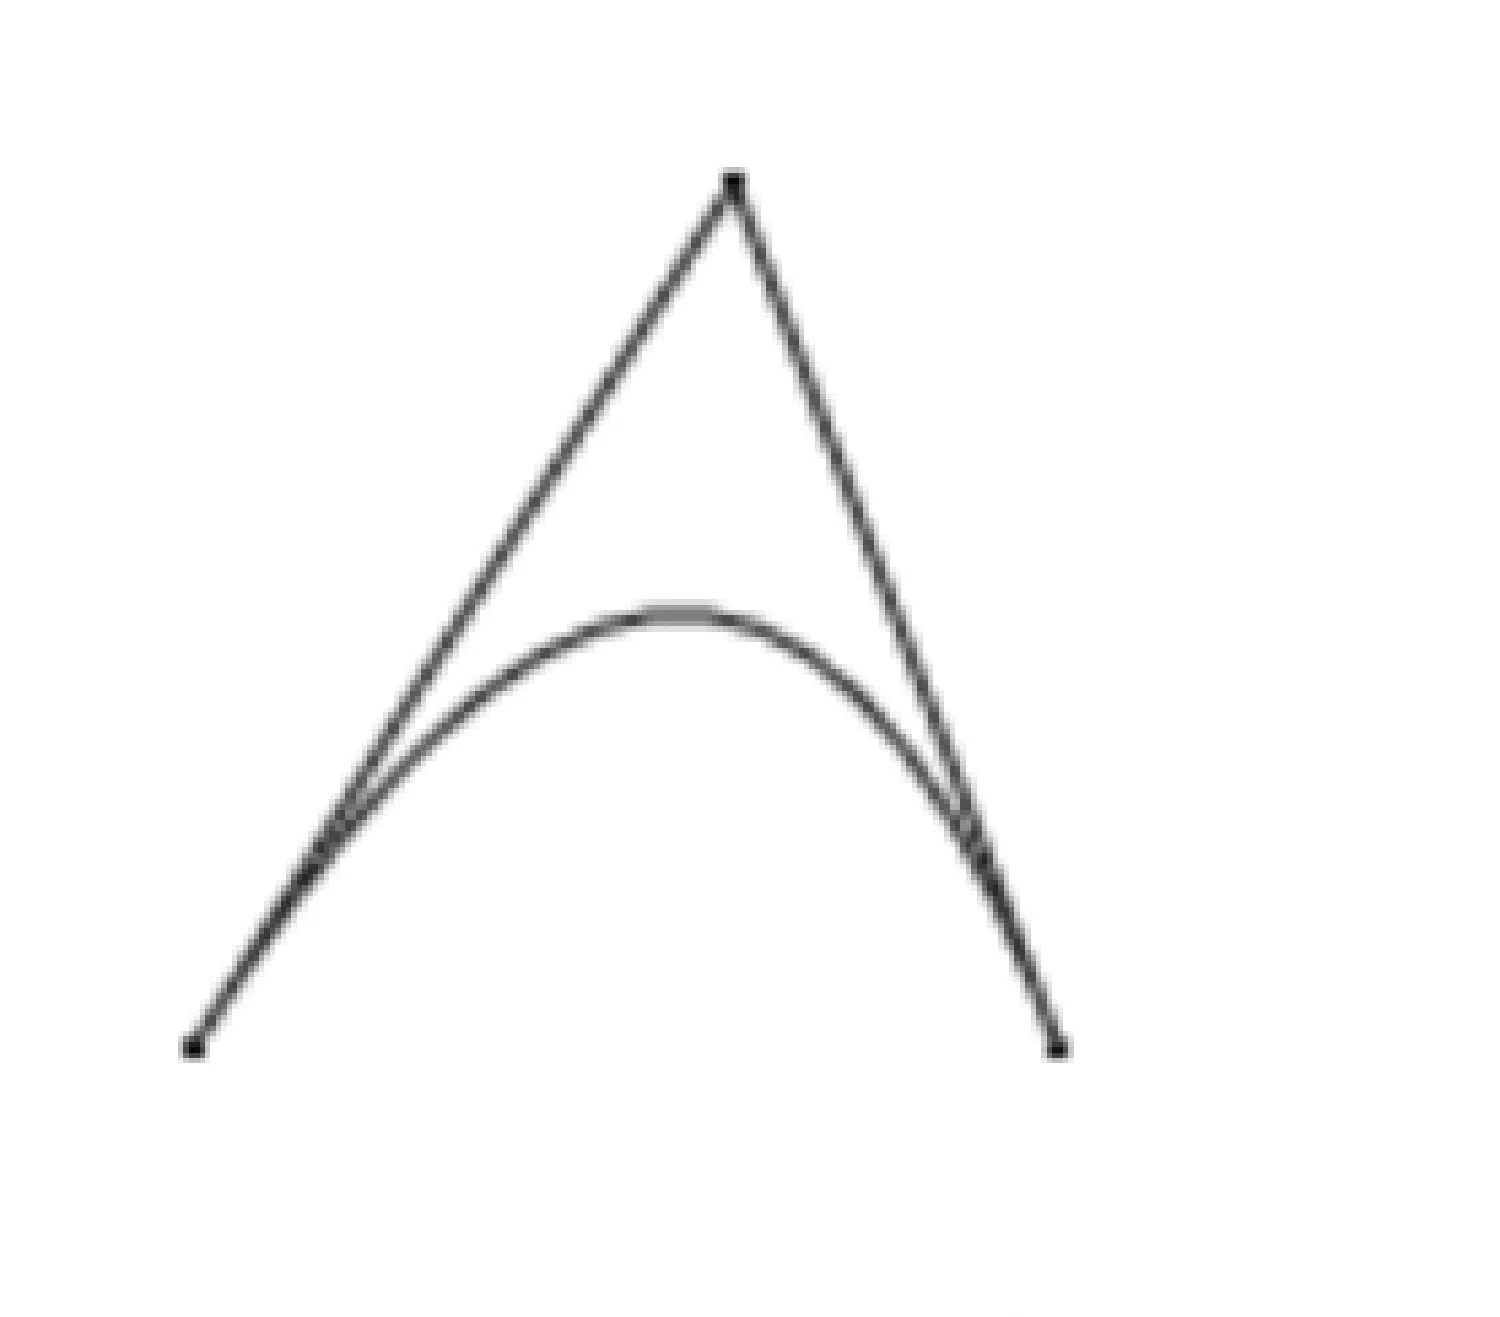
A path could be formed by straight lines, and it could also be formed by curves. A curve, however, is a little bit more difficult to define. To define a curve, we need a start point, a destination point, and a control point. The curve will not go through the control point directly, but instead, it defines a point where the tangent line of the start and destination point goes through.
This is a little hard to understand. I suggest you get familiar with the pen tool in Photoshop or the path tool in GIMP first. They share the same concept, except when you are coding, you need to imagine what the curve looks like.
Here is another example. We’ll first draw the curve, and then draw the tangent lines and the control point, so that it helps you understand what’s going on here:
| |
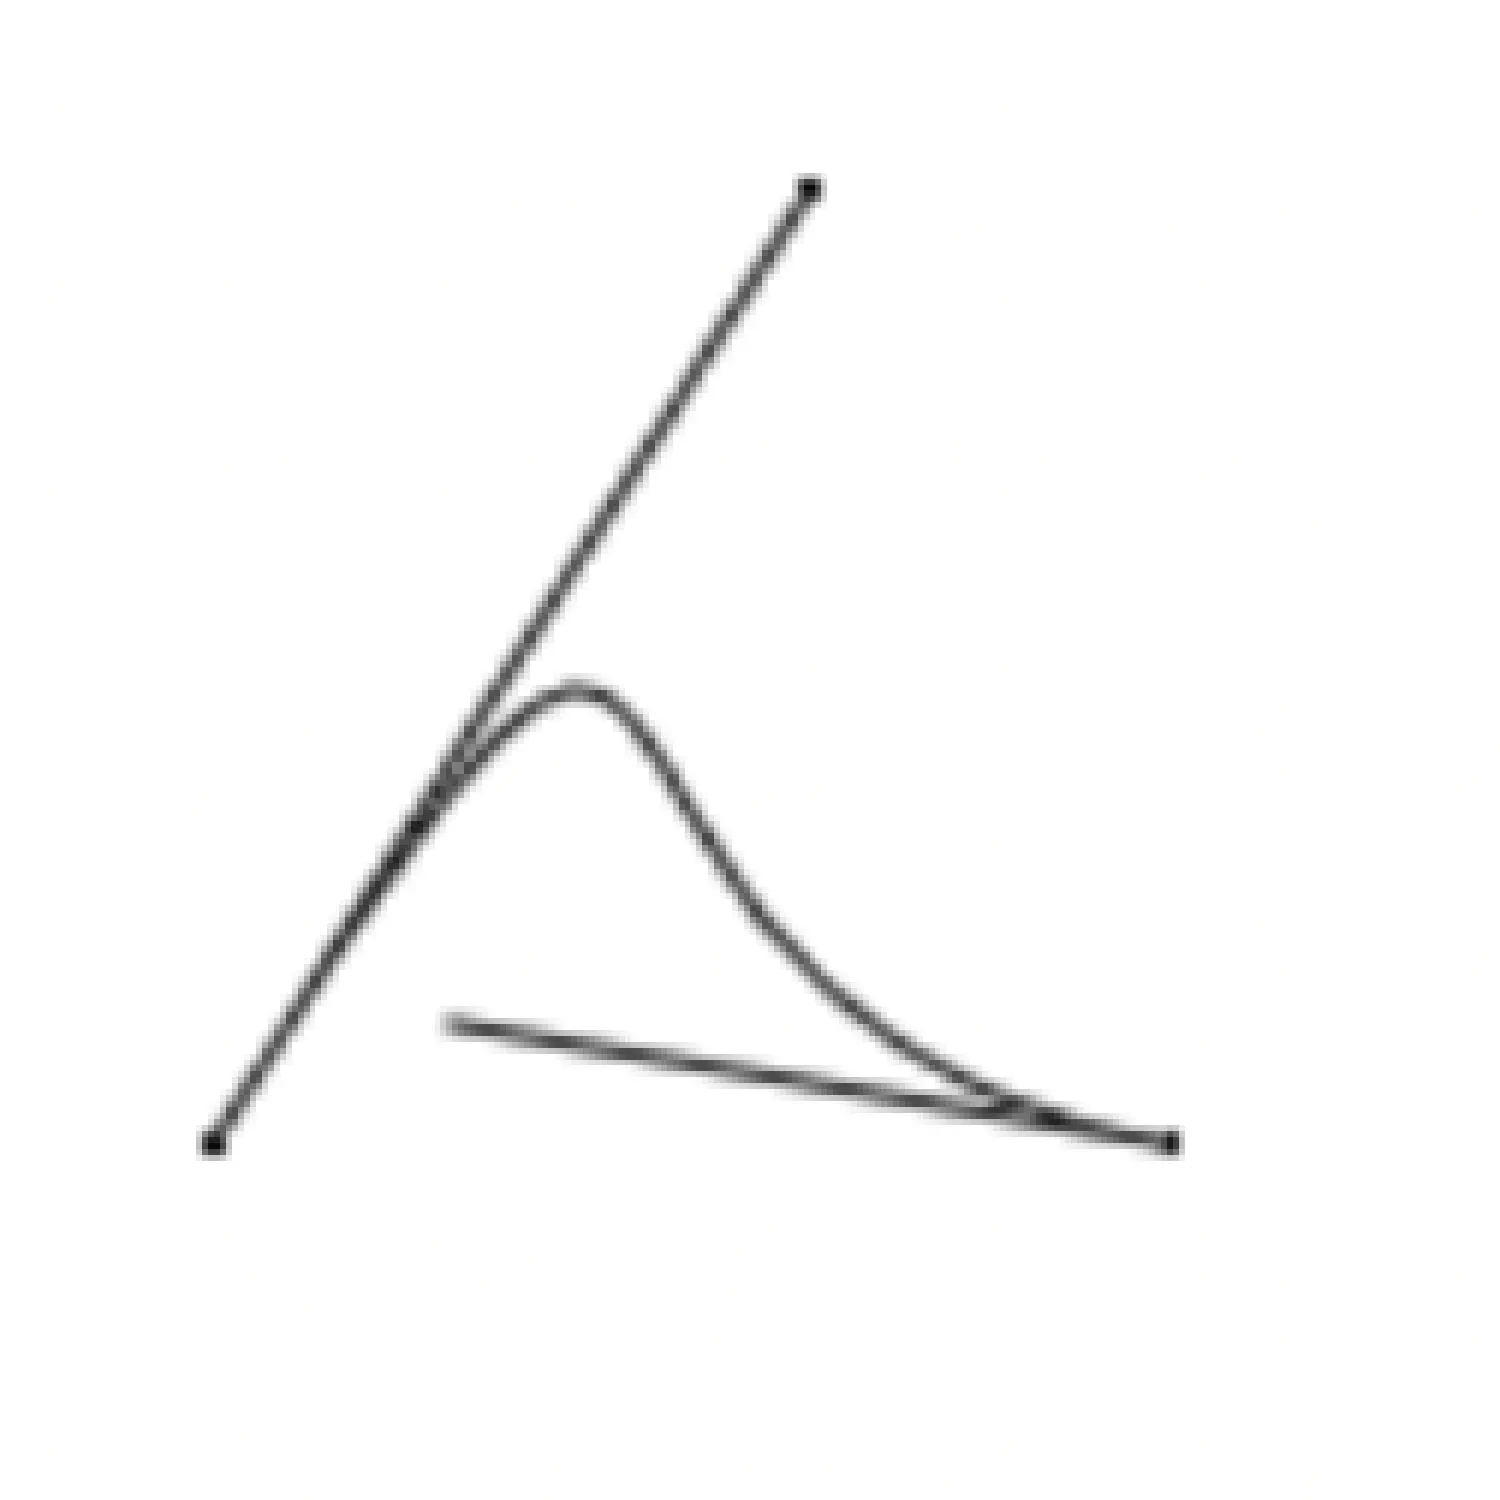
Sometimes we want the start point tangent and the destination point to have different control points. That is also possible to achieve using the bezierCurveTo() method.
| |
Texts #
Texts might also be useful when we are creating graphs. We can draw texts using either fillText and strokeText. The latter will only render the outline of the texts instead of filling it.
| |

The last two parameters indicate the position of the text, but unlike drawing shapes, it defines the coordinate of the start of the text’s baseline. The baseline is the line that the text stands on.
Transformations #
There are primarily three types of transformations, translate(), scale() and rotate(). Remember that these methods need to be put before the graph you wish to transform.
translation() will move the graph from one position to another:
| |
The scale() will make the original graph bigger or smaller:
| |
And finally, rotate() can rotate the graph along an axis:
| |
Bitmap graphics #
In computer graphics, there is something called vector graphics and bitmap graphics. All the graphs we’ve been talking about so far are vector graphics. Their primary difference is that the bitmap graphics are formed by pixels while the vector graphics are not. Instead, they are formed by paths, with a direction and a magnitude (length), like a vector.
However, it is necessary for us sometimes to insert some bitmap graphics in our vector graphic design. We can do that by using the drawImage() method.
| |
In this example, the image will be drawn at the coordinate (10, 10), with the size 360px * 240px.
We need to add the event listener because, without it, the image will load after the canvas, so we have to make the canvas wait for the image to load first.
If you think my articles are helpful, please consider making a donation to me. Your support is greatly appreciated.