JavaScript Basics #5
- JavaScript Basics #1
- JavaScript Basics #2
- JavaScript Basics #3
- JavaScript Basics #4
- JavaScript Basics #5 ← You are here
If you’ve made it to this article, congratulations, we are done with the frontend basics of JavaScript. It is almost time for us to dive into the backend of web development. However, before we do that, I’d like to first talk about how the internet actually works.
The network, to put it simply, is multiple computers connected together. These computers can send information to each other. And if this network extends to the entire planet, it becomes what we call the internet.
➡️ Get the source code for FREE!
Network protocols #
When a computer (server) sends data and resources, it has to follow a certain protocol, so that the computer (client) that receives the resources knows how to read them. There are protocols for sending and receiving emails, sharing files, and even controlling another computer over the internet. We don’t have time to introduce all of them, so in this article, we’ll focus on HTTP, HTTPS as well as the TCP protocol.
The TCP protocol is one of the most commonly used internet communication protocols, in fact, a lot of other protocols are created on top of it. It works as follows: one computer must always be listening, waiting for other computers to start talking to it.
This computer has different “listeners”, and they can listen for different kinds of communications at the same time, to make sure these listeners don’t interrupt each other, each of them will take up one position (port) on that computer. For example, when we receive emails, that email is sent to us using the SMTP protocol, which is created based on the TCP protocol. By default, our computer will always be listening on port 25 for emails.
For another computer to send data to the target computer, it needs to “talk” to the target computer through the correct port. If the target machine can be reached and is listening on that port, a connection will be established, and the data transfer can begin. In this case, the computer that is listening is called the client, and the computer doing the talking is called the server.
The Hypertext Transfer Protocol (HTTP) is a protocol for retrieving named resources. It means that the client would first make a request to the server, asking for some resources. The resources are usually web pages, images, or CSS/JavaScript files. If the server is OK with that request, it would return a 200 OK message back to the client, and start transferring the files. The HTTP request sent by the client usually looks like this:
| |
And the response looks like this:
| |
Of course, when you are surfing the internet, you never actually had to do this manually, the browser does everything automatically for you when you type in the uniform resource locator (URL), which specifies the protocol, host, and the path to the resource you want.
| |
The HTTPS protocol works exactly the same, except it is encrypted. It uses something called the transport layer security (TLS) protocol to make sure that the communication between the client and the server is secure. The server has a private key and the client has a public key, the connection could only be established if the two keys match each other.
HTTP methods #
Since we are focusing on web development, in this article, we’ll only discuss the HTTP protocol in detail. Notice that from our previous example, when we send an HTTP request, the request starts with a keyword GET, which is called an HTTP method. There are six other methods besides GET, and each of them serves a different purpose.
The GET Method
The GET method is the most commonly used HTTP request method. It is used to request data and resources from the server. When you send a GET request, the query parameters are embedded in the URL in name/value pairs like this:
| |
Note that the question mark (?) marks the beginning of parameters, and the ampersand divides two different parameters.
The POST Method
The POST method is used to send data to the server, either adding a new resource or updating an existing resource. The parameters are stored in the body of the HTTP request.
| |
The DELETE Method
This one is very intuitive, it deletes a resource from the server.
The HEAD Method
The HEAD method works just like the GET method. Except the HTTP response sent from the server will only contain the head and not the body. Meaning if the server is OK with the request, it will give you a 200 OK response but not the resource you requested. You can only retrieve the resource with the GET method. This is very useful when testing if the server works.
THE PUT Method
The PUT method is similar to the POST method, with one small difference. When you POST a resource that already exists on the server, this action would not cause any difference, it would always produce the same result. The PUT method, however, will duplicate that resource, every time you make the request.
HTML forms and HTTP #
Now that we know what an HTTP request would look like, it is time to talk about how to send a request. The most common way of doing that is through HTML forms. It allows the user to fill out information and submit them as parameters. Here is an example:
| |
Let’s first look at the <form> tag. The method attribute specifies the HTTP method we are going to use. In this case, it’s GET, which means the parameters will be embedded inside the URL. The action specifies the domain and the path to the file we are requesting. Usually, the server will perform some actions to that file based on the parameters you send, and return you a customized file.
If you look inside the <form> element, notice that the user input elements (both <input> and <textarea>) have name attribute. This defines the name of the parameter, which is a name/value pair. The corresponding value of that name would be the user input. This name is very important, you have to make sure that when you are coding the backend, the names are consistent.
When you push the “Send” button, the HTTP request would look like this:
| |
JavaScript and HTTP #
Besides HTML forms, JavaScript can also be used to send HTTP request. It can be done using the fetch() method like this:
| |
By default, the fetch() method uses GET method to make the request, you can change that by specifying the method.
| |
Or adding extra information in the header, and add parameters in the body like this:
| |
However, using JavaScript to make HTTP requests does raise some security concerns. Because the user and the programmer aren’t usually the same person, they might not have the same interest in mind. Obviously, you don’t want a random web page to access your bank with credentials stored in your browser. This is why most browsers forbid JavaScript from making HTTP requests by default.
This can be very annoying because it is possible that the JavaScript code wants to access another domain for a legitimate reason. To solve this problem, the servers can include in the response saying that it is OK for the request to come from another domain.
| |
JavaScript in the backend #
At the beginning of this course, I promised that we’ll be using JavaScript the “traditional” way, exclusively as a frontend language. But, I would still like to give a brief introduction to Node.js and how to use JavaScript on the backend. The purpose of this section is to help you further understand how the server works and how it communicates with the frontend and prepares you for future articles on Lavavel and Django.
Before we start, create a new folder on your computer. Make sure that all the installing, creating, and updating that we do in this tutorial happens in this folder.
About Node.js #
Node.js is a JavaScript runtime that allows us to run JavaScript on almost any platform, not just the browser. After you install Node.js on your system, you will have a program named node, and you can use it to run JavaScript files like this:
| |
If the file example.js contains the following code:
| |
The output will be:
| |
This is very similar to what we’ve seen when JavaScript is executed in browsers, so I will not waste any more of your time on this.
Installing and managing packages #
When you install Node.js on your system, a package manager called npm would also be installed. Unless you are using Linux, in which case you’ll need to install it separately. But if you are already using Linux, I assume you know what you are doing.
The primary use of npm is to download and manage JavaScript packages that are required by your application. A package is a piece of program that is written and published by someone else, and simply grab it and use it in your own application. For example, if you are building an app that requires the package called ini, you can run the following command in the terminal. Make sure you are in the correct folder!
| |
When you first run this command, npm will create three different things in your working directory.
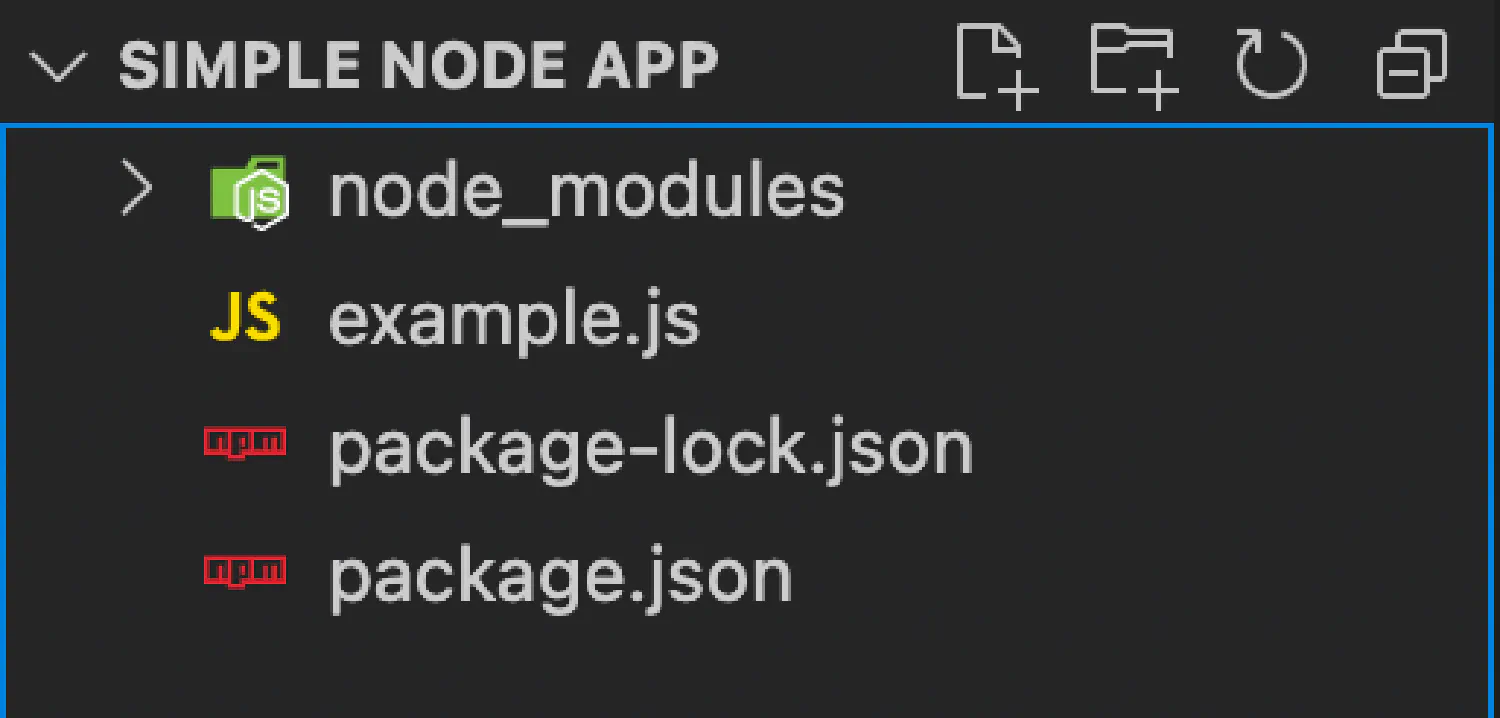
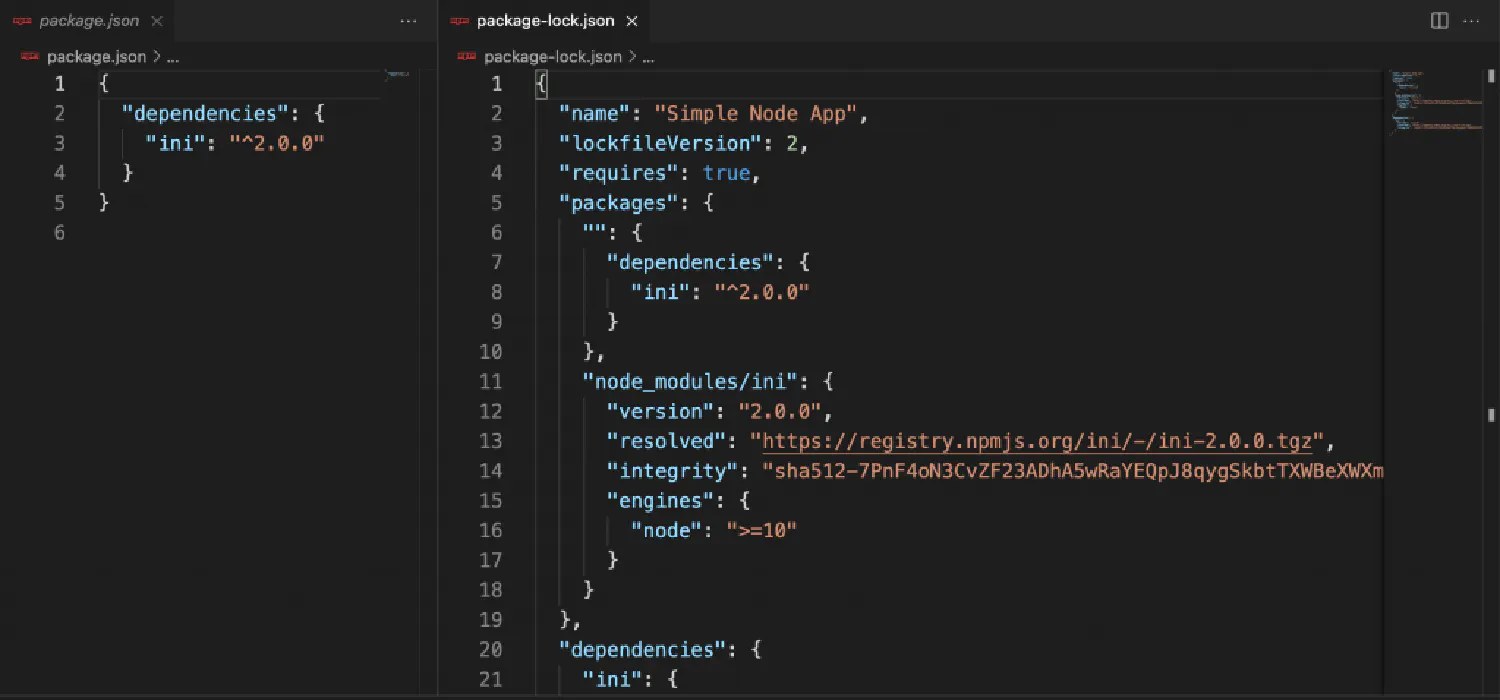
First, we have a new folder named node\_modules, which stores the package you just installed. And there are also two JSON files, package.json and package-lock.json. Both of them are used for version control. Their difference is that the package-lock.json stores the exact version of the package, while package.json stores the minimum version that is required, as well as any other information about the app. You can easily tell their difference by comparing them side by side.
To use the package we just installed, invoke the require() method.
| |
If you are interested in learning more about the npm tool and how to manage packages with it, you can go to https://npmjs.org for more documentation. But for now, we don’t need to know too much about it.
Before we can start building our backend app, there are two JavaScript packages I’d like to introduce, the http module and the fs module. We are going to use the http module to create a server, and use the fs module to read and write to a file, which we’ll use as a database to store information.
The file system module #
Let’s first start with the file system (fs) module. This package is built into Node.js, so we don’t need to install anything in this case. Instead, we’ll create a new .js file for the code and a .txt file for the JavaScript to read and write. We’ll import the module as we talked about before.
| |
We can also write to the file like this:
| |
In this case, it is not necessary to specify the encoding format. If writeFile is given a string, it will simply assume the default format, which is UTF-8.
The HTTP module #
Another very important module we need to talk about is http, it allows us to create an HTTP server using JavaScript. For example:
| |
The variables request and response each represent an object storing the incoming and the outgoing data. For instance, you can access the url property of the request by using request.url.
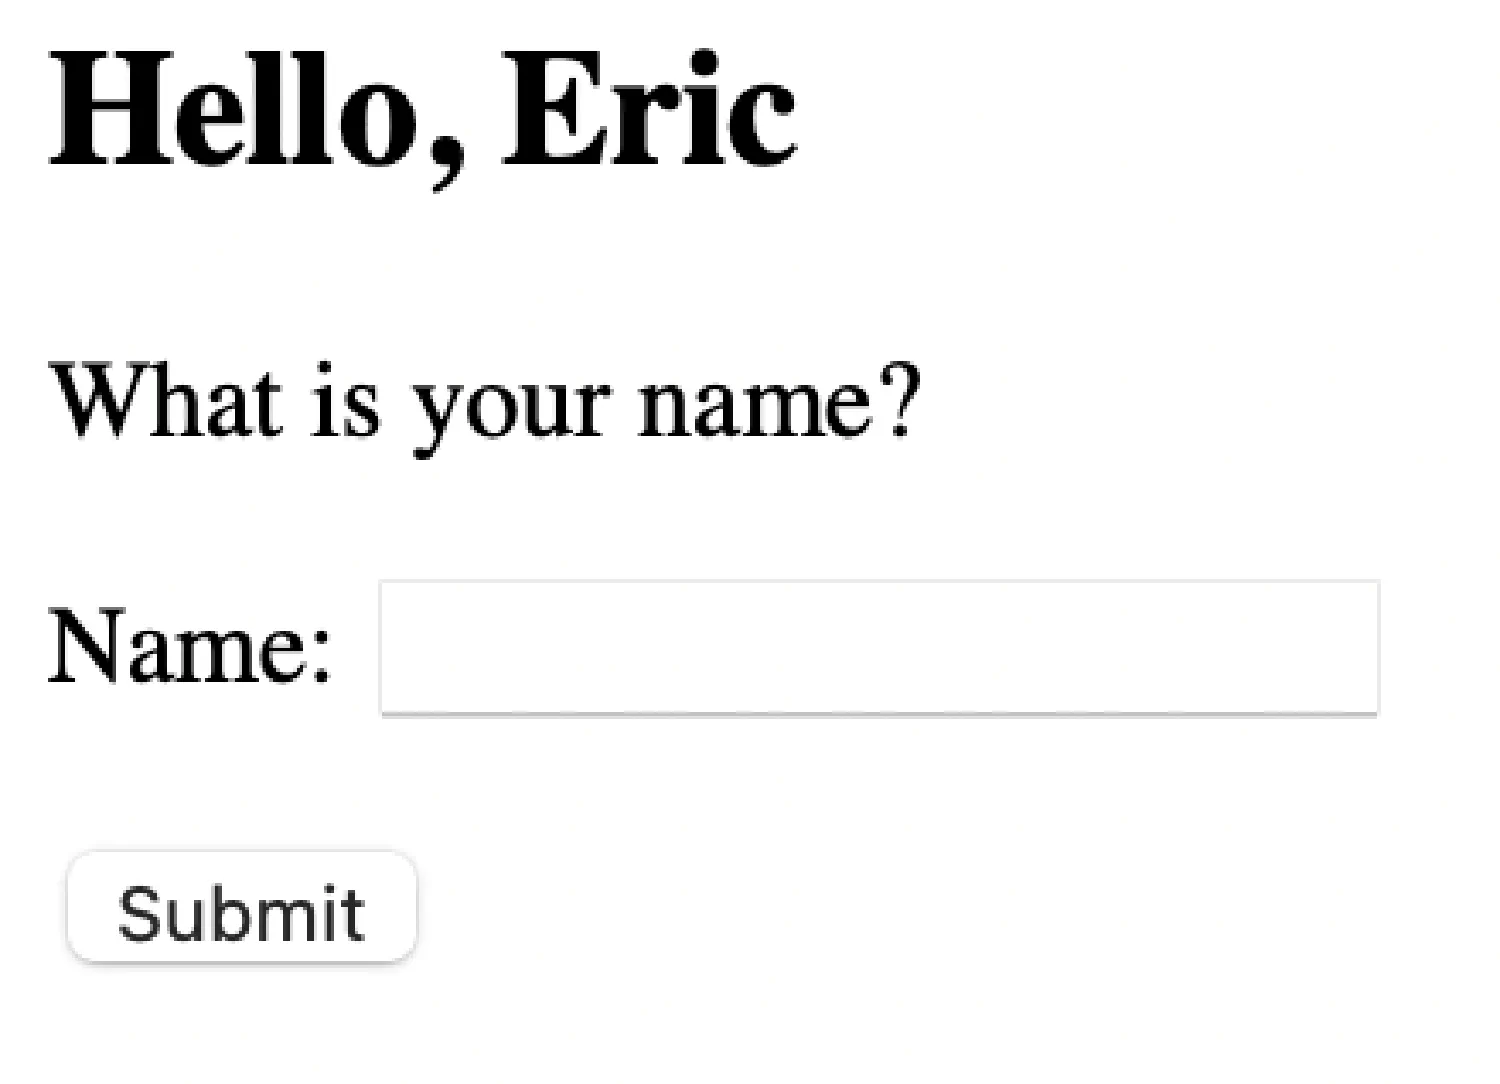
This example is very simple, but in reality, the backend servers are usually more complex. So next, let’s try something more challenging. We are going to create a simple app that asks for your name, and once you submit your name, the data will be stored in a txt file, which acts as a database. When you visit the web page again, it will greet you with your name.
A simple app #
You can download to source code for this app here .
Build the server
Step one, we’ll create a backend without worrying about the database. Let’s create a new JavaScript file named server.js:
| |
This is very similar to our previous example, but this time we’ll use event listeners to configure the server. The first event we are listening to is data, which means when the HTTP request is transmitting data. In this case, we should extract the information we need to use from the request. The second event is end, which means when the request is not transmitting data, in this case, the server should respond with some information.
| |
| |
Run the server with the following command:
| |
Open our browser and go to http://localhost:8000 .
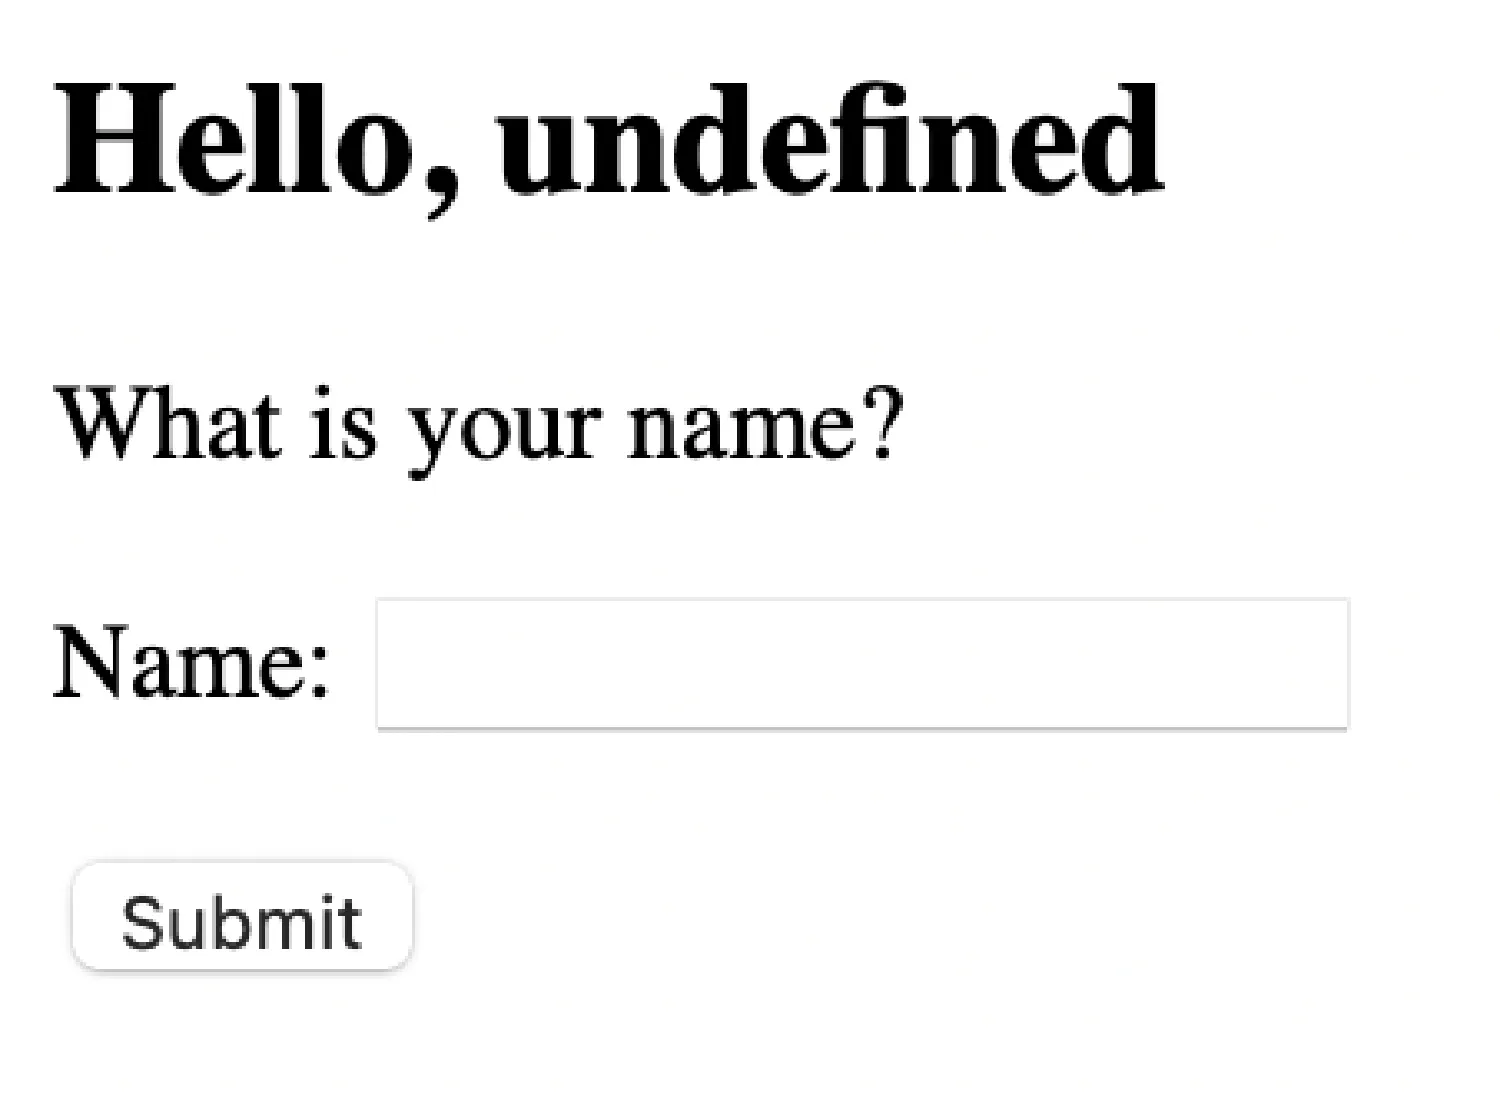
Submit your name and see if anything changes.
Build the database
However, this data is only temporary. It will be lost if you restart the server or refresh the browser. What if you want to store the data for a bit longer?
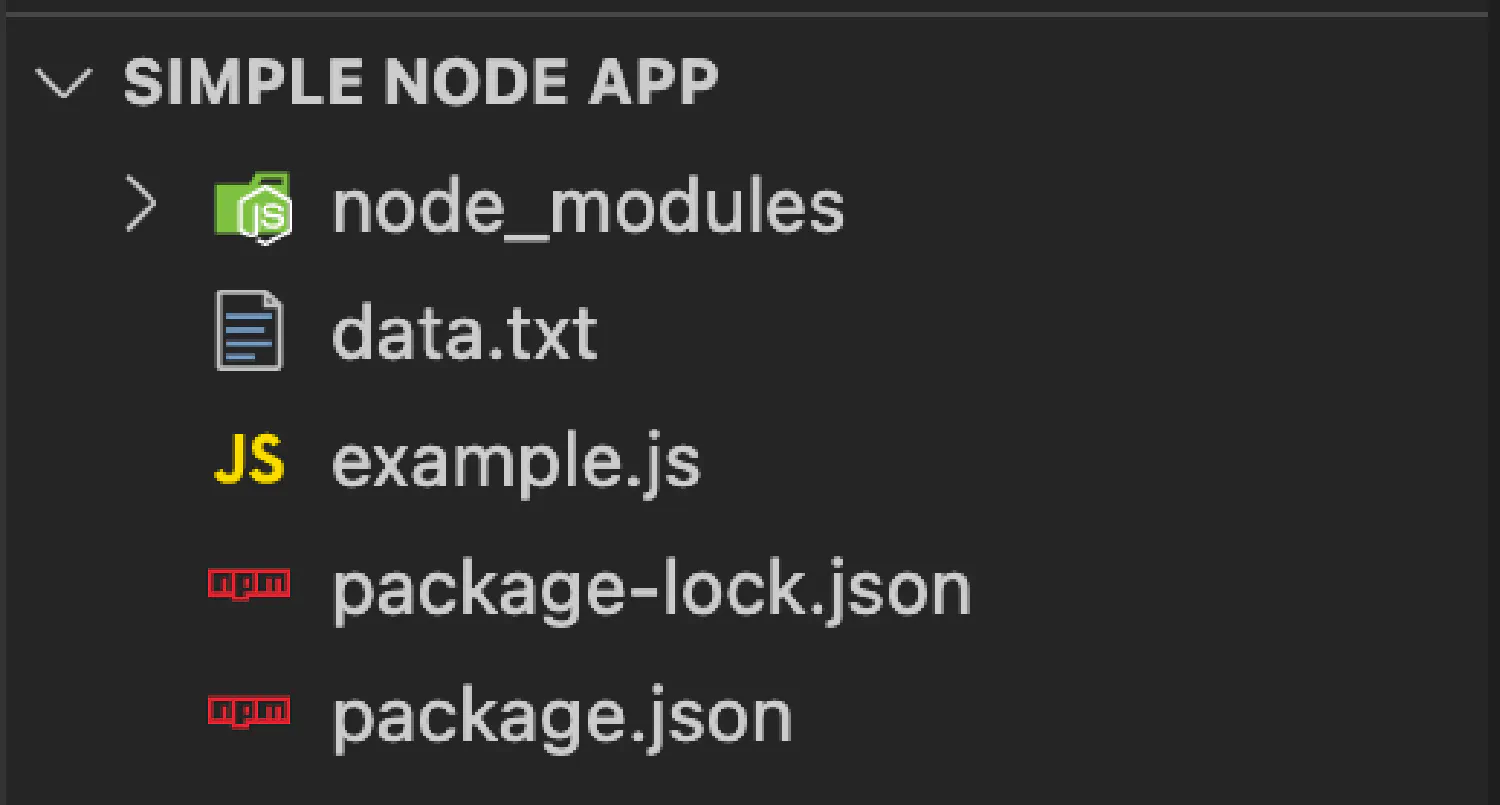
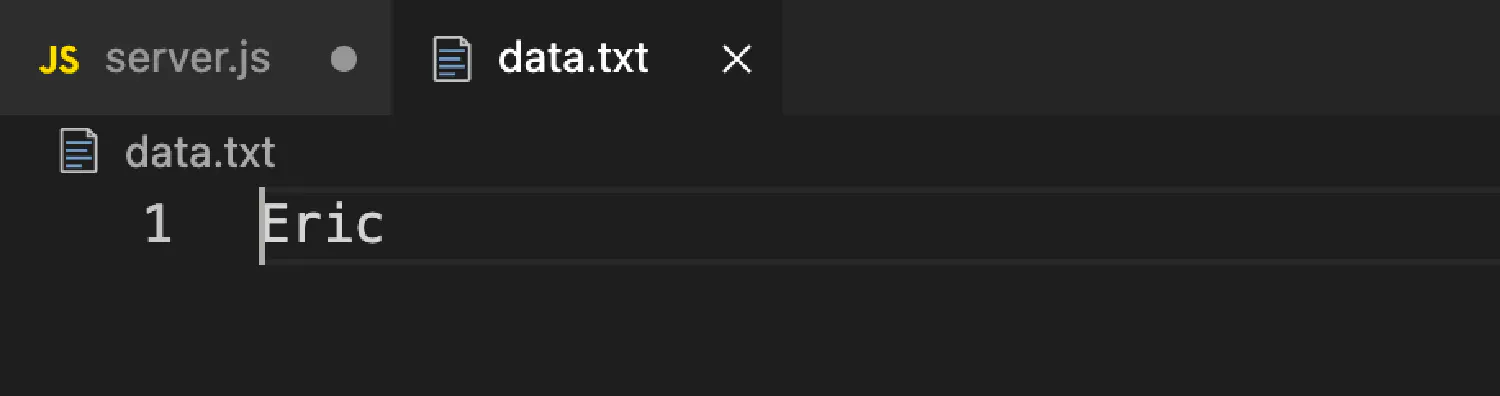
Now, we’ll create a new file called data.txt, and we’ll use it to store the name you submitted.
| |
Notice the syntax when importing the packages. const { xxx } = require('xxx') is importing a method from a package, and const xxx = require('xxx') is importing the entire package, and we can access one of the methods using xxx.methodName.
Run this server and resubmit your name, this time if you open the data.txt file, you will see that the data has been written to the file.
If you think my articles are helpful, please consider making a donation to me. Your support is greatly appreciated.