Laravel for Beginners #1 - Getting Started
- Laravel for Beginners #1 ← You are here
- Laravel for Beginners #2
- Laravel for Beginners #3
- Laravel for Beginners #4
- Laravel for Beginners #5
This tutorial is based on Laravel 10.0.
Laravel is a free, open-source PHP web framework that is widely used for web application development. It is known for its elegant syntax, tools for common tasks such as routing, authentication, and caching, and its ability to handle high traffic. Laravel follows the model-view-controller (MVC) architectural pattern and includes built-in support for object-relational mapping (ORM) and query builder, making it easy to interact with databases.
Additionally, it boasts a large and active community that provides a wealth of tutorials, packages, and other resources for developers to use. Laravel is considered one of the most popular and powerful web frameworks for PHP, and is trusted by many businesses and organizations to build robust and scalable web applications.
This tutorial explains the basic use of the Laravel framework by building a simple blogging system. Without further ado, let’s get started.
➡️ Get the source code for FREE!
Creating a fresh Laravel project #
Setting up a PHP dev environment is not a easy task, especially if you are using Linux systems. But luckily, since the release of Laravel 8.0, it has offered us with a new tool called Sail, a easy solution for running Laravel applications through Docker, regardless of which operating system you are on, as long as you have Docker installed.
First, create a new work directory, we’ll call it laravel-tutorial. Open the working directory in VS Code, and execute the following command to create a fresh Laravel project. Make sure Docker in up and running before you execute the command. This process could take 5 to 10 minutes to complete, please be patient here.
| |
Note: If you are working on Windows, make sure you are running this command inside WSL 2.
Next, change into the app directory and start the server.
| |
| |
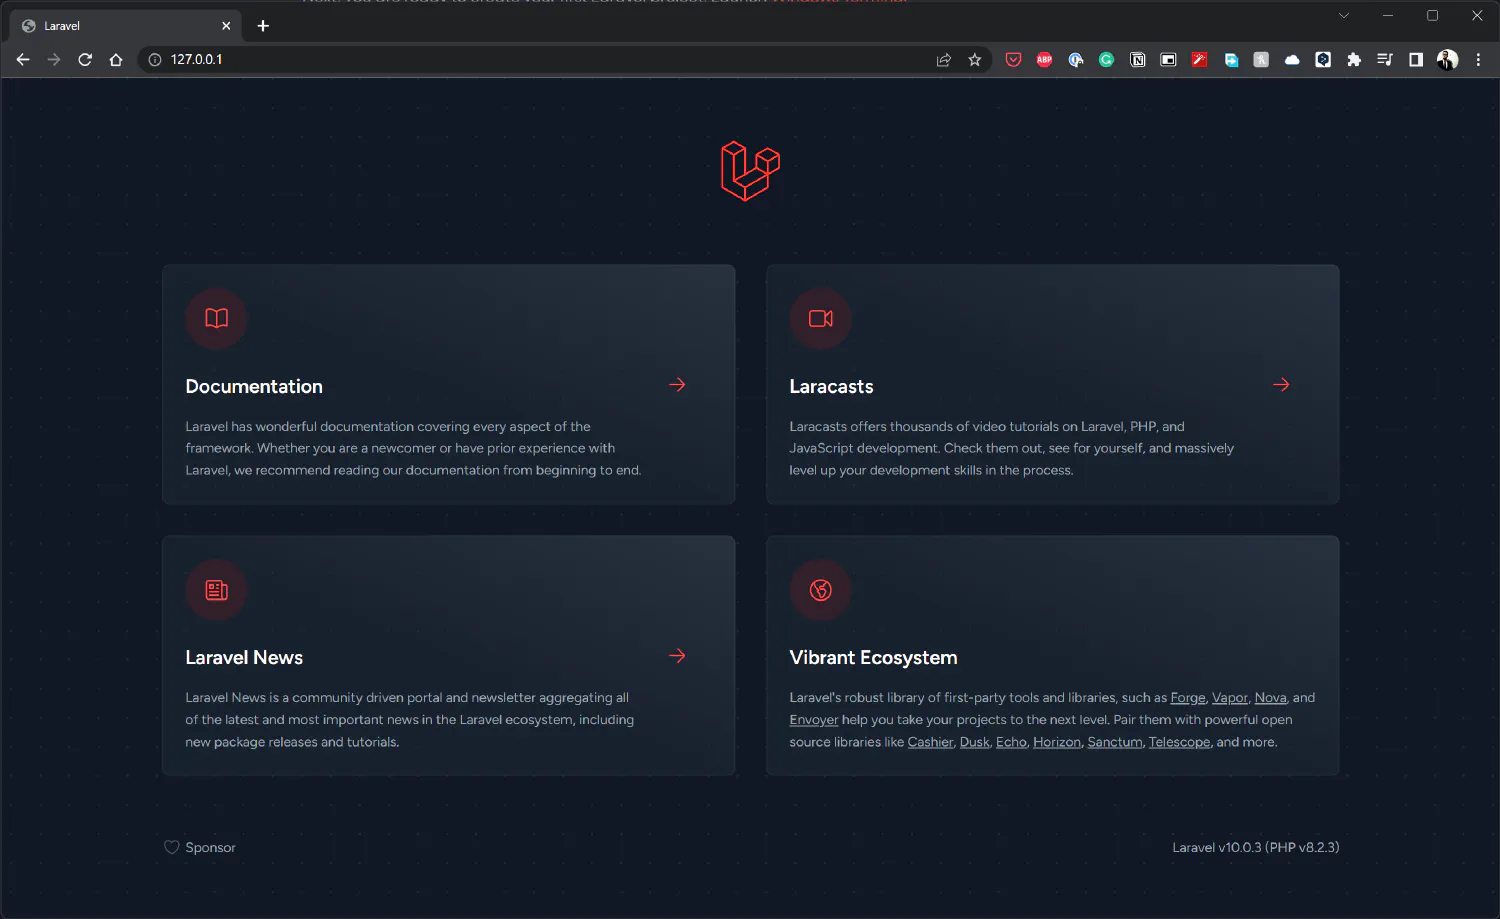
This command will start the Docker container as well as the Laravel dev server. You can access the Laravel app at http://localhost/. If http://localhost/ doesn’t work, try going to http://127.0.0.1/ instead. You should see the following Laravel welcome page.
Exploring Laravel application structure #
Before we start coding, let’s look at what has been created inside our project. Here is an overview of the project root directory.
| |
- The
appdirectory: This directory is the core component of our project, most importantly the controllers, middleware, and models. The controller defines the core logic of the app, the middleware defines what actions should be taken before the controller is called, and the model provides an interface allowing us to deal with databases. We’ll discuss each of them in detail later. - The
bootstrapdirectory: This directory contains theapp.phpfile which bootstraps the entire project. You don’t need to modify anything in this directory. - The
configdirectory: As the name suggests, it contains the configuration files. We don’t need to care about these configurations in this tutorial. - The
databasedirectory: Contains migration files, factories and seeds. The migration files describes the structure of the database. The factories and seeds are two different ways we can fill the database with dummy data in Laravel. - The
publicdirectory: Containsindex.php, which is the entry point of our app. - The
resourcesdirectory: Contains view files, which is the frontend part of a Laravel application. - The
routesdirectory: Contains all URL routers for our project. - The
storagedirectory: A storage space for the entire project. Contains logs, compiled views, as well as user uploaded files. - The
testsdirectory: Contains test files. Testing is a relatively more advanced subject in Laravel, so we are not going to cover it in this tutorial, but you may check the linked article for more details on testing in Laravel . - The
vendordirectory: Includes all dependencies.
Environmental variables #
Next, we also need to take a closer look at the environmental variables. All the environmental variables are stored in the .env file. Since we created our project using Laravel Sail, a lot of configurations are set by default, but we still need to talk about what they do.
App URL
The APP_URL variable defines the URL of the application. By default, it is http://localhost, but you might need to change it to http://127.0.0.1 if http://localhost is giving you the apache2 default page.
| |
| |
Database
By default, Laravel Sail will installed MySQL as the database application, and the database connections are defined as follows:
| |
If you need to, you may also define your own custom environmental variables, and then you can access them anywhere in this project.
| |
This variable can be accessed like this:
| |
The second parameter is the default value, if CUSTOM_VARIABLE does not exist, then the second parameter will be returned instead.
Basic routing in Laravel #
In this section, we are going to look at Laravel’s route and middleware. In Laravel, the routes are defined in the routes folder.
Notice that by default, there are four different files inside the routes folder, and for most projects, we are only concerned with api.php and web.php. If you intend to use Laravel strictly for the backend (without the view), you should define the routes in the api.php. For our tutorial, we are going to use Laravel as a full-stack framework, so we are going to use web.php instead.
Their difference is that api.php is wrapped inside the api middleware group and web.php is inside the web middleware group, they provide different functions, and the routes defined in api.php will have the URL prefix /api/. Meaning that in order to access an api route, the URL has to be something like: http://example.com/api/somthing-else.
The most basic route in Laravel accepts a URL and then returns a value. The value could be a string, a view or a controller. Go to routes/web.php, and we can see there is already a pre-defined route:
routes/web.php
| |
This piece of code means when the Laravel route receives “/”, it returns a view called “welcome”, which is located at resources/views/welcome.blade.php.
Open the browser, go to http://127.0.0.1:8000 , and you will get this page:
To verify welcome.blade.php is the view we are looking at, try making some changes to the file, and refresh your browser to see if the page changes.
Router methods #
Now, let’s take a closer look at this router and understand how it works.
routes/web.php
| |
We first import the Route class, and invoked the get() method. This get() matches the GET HTTP method we talked about before. There are other methods built into the Route class allowing us to match any other HTTP request methods.
| |
If you want a route to match multiple HTTP methods, you can use the match or any method instead. match() requires you to specify an array of HTTP methods that you wish to match, and any() simply matches all HTTP requests.
| |
Passing data to view #
Now, let’s look inside the get() method. There are two parameters, the first one is the URL this router is supposed to match, and the second one is a callback function that executes when the match is successful.
Inside the callback function, a built-in function view() is returned. This function will look for the corresponding view file based on the parameter that is passed to it.
Laravel offers a simple shortcut, Route::view(), if you only need to return a view. This method allows you to avoid writing a full route.
| |
The first argument is the URL, and the second parameter is the corresponding view. There is also a third argument, which allows us to pass some data to that view like this:
| |
We’ll talk about how to access the data when we get to the blade templates.
From router to controller #
We can also make the router point to a controller, which then points to a view. A controller is essentially an expanded version of the callback function. We’ll talk about controllers in detail in the next article.
| |
This line of code means if the router receives “/user”, Laravel will go to the UserController, and invoke the index method.
Route parameters #
Sometimes you need to use segments from a URL as parameters. For example, imagine we have a fully developed blog and there is a user who is looking for a blog post with the slug this-is-a-post, and he is trying to find that post by typing http://www.example.com/posts/this-is-a-post in his browser.
To make sure that the user finds the correct post, we need to take the segment after posts/ as a parameter, and send it to the backend. After that, our controller can use that parameter to find the correct post and return it back to the user.
To do that, we write the following code:
| |
This will make sure the Laravel router matches the word after post/ as a parameter, and give assign it to the variable slug when Laravel sends it to the backend. Route parameters are always encased within {} braces and should consist of alphabetic characters, and may not contain a - character.
Since we haven’t talked about the controllers, we can replace the second parameter with a simple callback function, and test this code:
| |
Now, open your browser and go to http://127.0.0.1:8000/posts/this-is-a-slug .

It is also possible to match multiple parameters in a URL:
| |
In this case, the segment after category/ will be assigned to the variable category, and the segment after post/ will be assigned to slug.
Sometimes you don’t know if a parameter will be present in the URL, in this case, you can make that parameter optional by appending a question mark (?).
| |
And finally, you can validate the parameters using regular expressions. For example, we can make sure the user ID is always a number.
| |
Named routers #
Named routes allow the convenient generation of URLs or redirects for specific routes. You may specify a name for a route by chaining the name method onto the route definition.
| |
And now, when we need to access this URL, all we need to do is invoke the function route('profile').
Group routers #
When you are building a large website, it is very common for you to have a few dozen or even hundreds of routers. In this case, it would make more sense if we group them together. For example, we can group them based on the middleware.
| |
Now both these routers will be assigned the middleware auth.
We can also assign prefixes to a group of routers like this:
| |
All the routers defined in this group will have the prefix /admin/.
Middleware #
A middleware is something that can inspect and filter the incoming HTTP requests, before it hits your application. It is something that happens after the route has matched the URL, but the callback function hasn’t been executed, it is something in the middle, hence the name middleware. An example of middleware would be user authentication. If the user is authenticated, the route will take the user to the supposed destination, if not, it will take the user to the login page first.
For this course, we are not writing any middleware. The only one we need to use is the built-in auth middleware for authentication purposes, but I’d like to explain the basics of it. To create a middleware, run the following command:
| |
This will create a new EnsureTokenIsValid class under the app/Http/Middleware directory.
| |
This middleware will get the token value from the request, and compare it with the secret token stored on our site, and if it matches, proceed to the next step, if not, redirect to the home page.
In order to use this middleware, we still need to register it with Laravel. Go to app/Http/Kernel.php, and find the $routeMiddleware property, list the middleware we just created.
| |
And finally, you probably already know how to use middleware on a router.
| |
If you think my articles are helpful, please consider making a donation to me. Your support is greatly appreciated.